
Why Arduino 1.8.19 Remains Relevant in 2026
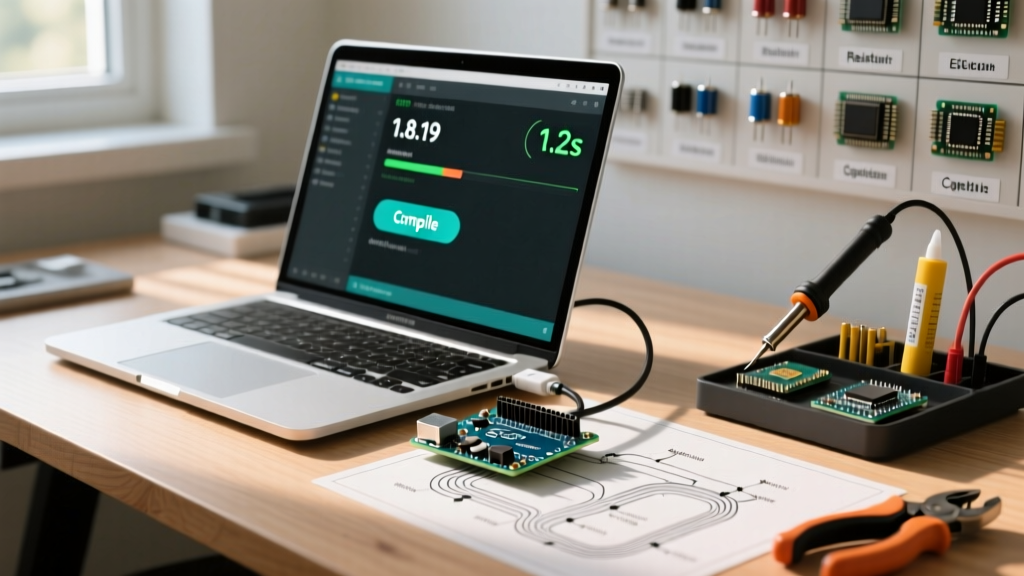
In the modern embedded development landscape of 2026, the Electron-based Arduino IDE 2.x series dominates with native debugging, Language Server Protocol (LSP) autocomplete, and integrated serial plotters. However, for professional firmware engineers, university labs, and industrial maintenance teams, Arduino 1.8.19—the final major release of the classic Java-based IDE—remains an indispensable tool.
Why stick with a legacy IDE? The answer lies in workflow stability, resource overhead, and backward compatibility. Many legacy board cores, particularly older ESP8266 (v2.7.x) and custom AVR bootloaders, exhibit erratic compilation behaviors or outright fail on the newer arduino-cli builder architecture introduced in the 2.x lineage. Furthermore, 1.8.19's predictable Java environment and robust headless compilation flags make it a superior choice for isolated, portable field setups and continuous integration (CI) pipelines where installing a full GUI is impossible.
This guide explores advanced workflow optimizations for Arduino 1.8.19, transforming it from a basic beginner tool into a lean, highly tuned environment for professional legacy MCU maintenance.
Strategic Comparison: 1.8.19 vs. Modern 2.x IDE
Understanding where 1.8.19 excels requires a direct comparison with the current 2026 standard. Below is a breakdown of how the legacy Java architecture stacks up against the modern Theia/Electron framework.
| Feature / Metric | Arduino 1.8.19 (Java) | Arduino IDE 2.3.x (2026) |
|---|---|---|
| Idle RAM Footprint | ~250 MB | ~650+ MB |
| Startup Time (Cold) | ~2.5 Seconds | ~6.0 Seconds |
| Legacy Core Compatibility | 100% (Pre-2021 Cores) | ~85% (Requires platform.txt patches) |
| Headless CLI Build | Native (--verify flags) |
Requires separate arduino-cli binary |
| Debugger Integration | None (Requires external GDB) | Native (Cortex-Debug / J-Link) |
As highlighted in the official Arduino 1.8.19 release repository, this version finalized critical bug fixes regarding library indexing and board manager URL parsing, making it the most stable iteration of the 1.x branch ever released.
Architecting a Portable, Isolated Environment
One of the most powerful workflow optimizations for 1.8.19 is the creation of a fully portable installation. By default, Arduino stores cores, libraries, and preferences in the user's hidden AppData or ~/.arduino15 directories. This causes severe friction when moving between field laptops or setting up reproducible build environments.
Step-by-Step Portable Setup
- Download the ZIP Release: Do not use the Windows installer (.exe). Download the
arduino-1.8.19-windows.zip(or Linux/Mac equivalent) from the official GitHub releases page. - Extract to a Dedicated Drive: Extract the archive to a high-speed external SSD or a dedicated partition (e.g.,
D:\PortableArduino\). - Create the Portable Directory: Inside the extracted root folder (right next to
arduino.exe), create a new, empty folder named exactlyportable. - Initialize the Environment: Launch the IDE. Upon detecting the
portablefolder, the IDE will automatically generatesketchbook,packages, andpreferences.txtinside it.
Pro Tip for Field Engineers: Store your portable Arduino folder on a ruggedized USB-C flash drive. When troubleshooting industrial PLCs or legacy ATmega-based control boards on-site, you can plug this drive into any Windows machine and instantly have access to your exact library versions, custom board cores, and compiler preferences without altering the host machine's registry or file system. For deeper technical specifics, refer to the Arduino Portable IDE Wiki.
JVM Memory Allocation & Compile Speed Hacks
Because Arduino 1.8.19 is built on Java, its compilation speed and stability are inherently bottlenecked by the Java Virtual Machine (JVM) heap space allocations. When compiling massive codebases for the ESP32-S3 or Teensy 4.1 utilizing heavy libraries like LVGL or TFT_eSPI, the default memory limits often trigger java.lang.OutOfMemoryError: Java heap space.
Overriding Default JVM Limits
To optimize compile times and prevent mid-build crashes, you must manually edit the JVM launch parameters based on your operating system:
- Windows: Open
arduino.l4j.iniin the root directory. Change or add the line-Xmx2048Mto allocate 2GB of RAM to the builder process. - Linux: Open the
arduinoshell script in a text editor. Locate thejavaexecution line and append-Xms512M -Xmx2048M. - macOS: Right-click
Arduino.app, select 'Show Package Contents', navigate toContents/MacOS/Arduino, and edit the shell script with the same-Xmxflags.
Disabling Verbose Output for Faster I/O
The IDE's console rendering engine consumes significant CPU cycles when printing thousands of lines of avr-gcc or xtensa-lx106-elf-gcc verbose output. Navigate to File > Preferences and ensure both Show verbose output during: compilation and upload are unchecked. If you need the logs for debugging, redirect them via CLI rather than rendering them in the Java GUI.
Headless CI/CD Automation via Command Line
While modern workflows rely on the standalone Arduino CLI documentation for CI/CD, integrating a separate binary into legacy pipelines can break existing Jenkins or GitLab CI runners. Arduino 1.8.19 features a robust, albeit hidden, headless build system that can be triggered directly from the main executable.
The FQBN Syntax
To compile without opening the GUI, you must use the Fully Qualified Board Name (FQBN). You can find your exact FQBN by checking the boards.txt file in your core's directory, or by running arduino --board list.
Example automated build command for an ESP8266 NodeMCU:
arduino --verify --board esp8266:esp8266:nodemcu:xtal=80,vt=flash,exception=disabled,ssl=all --pref build.path=./build_output ./firmware.inoWorkflow Advantage: The --pref build.path flag forces the IDE to output the compiled .bin and .elf files to a specific directory, allowing your CI pipeline to immediately grab the binary and push it to an OTA (Over-The-Air) update server or artifact repository without scraping the temporary /tmp folders.
Library Resolution Quirks & Edge Cases
The 1.8.19 library builder utilizes a recursive scanning algorithm that is notorious for causing duplicate declaration errors if your workspace is not strictly organized. Unlike the 2.x IDE, which relies heavily on strict library.properties indexing, 1.8.19 will blindly parse .cpp and .h files if they are placed incorrectly.
The 'Archive' Rule
Never keep old or deprecated versions of libraries inside the sketchbook/libraries folder (e.g., naming a folder TFT_eSPI_OLD). The 1.8.19 builder will scan the OLD folder, detect the .h files, and attempt to link them alongside the active library, resulting in multiple definition of linker errors.
Actionable Fix: Create a folder named _archive completely outside of your Arduino sketchbook directory. Move all deprecated libraries there. The underscore prefix ensures it is ignored by standard OS sorting, and keeping it outside the sketchbook prevents the Java builder from indexing it.
Handling Local Project Libraries
For project-specific libraries that you do not want to install globally, do not place them in the root of your sketch folder. The 1.8.19 builder expects local libraries to be placed inside a src subdirectory within the sketch folder. This triggers the recursive local library inclusion recipe, ensuring that nested dependencies are compiled correctly without polluting the global namespace.
Troubleshooting Legacy Upload Failures
When maintaining legacy hardware in 2026, you will inevitably encounter upload timeouts that are specific to the avrdude version bundled with 1.8.19.
- The CH340 DTR/RTS Bug: Many older Arduino Nano clones utilizing the CH340G USB-to-Serial chip fail to auto-reset when uploading via 1.8.19 on Windows 11. The bundled CH340 driver often mishandles the DTR (Data Terminal Ready) line pulsing. Solution: Update to the latest 2026 WCH CH341SER driver, or physically solder a 10µF electrolytic capacitor between the RESET and GND pins to force the board into bootloader mode manually before hitting 'Upload'.
- AVRDUDE Timeout on Custom Bootloaders: If you are using Optiboot or custom USBasp programmers, 1.8.19's default timeout thresholds may be too aggressive. Edit the
programmers.txtfile in your AVR core directory and append-x timeout=20to theavrdudecommand parameters to allow slower, legacy flash memory chips sufficient time to respond to the handshake.
Conclusion
While the electronics industry continues to adopt modern, cloud-connected IDEs, Arduino 1.8.19 remains a highly capable, deeply configurable workhorse for specific embedded workflows. By leveraging portable directory structures, tuning JVM heap allocations, mastering headless FQBN compilation, and strictly managing library namespaces, engineers can extract maximum performance and reliability from this legacy platform. Whether you are maintaining a decade-old industrial SCADA sensor network or simply need a lightweight, offline-capable IDE for field diagnostics, optimizing 1.8.19 ensures your workflow remains unbroken in 2026 and beyond.