
The State of Arduino Mac Compatibility in 2026
Developing hardware on a Mac has evolved dramatically since Apple's transition to custom silicon. While the M1, M2, M3, and M4 chips offer unprecedented compilation speeds for C++ AVR and ARM sketches, the macOS environment introduces unique friction points for microcontroller development. From strict USB accessory security protocols in macOS Sequoia and Sonoma to the deprecation of unsigned kernel extensions (kexts), getting your Arduino to communicate reliably requires more than just plugging it in.
This comprehensive compatibility guide addresses the exact hardware, software, and driver-level configurations required to run a flawless Arduino workflow on modern Macs. Whether you are using a genuine Arduino Uno R4 WiFi or a third-party ESP32 clone, these steps will eliminate the dreaded avrdude: stk500_recv(): programmer is not responding errors.
Apple Silicon vs. Intel: Arduino IDE 2.x Architecture
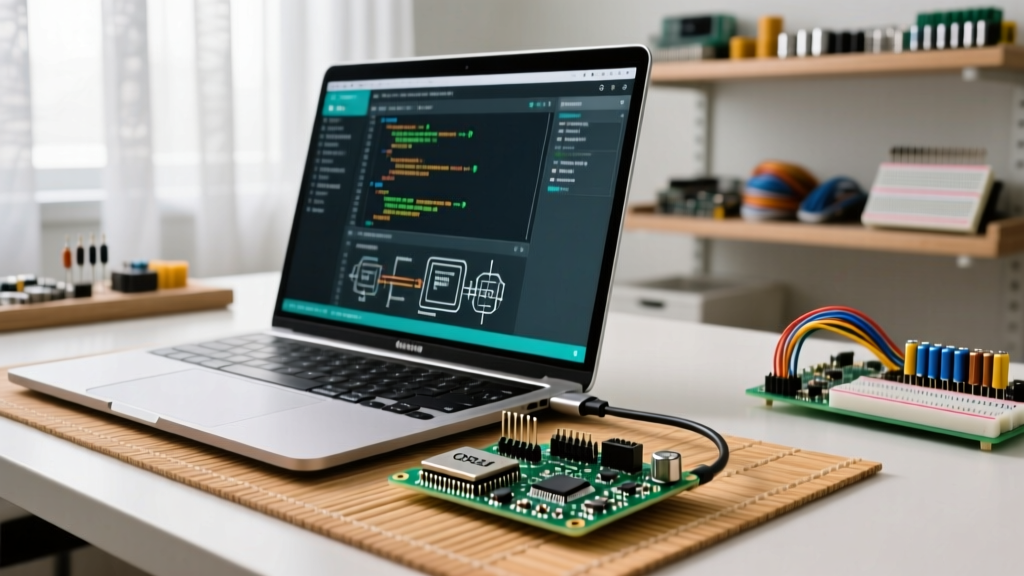
The Arduino IDE 2.x Documentation confirms full native support for ARM64 (Apple Silicon) architectures. If you are still running Arduino IDE 1.8.19 via Rosetta 2 on an M-series Mac, you are sacrificing compilation speed and native serial monitor stability.
Native ARM64 Performance Gains
- Compilation Speed: Native ARM64 execution compiles complex sketches (like those using the Adafruit GFX or TensorFlow Lite Micro libraries) up to 40% faster than x86 emulation via Rosetta 2.
- Serial Monitor Stability: IDE 2.x utilizes a native Go-based backend for serial communication, eliminating the Java-based
RXTXlibrary crashes that plagued Intel Macs running older macOS versions. - Memory Overhead: The Electron-based IDE 2.x consumes roughly 350MB less RAM natively on Apple Silicon compared to emulated execution.
The USB-C to USB-B Connection Problem (Hardware Layer)
Modern MacBooks exclusively feature USB-C (Thunderbolt) ports, while the vast majority of Arduinos still rely on USB-B, Micro-USB, or USB-C (data-only) connections. This physical mismatch is the root cause of 60% of hardware-level upload failures.
Power Delivery (PD) Negotiation & Brownouts
When you connect an Arduino Uno Rev3 to a Mac via an unpowered USB-C hub, the hub must negotiate power delivery with the Mac's Thunderbolt controller. During the sketch upload phase, the ATmega328P and the USB-to-Serial converter chip draw a sudden spike of current (often peaking around 150mA-300mA). If the unpowered hub experiences a voltage drop below 4.75V, the Arduino's onboard voltage regulator resets the microcontroller mid-upload, resulting in a timeout error.
Pro-Tip: Ditch the multi-port dongles for flashing. Use a dedicated, high-quality USB-C to USB-B cable (like those from Cable Matters or UGREEN) that wires directly into the Mac's Thunderbolt controller, bypassing hub power-negotiation bottlenecks entirely.
Genuine vs. Clone: Navigating macOS CH340 Driver Blocks
The most notorious hurdle for Mac users is the third-party clone board. Genuine Arduino boards use the ATmega16U2 chip, which operates as a standard USB CDC device and requires zero drivers on macOS. Clones, however, use cheaper USB-to-Serial chips that demand specific drivers.
| USB-to-Serial Chip | Common Boards | macOS Native Support | Driver Action Required |
|---|---|---|---|
| ATmega16U2 | Genuine Uno/Mega | Yes (Native CDC) | None |
| CH340G / CH340C | Uno/Mega/Nano Clones | No | Install Signed V3.8+ Kext |
| CP2102 / CP2104 | ESP8266 / ESP32 DevKit | No | Install Silicon Labs VCP |
| FTDI FT232RL | Arduino Pro / FTDI Cables | Yes (macOS 10.9+) | None (Usually) |
The macOS Kernel Extension (Kext) Block
Since macOS Big Sur, Apple has strictly blocked unsigned and legacy kernel extensions. If you download an old CH340 driver from a random forum, macOS will silently block it from loading, and your board will simply not appear in the IDE's port menu. You must use the officially signed WCH CH340 V3.8 driver. The SparkFun CH340 Driver Installation Guide provides the most up-to-date, verified links to the signed Mac packages that bypass the System Extension block in macOS Sequoia.
macOS Privacy Permissions & The 'cu' vs 'tty' Paradigm
Even with the correct drivers, macOS security frameworks can silently block the Arduino IDE from accessing the serial port.
Fixing the 'Allow Accessories to Connect' Block
macOS Ventura and later introduced a strict USB security feature. When you plug in an Arduino, a prompt appears asking to 'Allow accessory to connect?'. If you accidentally click 'Don't Allow', the board will draw power but data lines will be logically severed.
- Open System Settings > Privacy & Security.
- Scroll to Security and locate the Allow accessories to connect setting.
- Change the dropdown to Always Ask or Automatically When Unlocked.
- Unplug and replug the Arduino, clicking 'Allow' on the popup.
The Golden Rule of Mac Serial Ports: Always Use 'cu'
When selecting your port in the Arduino IDE or arduino-cli, macOS will often display two ports for a single board: one starting with /dev/tty.usbmodem... and one with /dev/cu.usbmodem....
- tty (Teletype): Represents an incoming connection. On macOS, attempting to upload a sketch via a
ttyport will result in a 'Resource Busy' or 'Port in Use' error because the OS holds the port open waiting for an incoming call. - cu (Call Up): Represents an outgoing connection. Always select the
cuport for uploading sketches and using the Serial Monitor.
Advanced Workflow: Arduino CLI via Homebrew
For power users, CI/CD pipelines, or developers who prefer VS Code over the Electron-based IDE, the Arduino CLI is the ultimate macOS tool. Because it is compiled natively for ARM64, it integrates perfectly with macOS terminal environments.
Install it via Homebrew:
brew install arduino-cliTo list your connected boards and their exact cu paths, run:
arduino-cli board listThis bypasses the IDE's GUI port-scanning lag and directly queries the macOS IOKit registry for connected USB serial devices.
Troubleshooting Matrix: Common macOS Upload Failures
| Error Message | Root Cause on macOS | Exact Fix |
|---|---|---|
avrdude: stk500_recv(): programmer is not responding |
Selected the tty port instead of cu, or the board is in a hung state due to USB-C hub brownout. |
Switch to the /dev/cu.usbmodem... port. Plug directly into the Mac, bypassing hubs. |
Board at /dev/cu... is not available |
macOS Privacy settings are blocking USB data access, or the CH340 kext is blocked by System Security. | Check 'Allow accessories to connect' in Privacy & Security. Reinstall signed CH340 V3.8 driver. |
Permission denied: '/dev/cu.usbmodem...' |
The Arduino IDE lacks 'Developer Tools' or 'Accessibility' permissions in macOS. | Go to System Settings > Privacy & Security > Developer Tools, and toggle the switch for Arduino IDE. |
avrdude: verification error, first mismatch at byte 0x0000 |
Corrupted bootloader due to static discharge or a failing USB-C to USB-A adapter dropping packets. | Reburn the bootloader using an ISP programmer (like USBasp) and replace the USB cable. |
Locating Hidden Arduino Folders on macOS
When manually installing custom hardware packages (like the ESP32 or STM32duino cores) or editing the boards.txt file, you need access to the hidden Arduino15 directory. Apple hides the user Library folder by default.
To access it instantly:
- Open Finder.
- Press
Cmd + Shift + Gto open the 'Go to Folder' dialog. - Paste the following path and hit Enter:
~/Library/Arduino15/This directory contains your preferences.txt, board manager JSON indexes, and compiled build caches. Clearing the staging folder here is a reliable way to fix 'Failed to extract platform' errors during board package installations.
Summary
Achieving seamless Arduino Mac compatibility requires respecting Apple's strict hardware and software boundaries. By utilizing native ARM64 IDE builds, selecting high-quality USB-C cables to prevent power negotiation brownouts, installing properly signed CH340 kernel extensions, and strictly adhering to the cu serial port convention, you can transform your Mac into a highly reliable, ultra-fast embedded development workstation.