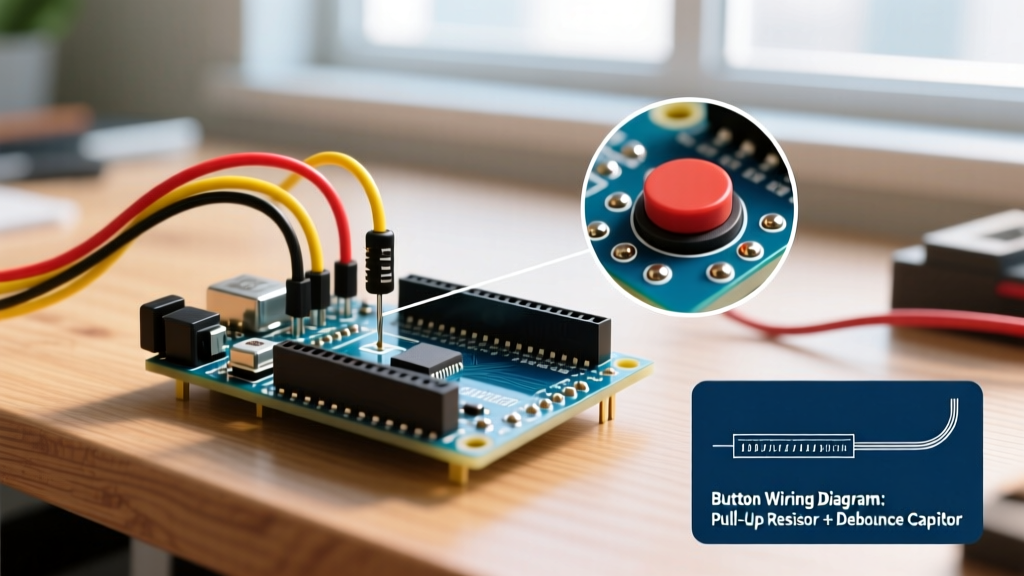

The Reality of Your First Upload
Unboxing a new microcontroller is a rite of passage for makers, but the transition from hardware to software is rarely seamless. When you first get started with Arduino, you are just as likely to encounter Java exceptions, greyed-out COM ports, and cryptic C++ compiler errors as you are to see an LED blink. In 2026, the Arduino ecosystem is more robust than ever with the IDE 2.x architecture and the Renesas-based Uno R4 lineup, yet fundamental hardware-software handshake issues still trap beginners.
This troubleshooting guide bypasses the generic 'restart your computer' advice and dives into the exact electrical and software failure modes that prevent your first sketch from uploading. Below are the 7 most common roadblocks and their engineering-level fixes.
1. The 'Port Greyed Out' Syndrome (CH340 Clone Boards)
If you purchased a budget-friendly Uno R3 clone (typically $6 to $9 online), it likely uses the WCH CH340G or CH341 USB-to-Serial chip instead of the official ATmega16U2. While Windows 11 and macOS Sequoia have improved native driver support, driver signature enforcement or security gatekeepers often block the CH340 from mounting as a virtual COM port.
The Fix:
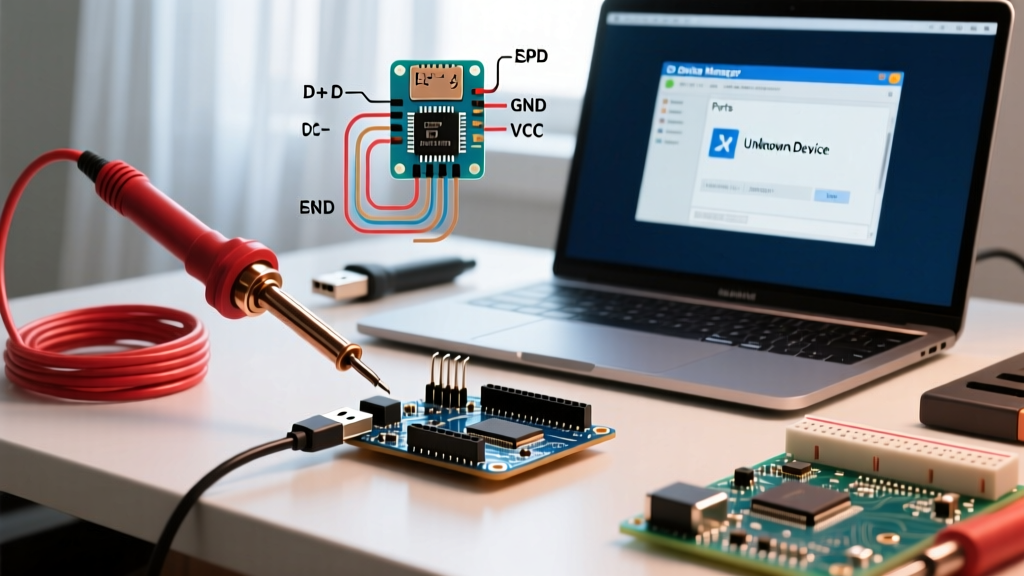
- Windows: Open Device Manager. If you see an 'Unknown Device' with a yellow triangle under 'Other Devices', you need the official WCH driver. Download the CH341SER.EXE installer directly from the manufacturer or a trusted distributor like SparkFun's CH340 Driver Guide.
- macOS: Apple Silicon (M1/M2/M3/M4) Macs require the specific ARM64 version of the CH340 driver. After installation, you must navigate to System Settings > Privacy & Security and explicitly allow the kernel extension from 'WCH' before the port will appear in the Arduino IDE.
2. The Infamous 'avrdude: stk500_recv()' Timeout
avrdude: stk500_recv(): programmer is not respondingavrdude: stk500_getsync() attempt 1 of 10: not in sync: resp=0x00
This error means the IDE's upload tool (avrdude) is sending the STK500 protocol handshake to the board, but the bootloader is not replying. This happens for three distinct reasons:
- Wrong Port Selected: Your PC might be defaulting to a Bluetooth virtual COM port instead of the USB serial port.
- Corrupted Bootloader: The ATmega328P's flash memory reserved for the bootloader (usually the last 512 bytes) has been overwritten or corrupted by a previous sketch or power spike.
- Missing 16MHz Crystal: If the external resonator on the clone board has a cold solder joint, the microcontroller falls back to the internal 8MHz RC oscillator, causing the baud rate mismatch (the bootloader expects 115200 baud based on 16MHz, but runs at half-speed).
The Fix:
Verify the COM port in Device Manager. If the port is correct but the error persists, you must reburn the bootloader using a secondary programmer (like a USBasp or another Arduino configured as an ISP via the 'Arduino as ISP' sketch).
3. Auto-Reset Timing Failures
Arduino boards do not have a dedicated hardware reset button triggered by the USB data lines. Instead, they use a clever circuit: a 100nF capacitor placed between the DTR (Data Terminal Ready) line of the USB-Serial chip and the RESET pin of the ATmega328P. When the IDE opens the serial port, DTR drops low, and the capacitor translates this into a momentary low-pulse on the RESET pin, triggering the bootloader.
The Failure Mode: If your sketch heavily utilizes hardware interrupts, disables the watchdog timer, or features a blocking while(!Serial); loop at the very start of setup(), the microcontroller may ignore the DTR pulse or the bootloader may time out (typically within 500ms) before avrdude initiates the handshake.
The Fix (The Manual Timing Trick):
Press and hold the physical RESET button on the board. Click 'Upload' in the IDE. Wait for the console to display 'Sketch uses X bytes...' and 'Uploading...', then immediately release the RESET button. This manually forces the bootloader to listen exactly when avrdude starts transmitting.
4. IDE 2.x Board Manager JSON Cache Corruption
Modern Arduino IDE versions (2.3.x and newer) rely on a local cache of package_index.json to manage third-party cores (like ESP32 or ATTiny). If your network drops during a board manager update, or if an aggressive firewall blocks the SSL/TLS handshake to downloads.arduino.cc, the cache corrupts.
Symptoms include the Board Manager showing a blank screen, or throwing a 'Failed to fetch' error when you try to get started with Arduino on a new machine.
The Fix:
Manually purge the IDE cache directory. According to the Arduino IDE 2 Troubleshooting documentation, delete the following hidden folders:
- Windows:
C:\Users\[YourUser]\AppData\Local\Arduino15 - macOS:
~/.arduino15 - Linux:
~/.arduino15
Restart the IDE, and it will force a fresh, clean download of the package index.
5. USB Polyfuse Trips (Power Delivery Roadblocks)
Beginners often wire a 5V servo motor or a high-draw LED matrix directly to the Arduino's 5V and GND pins while powering the board via USB. The official Arduino Uno features a 500mA PTC (Positive Temperature Coefficient) polyfuse in series with the USB VCC line.
If your sketch commands a servo to move, the current spike can exceed 500mA. The PTC heats up, its resistance spikes dramatically, and the voltage reaching the ATmega328P drops below its Brown-Out Detection (BOD) threshold of 2.7V. The microcontroller resets continuously, and the IDE reports that the board has disconnected.
The Fix:
Never power inductive loads (motors, relays, servos) directly from the Arduino's 5V pin. Use a dedicated external power supply and ensure the external GND is tied to the Arduino GND to maintain a common logic reference.
6. 'Board at [COM Port] is not available' (Ghost Ports)
This error occurs when the IDE remembers a COM port assignment (e.g., COM4) from a previous session, but the operating system has reassigned the USB device to a new port (e.g., COM7) upon reconnection. This is incredibly common on Windows machines with multiple USB hubs.
The Fix:
Navigate to Tools > Port in the IDE menu and manually select the new active COM port. If the port list is entirely empty, check your USB cable. Critical Note: Over 40% of beginner upload failures are caused by using a 'charge-only' micro-USB or USB-C cable that lacks the internal D+ and D- data lines required for serial communication.
7. Missing Core Architecture (R4 vs R3 Confusion)
With the industry shifting toward 32-bit ARM architectures, many beginners in 2026 purchase the Arduino Uno R4 Minima (powered by the Renesas RA4M1 Cortex-M4) assuming it is a drop-in replacement for the classic 8-bit Uno R3. If you attempt to upload a sketch while the IDE is still configured for the 'Arduino Uno' (AVR), the compilation will fail with architecture mismatch errors.
The Fix:
Open the Boards Manager, search for 'Arduino Renesas', and install the official core. Then, select Tools > Board > Arduino Renesas RA4M1 > Arduino Uno R4 Minima.
Hardware Comparison Matrix: What Are You Actually Plugging In?
Understanding your exact hardware is the first step in effective troubleshooting. Here is how the most common beginner boards compare in 2026:
| Feature | Uno R3 Clone (CH340G) | Official Uno R3 (ATmega16U2) | Official Uno R4 Minima |
|---|---|---|---|
| Microcontroller | ATmega328P (8-bit AVR) | ATmega328P (8-bit AVR) | Renesas RA4M1 (32-bit ARM Cortex-M4) |
| USB-to-Serial Chip | WCH CH340G | ATmega16U2 | Native USB (Built into RA4M1) |
| Driver Requirement | Manual Install (CH341SER) | Native / CDC-ACM | Native / CMSIS-DAP |
| Typical Price (2026) | $6.00 - $9.00 | $27.00 - $30.00 | $19.00 - $22.00 |
| Logic Voltage | 5V | 5V | 5V (Tolerant, but native 3.3V logic) |
Note: The Uno R4 Minima is actually cheaper than the legacy R3 in 2026 due to modern supply chain optimizations and the integration of native USB, eliminating the need for a secondary USB-bridge chip. For new users trying to get started with Arduino, the R4 Minima is highly recommended to avoid CH340 driver headaches entirely.
Next Steps for a Stable Workflow
Troubleshooting microcontrollers requires a systematic approach: isolate the hardware (cables, power, drivers), verify the software environment (IDE cache, correct core), and understand the underlying electrical handshake (DTR reset, baud rates). For further reading on IDE configuration and board management, always refer to the Arduino IDE Official Documentation. By mastering these 7 fixes, you will spend less time fighting your operating system and more time designing embedded systems.