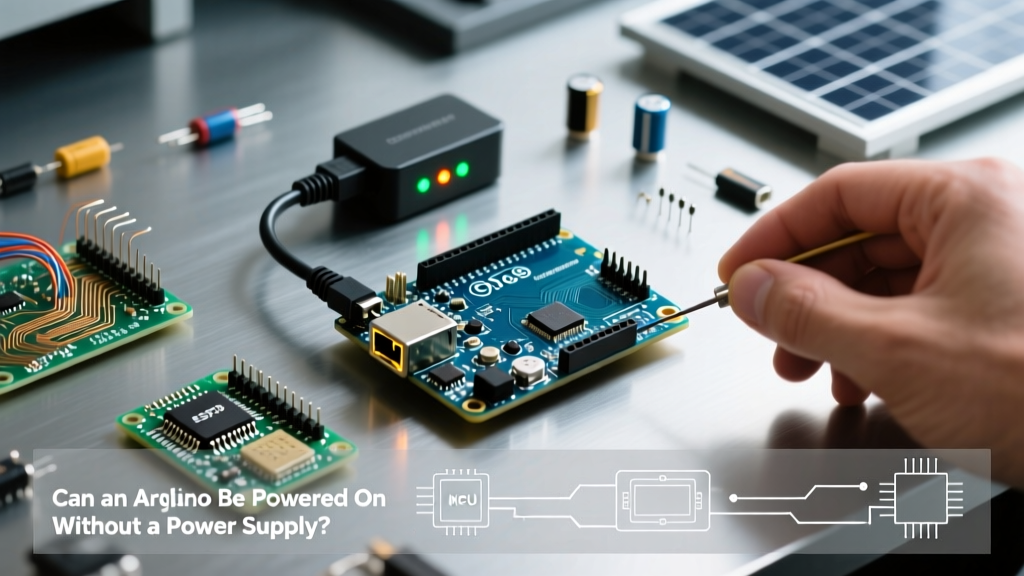

The Physics vs. The Maker Definition
When makers ask, "can an Arduino be powered on without power supply?", they are usually bumping into a semantic wall. From a strict physics perspective, the law of conservation of energy dictates that energy cannot be created from nothing; every circuit requires a power source. However, in maker slang, a "power supply" specifically refers to a dedicated wall-wart adapter, a USB host port, or a chemical battery pack. If we remove these three traditional sources from the equation, the answer is a resounding yes. You can absolutely power an Arduino without a traditional power supply by leveraging alternative energy delivery methods, ambient harvesting, and parasitic scavenging.
This guide explores the electrical engineering realities of running microcontrollers like the ATmega328P or SAMD21 off the grid, detailing the exact hardware, voltage thresholds, and thermal failure modes you must manage.
4 Ways to Power an Arduino Without a Traditional Supply
1. Power over Ethernet (PoE) Delivery
If your project requires network connectivity, you can eliminate local power supplies entirely by using the IEEE 802.3af Power over Ethernet standard. PoE delivers 48V DC alongside data over standard Cat5e/Cat6 cables. To use this with an Arduino, you need a shield equipped with a Powered Device (PD) controller and an isolated DC-DC step-down converter.
For example, the Wiznet W5500 Ethernet controller paired with an Ag9120 PoE module can extract up to 12W from the Ethernet cable, stepping it down to a clean 5V or 12V to feed the Arduino's RAW or 5V pins. This is highly prevalent in industrial IoT sensors where running a separate AC line is cost-prohibitive. Expect to pay between $25 and $35 for a reliable PoE-enabled Ethernet shield.
2. Energy Harvesting with Supercapacitors
Energy harvesting captures ambient energy—such as solar, thermal (TEG), or RF—and converts it into usable DC. Because ambient energy is intermittent, you cannot connect it directly to the Arduino. Instead, you use an energy harvesting Power Management IC (PMIC) to charge a supercapacitor, which then powers the board.
The Texas Instruments bq25570 is an industry-standard ultra-low power boost charger with integrated Maximum Power Point Tracking (MPPT). It features a cold-start voltage of just 330mV, meaning it can wake up from a completely dead state using a tiny indoor solar cell or a thermoelectric generator attached to a warm pipe. The harvested energy is stored in a supercapacitor like the Eaton PHV-5R4H505-R (5F, 5.4V). Unlike chemical batteries, supercapacitors can endure millions of charge cycles and operate in extreme temperatures (-40°C to 85°C) without degrading. A bq25570 breakout board typically costs around $15 to $22.
3. Parasitic Power Scavenging from Data Lines
In legacy industrial environments, you can sometimes "steal" power directly from data lines. Protocols like RS-485 or even standard UART use pull-up resistors and voltage differentials that can be siphoned. By using a high-efficiency charge pump or a specialized parasitic power bridge rectifier, you can extract 5mA to 15mA from the communication bus.
This method requires extreme power discipline. The Arduino must be programmed to spend 99% of its time in SLEEP_MODE_PWR_DOWN, drawing roughly 0.1 µA. It only wakes for a few milliseconds to read the bus, process the data, and transmit a response before returning to sleep. Attempting to run high-drain peripherals like OLED displays or Wi-Fi radios via parasitic scavenging will result in immediate brownouts.
4. Inductive Resonant Coupling
Wireless power transfer via magnetic resonance allows you to power an Arduino sealed inside a waterproof, non-metallic enclosure. By placing a receiver coil (tuned to 100kHz - 200kHz) behind the enclosure wall and a transmitter coil on the outside, you can induce an AC voltage. This AC is then rectified via a Schottky diode bridge and smoothed by a ceramic capacitor to feed the 5V rail directly. While convenient for sealed medical or underwater sensors, efficiency drops drastically if the air gap exceeds 10mm, and coil misalignment can cause severe voltage sags.
Comparative Matrix: Alternative Power Methods
| Method | Nominal Voltage | Max Continuous Current | Estimated Cost | Best Use Case |
|---|---|---|---|---|
| PoE (802.3af) | 5V / 12V | ~1.5A (at 5V) | $25 - $35 | Fixed indoor IoT, Security |
| Energy Harvesting | 1.8V - 3.3V | ~100mA (burst) | $15 - $25 | Remote telemetry, Agriculture |
| Parasitic Scavenging | 3.3V - 5V | 5mA - 15mA | $2 - $5 | Industrial RS-485 retrofits |
| Inductive Coupling | 5V | ~500mA | $10 - $20 | Sealed enclosures, Medical |
Critical Hardware Limits and Failure Modes
When bypassing traditional power supplies, you must intimately understand the physical limits of the Arduino's onboard voltage regulation. According to the Arduino Official Power Guide, mismanaging voltage inputs is the leading cause of permanent board failure.
The AMS1117 Thermal Bottleneck
Most 5V Arduino clones and older official boards use the AMS1117-5.0 linear regulator to drop voltage from the RAW pin down to 5V. This component is housed in a SOT-223 package with a thermal resistance ($R_{\theta JA}$) of approximately 50°C/W. Linear regulators dissipate excess voltage as heat.
The Math of Failure: If you harvest 12V from a stray industrial line and feed it to the RAW pin, and your circuit draws 200mA, the regulator must drop 7V (12V - 5V). Power dissipated = 7V × 0.2A = 1.4W. The temperature rise will be 1.4W × 50°C/W = 70°C above ambient. In a 30°C room, the chip reaches 100°C. If you draw 500mA, the chip hits 175°C and triggers internal thermal shutdown at 165°C, causing the Arduino to continuously reboot.
Expert Tip: If using alternative high-voltage sources (like raw PoE before the DC-DC stage or unregulated solar arrays), always use an external switching buck converter (like the LM2596 or MP2307) to step the voltage down to 5V before it reaches the Arduino's 5V pin, completely bypassing the inefficient AMS1117.
The RAW vs. 5V Pin Dilemma and USB Backfeeding
When powering an Arduino via energy harvesting or inductive coupling, you are typically generating a clean 5V. You must connect this directly to the 5V pin, not the RAW pin. Feeding 5V into the RAW pin will fail because the AMS1117 has a dropout voltage of ~1.1V; it requires at least 6.1V input to output a stable 5V.
Furthermore, if you connect an alternative 5V source to the 5V pin while a USB cable is simultaneously plugged into your computer, you risk backfeeding the USB port. Official Arduino boards include a protection diode and a resettable PTC polyfuse (usually rated for 500mA to 1A) to prevent your computer's USB port from frying. However, cheap clones often omit this polyfuse. If your inductive harvester pushes 5.2V into the 5V pin while the USB port sits at 4.8V, current will flow backward into your PC's motherboard, potentially destroying the USB host controller.
Summary
So, can an Arduino be powered on without a power supply? Yes, provided you redefine the boundaries of power delivery. By utilizing PoE for high-power networked nodes, TI energy harvesting ICs for ultra-low-power remote sensors, or parasitic scavenging for legacy industrial retrofits, you can completely eliminate wall adapters and chemical batteries. Just remember to respect the thermal limits of linear regulators and manage your 5V rail injections carefully to avoid catastrophic hardware failure.
For further reading on network-based power delivery, review the Arduino Ethernet Shield 2 Documentation to understand how integrated magnetics and PoE modules interface safely with microcontroller logic levels.