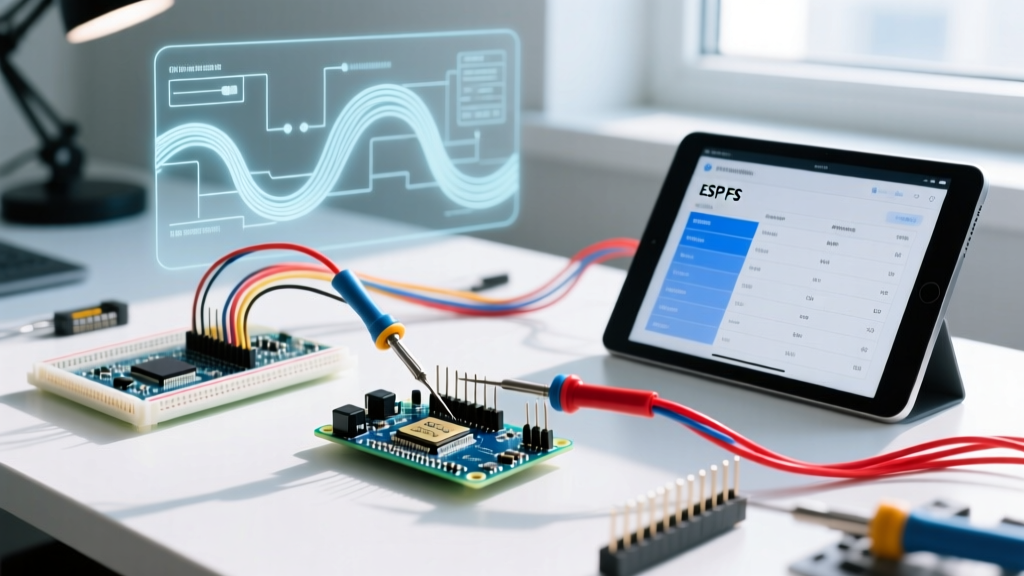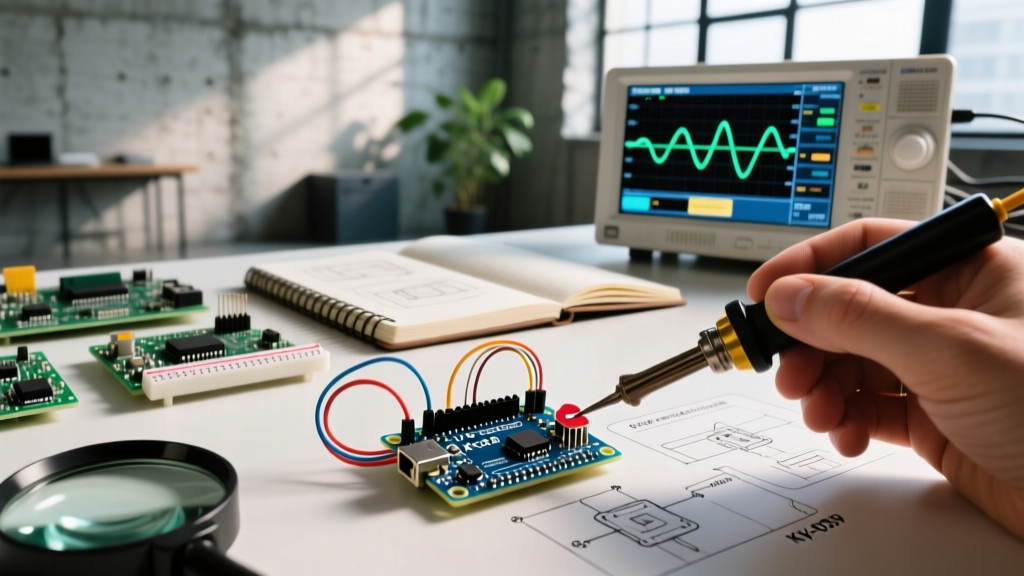

The KY-039 Reputation: Why Out-of-the-Box Fails
If you have ever purchased a standard 37-in-1 Arduino sensor kit, you likely own the KY-039 heartbeat module. Recognizable by its small acrylic housing, exposed IR LED, and phototransistor, this module is designed to measure heart rate via photoplethysmography (PPG). However, within the maker community, the KY-039 is infamous. Plugged directly into an Arduino Uno and read with a basic analogRead() loop, the serial monitor outputs a chaotic wall of noise that makes calculating Beats Per Minute (BPM) seemingly impossible.
The issue is not necessarily the sensor physics, but the lack of onboard signal conditioning. Unlike premium medical-grade modules, the KY-039 lacks active filtering, operational amplifiers, and ambient light rejection. As of 2026, the maker community has developed a robust stack of hardware modifications and Digital Signal Processing (DSP) algorithms to tame this noisy module. This roundup synthesizes the most effective, community-tested methods to turn the $1.50 KY-039 into a reliable biometric tool.
Hardware-Level Interventions: Fixing the Analog Front End
Before writing a single line of DSP code, you must stabilize the analog signal. The raw KY-039 schematic consists merely of an infrared LED (typically 940nm) with a current-limiting resistor and a reverse-biased phototransistor. This leaves the signal line highly susceptible to power rail noise and electromagnetic interference (EMI).
1. The Decoupling Capacitor Hack
The most common failure mode is 50Hz/60Hz mains hum and USB switching noise coupling into the analog trace. Community hardware hackers recommend soldering a decoupling network directly onto the sensor's 2.54mm header pins:
- 100nF (0.1µF) MLCC Ceramic Capacitor: Solder this directly across the VCC (+5V) and GND pins on the module itself to filter high-frequency switching noise.
- 10µF Electrolytic Capacitor: Place this across the power rails on the breadboard to handle low-frequency voltage droops when the Arduino's USB bus experiences load spikes.
2. Ambient Light Shielding
The phototransistor is highly sensitive to visible light, particularly the 100Hz/120Hz flicker from fluorescent and LED room lighting. To achieve clinical-grade signal isolation, wrap the acrylic sensor housing in opaque black heat-shrink tubing or electrical tape, leaving only a precise 5mm window for the fingertip. This physical bandpass filter drastically reduces the dynamic range the software must handle later.
3. Analog Reference Selection
By default, the Arduino Uno R3 uses the 5V USB rail as its analog reference, which is notoriously noisy. Switching to the internal 1.1V reference via the analogReference(INTERNAL) function drastically improves the Signal-to-Noise Ratio (SNR). Because the KY-039 output swings roughly between 1.5V and 3.5V depending on finger placement, you must use a simple voltage divider (e.g., two 10kΩ resistors) to bias the signal down into the 0V–1.1V window. As detailed in the official Arduino analogRead() documentation, changing the reference voltage requires careful attention to the maximum allowable voltage on the analog pin to prevent microcontroller damage.
The Sampling Rate Dilemma: Ditching the Delay()
A critical mistake beginners make is using delay(10) inside their main loop to sample the sensor. While this nominally yields a 100Hz sampling rate, loop execution overhead and interrupt jitter introduce microsecond-level timing variations. In DSP, timing jitter destroys the integrity of Fast Fourier Transforms (FFT) and Finite Impulse Response (FIR) filters.
To capture the dicrotic notch of the PPG waveform accurately, the community standard is a strict 250Hz sampling rate (one read every 4,000 microseconds). To achieve this without jitter, utilize hardware timers. On AVR-based boards like the Uno, the TimerOne library allows you to trigger an Interrupt Service Routine (ISR) exactly every 4ms. For newer ARM-based boards like the Arduino Uno R4 Minima or ESP32, utilizing hardware timer interrupts via functions similar to attachInterrupt() ensures the ADC is polled with nanosecond precision, providing a mathematically pure dataset for your filters.
Community DSP Stack: The 3-Stage Filter Pipeline
Once you have a stable, jitter-free 250Hz data stream, the raw signal will still contain baseline wander (caused by breathing and finger movement) and high-frequency EMG noise (muscle tremors). According to comprehensive research on PPG signal processing published by the National Institutes of Health (NIH), extracting heart rate requires a multi-stage digital filtering approach.
Stage 1: DC Offset Removal (High-Pass)
The baseline of the PPG signal drifts wildly depending on how hard the user presses their finger against the sensor. You must remove this DC component while preserving the AC pulse. The most computationally efficient method for an 8-bit or 32-bit MCU is the IIR DC removal filter:
y[n] = x[n] - x[n-1] + 0.95 * y[n-1]
This simple recursive formula centers the signal around zero, eliminating baseline wander without the heavy RAM footprint of an FIR high-pass filter.
Stage 2: Low-Pass Butterworth Filter
Human heart rates rarely exceed 200 BPM (3.33 Hz). Any frequency above 4 Hz is noise. Implementing a 2nd-order IIR Butterworth low-pass filter with a cutoff frequency of 3.5 Hz smooths the waveform, rounding off the sharp peaks and making the systolic peak easily detectable. Many community libraries pre-calculate the coefficients for a 250Hz sample rate, allowing the MCU to execute the filter using basic integer math rather than floating-point operations.
Stage 3: Hysteresis Peak Detection
With a clean, zero-centered waveform, you can now detect peaks. A naive approach triggers a beat every time the signal crosses zero. However, noise spikes near the zero-line will cause false triggers. The community solution is hysteresis thresholding. The algorithm only registers a new beat if the signal crosses a positive threshold (e.g., +20% of the recent maximum amplitude) and enforces a refractory period of 300ms (equivalent to 200 BPM max) before allowing the next detection.
2026 Component Comparison Matrix
While the DSP hacks above make the KY-039 usable, it is vital to understand where it sits in the modern biometric sensor landscape. Below is a comparison of the most common optical pulse sensors available to makers in 2026.
| Feature | KY-039 (Optical) | MAX30102 (I2C) | PulseSensor Amped |
|---|---|---|---|
| Average Price (2026) | $1.50 - $2.50 | $4.50 (Clone) / $15.95 (Adafruit) | $24.95 |
| Interface | Raw Analog | I2C (Onboard DSP) | Conditioned Analog |
| Light Source | Single IR LED | Red + IR (SpO2 capable) | Green LED |
| Ambient Light Rejection | Poor (Requires shielding) | Excellent (Optical isolation) | Good (Hardware filtered) |
| MCU CPU Load | High (Requires heavy DSP) | Low (FIFO buffer handling) | Low (Analog envelope) |
Verdict: The KY-039 remains the undisputed king of budget educational projects, provided you are willing to implement the software DSP stack. For commercial prototypes or SpO2 (blood oxygen) measurements, the MAX30102 is the mandatory upgrade path.
Real-World Edge Cases and Troubleshooting
Even with perfect hardware and software, biometric sensors face physical realities. Here are the most common edge cases encountered by the community and their solutions:
- Cold Fingers (Vasoconstriction): In cold environments, capillary blood flow to the extremities drops, reducing the AC amplitude of the PPG signal. Fix: Implement an Automatic Gain Control (AGC) algorithm in your DSP stack that dynamically multiplies the signal amplitude if the peak-to-peak voltage drops below a defined threshold.
- The 'Squeeze' Artifact: Users tend to press their fingers harder against the sensor when they don't see an immediate reading on the display. This mechanical pressure temporarily occludes blood flow, flatlining the signal. Fix: Add a mechanical spacer (like a 3mm foam pad with a hole cut out) to physically limit the maximum pressure the finger can apply to the phototransistor.
- ADC Resolution Limits: On older 10-bit AVR boards, the subtle dicrotic notch is often lost to quantization noise. Upgrading to a modern board like the Arduino Uno R4 Minima, which features a 14-bit ADC, provides 16 times the resolution, allowing for advanced morphological analysis of the PPG wave beyond simple BPM counting.
Conclusion
The Arduino KY-039 is a masterclass in the gap between raw hardware and applied engineering. Out of the box, it is a noisy, unreliable component. But by applying community-derived hardware decoupling, strict timer-based sampling, and a rigorous IIR DSP pipeline, you can extract highly accurate heart rate data. It remains a phenomenal educational tool for makers looking to bridge the gap between basic microcontroller I/O and real-world biomedical signal processing.