
The Golden Rule: Never Connect a DC Motor Directly to an Arduino
If you are learning how to make an Arduino control motor DC setups, the very first lesson is understanding the physical limitations of the microcontroller. The ATmega328P chip found on standard Arduino Uno and Nano boards has an absolute maximum current rating of 40mA per I/O pin, with a recommended continuous limit of just 20mA. Furthermore, the total current draw across all I/O pins cannot exceed 200mA.
A standard 130-size 6V DC hobby motor draws roughly 150mA under no-load conditions, but its stall current (the current drawn when the motor is physically prevented from spinning) can easily spike to 1.2A or more. Connecting a motor directly to an Arduino pin will instantly destroy the microcontroller's silicon die due to thermal overload. Additionally, DC motors are inductive loads. When power is cut, the collapsing magnetic field generates a reverse voltage spike known as Back-EMF (Electromotive Force), which will fry sensitive logic circuits.
Expert Insight: To safely let your Arduino control motor DC hardware, you must use an intermediary motor driver. The driver acts as a muscular middleman: the Arduino sends low-current logic signals (milliamps) to the driver, and the driver switches high-current power (amps) from an external battery pack to the motor.
Motor Driver Compatibility Matrix (2026 Edition)
The market is flooded with H-Bridge modules, but choosing the wrong one leads to overheated components, voltage drops, and erratic behavior. Below is a compatibility matrix comparing the most reliable modules available for makers in 2026.
| Driver IC / Module | Topology | Continuous Current | Peak Current | Motor Voltage (VM) | Typical Price (2026) | Best Use Case |
|---|---|---|---|---|---|---|
| L298N | BJT H-Bridge | 2A per channel | 3A | 5V - 35V | $3 - $5 | Legacy projects, high-voltage/low-current 12V motors |
| TB6612FNG | MOSFET H-Bridge | 1.2A per channel | 3.2A | 2.5V - 13.5V | $7 - $10 | Battery-powered robots, 6V LiPo setups, high efficiency |
| DRV8871 | MOSFET H-Bridge | 3.6A | 4.5A | 6.5V - 45V | $5 - $8 | Single high-torque 12V/24V motors (e.g., linear actuators) |
| BTS7960 | Half-Bridge (x2) | 24A (thermal limited) | 43A | 5.5V - 27V | $12 - $18 | E-bike motors, heavy-duty 24V scooter motors, winches |
Deep Dive: Selecting the Right Driver for Your Load
1. The L298N: The Legacy Workhorse
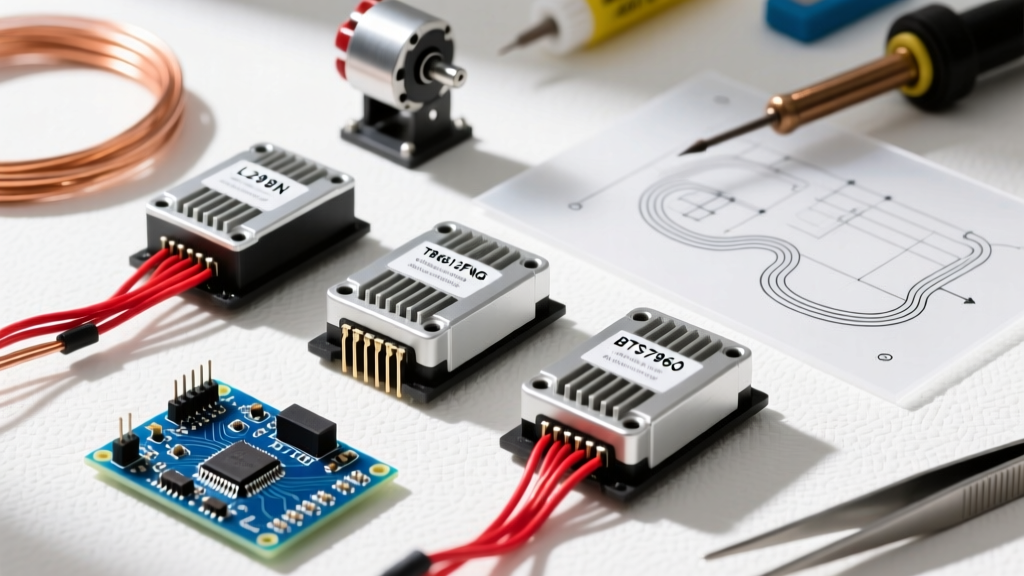
The L298N dual H-bridge has been the default choice for Arduino beginners for over a decade. It utilizes Bipolar Junction Transistor (BJT) technology. While it is incredibly robust and can handle up to 35V, it suffers from a major architectural flaw: a high internal voltage drop.
- The Voltage Drop Problem: BJTs require a base-emitter voltage to turn on. In an L298N, current passes through two transistors in series, resulting in a voltage drop of roughly 1.8V to 2.5V. If you supply 5V to the module, your motor will only receive about 2.5V to 3V, resulting in weak torque.
- Thermal Management: That missing 2V isn't lost; it is dissipated as heat. If you push the L298N past 1.5A continuous current without a massive heatsink, it will trigger its internal thermal shutdown.
- Verdict: Use the L298N only if you are driving 12V motors where a 2V drop is acceptable, or if you are operating on a strict sub-$5 budget.
2. The TB6612FNG: The Modern MOSFET Standard
For modern robotics and battery-operated projects, the TB6612FNG is the undisputed champion. Unlike the L298N, it uses MOSFETs, which operate on resistance rather than voltage drops. According to the Pololu TB6612FNG specifications, the on-resistance (Rds(on)) is a mere 0.5 ohms per channel.
- Efficiency: With a 1A load, the voltage drop is only about 0.5V (compared to the L298N's 2V). This means your batteries last significantly longer, and the chip runs cool to the touch.
- Braking and Coasting: The TB6612FNG supports active braking (shorting the motor terminals to stop it instantly) and coasting, which is vital for precise PID control loops in balancing robots.
- Verdict: The absolute best choice for 3.7V LiPo or 6V NiMH battery setups powering 6V to 9V DC motors.
3. The BTS7960: High-Current Heavy Lifting
When your project graduates from small hobby motors to 12V or 24V windshield wiper motors, e-bike hub motors, or linear actuators, standard ICs will melt. The BTS7960 module combines two half-bridges to form a single high-power H-bridge.
While the datasheet claims 43A peak, real-world continuous current without active fan cooling and massive copper traces is closer to 15A-20A. A critical feature of higher-end BTS7960 breakout boards is the inclusion of optocouplers. These optically isolate the Arduino's 5V logic ground from the motor's high-current ground, preventing destructive ground-bounce from resetting your microcontroller.
Wiring and PWM Frequency Considerations
To control the speed of a DC motor, the Arduino uses Pulse Width Modulation (PWM). By rapidly switching the power on and off, you simulate a lower average voltage. However, frequency matters.
By default, Arduino pins 5 and 6 output PWM at roughly 980Hz, while pins 9, 10, and 11 output at 490Hz. This is generally fine for the L298N. However, if you are using the TB6612FNG and want to eliminate the audible high-pitched whine that DC motors often produce at low speeds, you can increase the Arduino's PWM frequency to 31kHz (ultrasonic). The TB6612FNG supports PWM frequencies up to 100kHz, making it perfectly compatible with ultrasonic silent-drive techniques. For more on how Arduino handles these signals, refer to the official Arduino PWM Tutorial.
Troubleshooting Edge Cases and Failure Modes
Even with the correct driver, makers frequently encounter issues when configuring an Arduino control motor DC circuit. Here is how to diagnose the most common failure modes:
Symptom: Arduino Resets Randomly When the Motor Starts
The Cause: This is almost always caused by a ground loop or voltage sag. When a DC motor starts, it draws stall current, which can cause the battery voltage to momentarily dip. If the Arduino and the motor share the same power rail without proper decoupling, the Arduino's brown-out detector (BOD) will trigger a reset.
The Fix:
- Ensure a Common Ground connection between the Arduino GND, the motor driver logic GND, and the battery negative terminal.
- Solder a 100nF ceramic capacitor directly across the motor terminals to suppress high-frequency electrical noise.
- Add a 100µF to 470µF electrolytic capacitor across the battery input terminals on the motor driver to act as a local energy reservoir during current spikes.
Symptom: Motor Whines but Does Not Spin
The Cause: Insufficient starting torque due to low voltage, or a PWM frequency mismatch. Some older L293D or L298N chips struggle to switch cleanly at higher PWM frequencies, resulting in a net-zero voltage across the motor coils.
The Fix: Lower the PWM duty cycle in your code to ensure the 'ON' time of the pulse is long enough for the motor's inductance to build a magnetic field. Alternatively, check your power supply with a multimeter under load; a 9V alkaline battery will often sag to 4V under a 500mA motor load, depriving the motor of the voltage needed to overcome static friction.
Symptom: The Motor Driver Gets Dangerously Hot
The Cause: You are operating near the continuous current limit of the IC, or you are driving a high-inductance motor without adequate flyback diodes. While most modern modules (like the DRV8871) include internal clamping diodes to handle Back-EMF, the Texas Instruments DRV8871 Datasheet explicitly notes that continuous high-frequency PWM combined with high inductance can still cause thermal stress on the internal FETs.
The Fix: Upgrade to a driver with a higher continuous current rating (e.g., moving from a TB6612FNG to a DRV8871), or attach an aluminum heatsink to the IC package using thermal adhesive tape.
Final Recommendations for 2026 Makers
The era of relying on the L298N for every project is over. If you are building a small, battery-powered rover, the TB6612FNG is the most efficient and logical choice to let your Arduino control motor DC systems. If you are building a heavy-duty automated gate or a motorized winch, bypass the standard ICs entirely and use a BTS7960 or a dedicated brushed ESC (Electronic Speed Controller). Always calculate your motor's stall current—not just its running current—and select a driver that can handle that peak load without triggering thermal protection.