
The Ultimate Arduino RGB LED Troubleshooting Guide
Working with an Arduino RGB LED should be a straightforward introduction to color mixing and PWM (Pulse Width Modulation). However, makers frequently encounter frustrating issues: colors that look muddy, channels that refuse to light up, or annoying high-frequency flickering. Whether you are using a legacy ATmega328P-based Uno R3 or the modern ARM-based Uno R4 Minima, the root causes usually fall into three categories: hardware current-steering, logic inversion, or PWM timer conflicts.
In this comprehensive troubleshooting guide, we will diagnose the exact failure modes of RGB LED circuits and provide actionable, math-backed fixes to get your project displaying accurate colors.
Diagnostic Matrix: Symptom to Solution
Before tearing apart your breadboard, use this diagnostic matrix to identify your specific failure mode.
| Symptom | Probable Root Cause | Hardware / Software Fix |
|---|---|---|
| Only Red lights up; Green/Blue are completely dark. | Single resistor used on the common pin (Current Stealing). | Move to individual resistors on each color leg. |
| Colors are inverted (e.g., sending 255 turns the LED off). | Using Common Anode LED with Common Cathode code logic. | Invert PWM values in code: 255 - value. |
| Flickering when servos or motors are active. | PWM Timer conflict (e.g., Servo library disabling Timer 1). | Reassign RGB pins to avoid Timer 1 (Pins 9 & 10 on Uno R3). |
| Colors look 'washed out' or inaccurate at low brightness. | Linear PWM output vs. logarithmic human eye perception. | Apply a gamma correction lookup table in your sketch. |
| Faint 'ghosting' of colors when set to 0 (OFF). | Floating pins or breadboard parasitic capacitance. | Ensure pins are set to OUTPUT and use pull-down resistors if necessary. |
Hardware Trap: The Single Resistor Mistake
The most common hardware error when wiring an Arduino RGB LED is placing a single current-limiting resistor on the common pin (the longest leg) instead of using three separate resistors for the Red, Green, and Blue channels. This leads to a phenomenon called current stealing.
The Physics of Current Stealing
An RGB LED is essentially three separate LEDs packaged together. Each semiconductor die has a different forward voltage (Vf). For a standard 5mm Kingbright WP154A4SUREQBFZGW (a highly reliable model costing roughly $0.25 per unit in 2026), the typical forward voltages are:
- Red: 2.0V
- Green: 3.2V
- Blue: 3.2V
If you apply 5V from the Arduino and use a single resistor on the common cathode, the Red channel (requiring only 2.0V to open the gate) will conduct first and hog the available current. The voltage drop across the shared resistor will increase, leaving insufficient voltage to forward-bias the Green and Blue channels (which need 3.2V). The result? You only ever see red light.
The Golden Rule of RGB Wiring: Never use a single resistor on the common pin. Always calculate and place individual resistors on each color channel to balance the current independently.
Calculating the Correct Resistors
Using Ohm's Law (R = (Vsource - Vf) / I), and targeting a safe continuous current of 15mA (0.015A) to prolong the LED's lifespan and stay well within the Arduino's 20mA per-pin absolute maximum limit:
- Red Resistor: (5V - 2.0V) / 0.015A = 200Ω (Use standard 220Ω)
- Green Resistor: (5V - 3.2V) / 0.015A = 120Ω (Use standard 120Ω or 150Ω)
- Blue Resistor: (5V - 3.2V) / 0.015A = 120Ω (Use standard 120Ω or 150Ω)
For deeper insights into LED physics and current limiting, refer to the SparkFun LED Tutorial, which remains an industry-standard primer on diode forward voltages.
Logic Inversion: Common Cathode vs. Common Anode
If your wiring is correct but your code behaves backward (e.g., analogWrite(redPin, 255) turns the LED off), you are likely using a Common Anode RGB LED while writing code for a Common Cathode LED.
How to Identify Your LED Type
Look at the physical legs of the 5mm LED. The longest leg is the common pin.
- Common Cathode: The longest leg connects to GND (Ground). You supply 5V PWM to the color legs to turn them ON.
- Common Anode: The longest leg connects to 5V. You sink current to GND via the Arduino pins to turn them ON.
The Software Fix for Common Anode
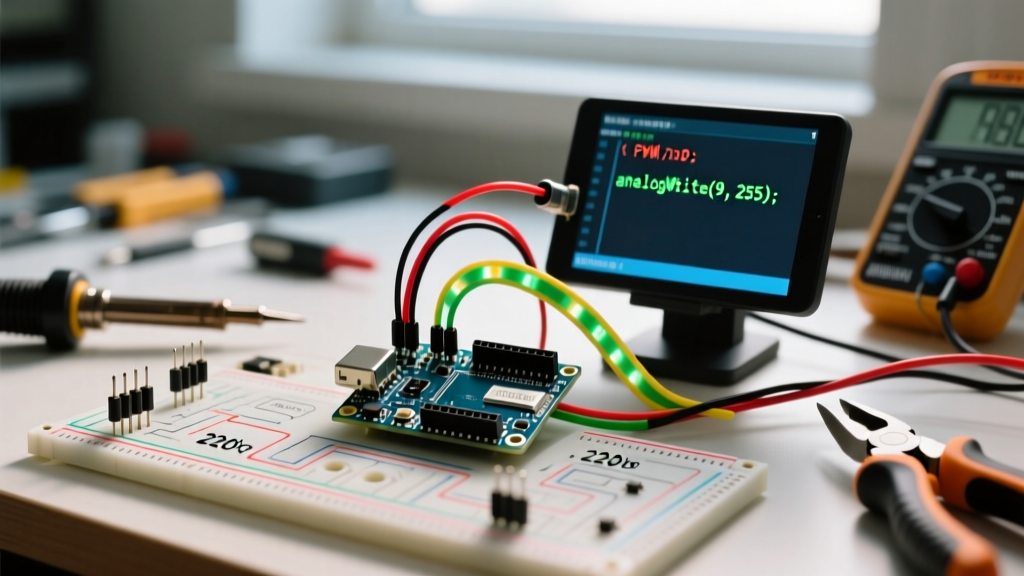
You do not need to rewire your breadboard if you have a Common Anode LED. Simply invert your PWM values in the Arduino IDE. Since 8-bit PWM ranges from 0 to 255, subtract your desired brightness from 255:
// Common Anode RGB LED Calibration
const int redPin = 3;
const int greenPin = 5;
const int bluePin = 6;

void setup() {
  pinMode(redPin, OUTPUT);
  pinMode(greenPin, OUTPUT);
  pinMode(bluePin, OUTPUT);
}

void setColor(int r, int g, int b) {
  // Invert values for Common Anode
  analogWrite(redPin, 255 - r);
  analogWrite(greenPin, 255 - g);
  analogWrite(bluePin, 255 - b);
}

void loop() {
  setColor(255, 0, 0); // Displays Red
  delay(1000);
  setColor(0, 255, 0); // Displays Green
  delay(1000);
}
PWM Timer Conflicts: Why Your LED Flickers
Flickering or complete loss of color control often occurs when you introduce other libraries into your sketch, most notably the Servo.h library or certain IR receiver libraries. This is due to hardware timer conflicts on the microcontroller.
The ATmega328P Timer Map (Uno R3 / Nano)
The Arduino analogWrite() function relies on hardware timers to generate the PWM square wave. According to the official Arduino analogWrite() reference, the pins are tied to specific timers:
- Timer 0: Pins 5, 6 (Also handles
millis()anddelay()- altering this breaks timing functions). - Timer 1: Pins 9, 10 (16-bit timer, heavily used by the
Servolibrary). - Timer 2: Pins 3, 11 (8-bit timer, often used by
tone()or IR libraries).
The Failure Mode: If you wire your RGB LED to Pins 9, 10, and 11, and then attach a Servo motor using Servo.h, the library takes exclusive control of Timer 1. Pins 9 and 10 will immediately lose PWM capability and default to static HIGH/LOW outputs, destroying your color mixing.
The Fix: Always wire your RGB LED to Pins 3, 5, and 6 if you plan to use servos or audio tones in the same sketch. This isolates your color channels from Timer 1 and Timer 2 conflicts.
Modern Boards: Arduino Uno R4 Minima & WiFi
If you have upgraded to the Uno R4 series in 2026, the RA4M1 ARM Cortex-M4 chip handles PWM via a completely different architecture. The R4 does not suffer from the same rigid timer-library conflicts as the R3, and it features a 12-bit DAC for true analog output on specific pins. However, standard analogWrite() still defaults to 8-bit (0-255) for backward compatibility. If you want smoother color gradients on the R4, you can change the PWM resolution in your setup function:
void setup() {
  // Increase PWM resolution to 12-bit (0-4095) on Uno R4
  analogWriteResolution(12);
}
Advanced Color Calibration: Gamma Correction
If your hardware is flawless, your pins are correct, but the colors still look 'wrong' or overly harsh at low brightness, you are fighting human biology. The Arduino outputs PWM linearly, but the human eye perceives brightness logarithmically. A PWM value of 128 (50% duty cycle) appears roughly 80% bright to the human eye.
To achieve smooth, accurate fades and true color mixing, you must implement a Gamma Correction Lookup Table. This maps linear input values to non-linear PWM outputs, compensating for human perception. You can find detailed implementation strategies for gamma correction tables in the Arduino Microcontrollers Analog Output Guide.
Summary Checklist for a Perfect RGB Circuit
- Verify LED type (Common Cathode vs. Anode) and match code logic.
- Use three independent resistors (e.g., 220Ω, 150Ω, 150Ω) on the color legs.
- Assign pins to 3, 5, and 6 to avoid Servo/Timer1 conflicts on legacy boards.
- Ensure jumper wires are short to minimize voltage drop and parasitic capacitance.
- Apply gamma correction in software for professional-grade color fading.
By methodically isolating hardware current limits from software timer mappings, you can eliminate 99% of all Arduino RGB LED anomalies and build robust, visually accurate lighting projects.