
The Workflow Paradigm Shift: Spot Checks vs. Continuous Acquisition
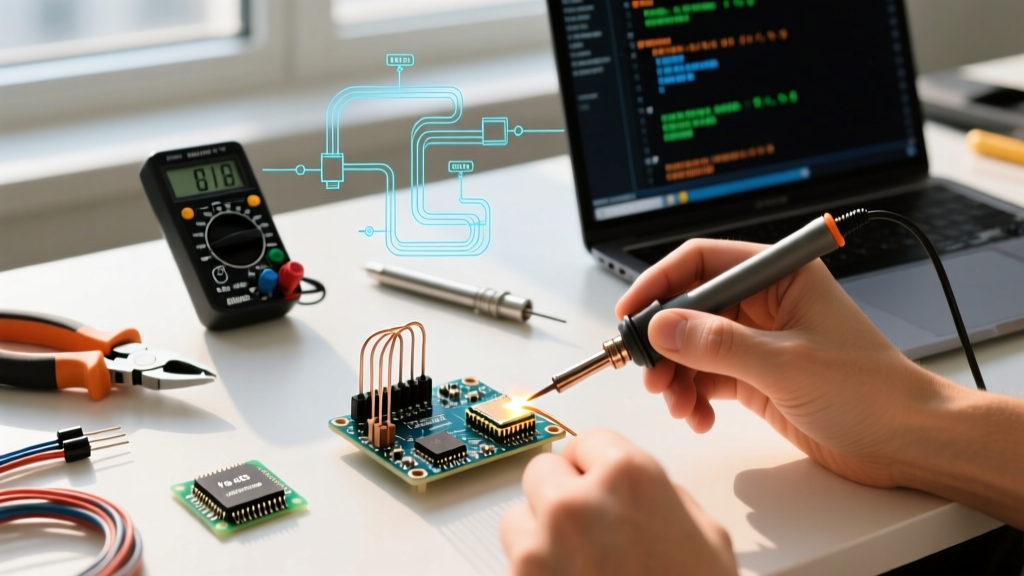
For decades, the digital multimeter (DMM) has been the undisputed king of the electronics workbench. However, standard DMMs are fundamentally designed for spot-checking. When your workflow requires characterizing a battery discharge curve over 12 hours, capturing a 500mA inrush current spike during microcontroller wake-up, or running automated pass/fail tests on a batch of assembled PCBs, a handheld DMM becomes a bottleneck. This is where deploying an Arduino as multimeter hardware node transforms your testing workflow from manual observation to automated, continuous data acquisition.
By integrating precision external ADCs, dedicated current shunts, and I2C isolation, a $15 microcontroller ecosystem can replicate the data-logging capabilities of a $500+ benchtop meter. More importantly, it natively integrates with modern software stacks like Python and Pandas, allowing you to build custom dashboards, trigger-based alerts, and automated test jigs that standard multimeters simply cannot match.
Overcoming the Internal ADC Bottleneck
The most common mistake makers make when building an Arduino-based measurement rig is relying on the ATmega328P’s internal 10-bit analog-to-digital converter (ADC). With a default 5V reference, the internal ADC yields a resolution of roughly 4.88mV per step. Furthermore, the internal reference is prone to thermal drift and USB rail noise, making it entirely unsuitable for precision voltage measurement.
To optimize your workflow for actual diagnostic value, you must bypass the internal ADC and use an external, high-resolution I2C or SPI ADC. The Texas Instruments ADS1115 is the industry standard for this application. It offers 16-bit resolution and a programmable gain amplifier (PGA).
Resolution Comparison Matrix
| ADC Architecture | Resolution | Voltage Range (Default) | Step Size (LSB) | Workflow Suitability |
|---|---|---|---|---|
| ATmega328P Internal | 10-bit | 0 - 5.0V | 4.88 mV | Rough prototyping only; high noise |
| ADS1115 (PGA @ 4.096V) | 16-bit | 0 - 4.096V | 0.125 mV | Excellent for precision bench logging |
| ADS1256 (24-bit SPI) | 24-bit | 0 - 5.0V | ~0.0003 mV | Overkill for general MCU; slow sample rate |
By configuring the ADS1115 to the 4.096V full-scale range, you achieve a theoretical resolution of 0.125mV. This is sufficient to measure the forward voltage drop of an LED or the precise resting voltage of a LiPo cell to within a few millivolts, provided your front-end signal conditioning is properly designed.
Designing the Voltage Sensing Front-End
You cannot wire a 12V or 24V source directly into an I2C ADC. You must scale the voltage down using a resistive voltage divider. However, the implementation of this divider dictates the accuracy of your entire Arduino as multimeter rig.
The High-Impedance Trap
Suppose you are measuring a 0-30V DC source using a 100kΩ and 10kΩ resistor divider. This scales 30V down to a safe 2.72V. However, the Thevenin equivalent impedance of this divider is roughly 9kΩ. While the ADS1115 datasheet recommends a source impedance of less than 10kΩ, operating near this limit introduces significant sampling capacitor charging errors, leading to non-linear readings and ghost voltages on adjacent ADC channels.
The Workflow Optimization: Insert a rail-to-rail operational amplifier configured as a unity-gain buffer (voltage follower) between the divider and the ADC. Using a low-cost, dual op-amp like the MCP6002 or LM358 ensures that the ADC sees an ultra-low impedance source (<10Ω), completely eliminating sampling errors and allowing you to use higher-value divider resistors (e.g., 1MΩ/100kΩ) to minimize the burden on the circuit under test.
Current Sensing: Shunts vs. Hall Effect
For current measurement, many hobbyist tutorials recommend the ACS712 Hall-effect sensor. From a professional workflow perspective, the ACS712 is highly suboptimal. It is ratiometric (meaning its output drifts if the 5V supply sags), suffers from severe temperature drift, and has a high noise floor that obscures low-current sleep states of modern microcontrollers.
Instead, utilize the Texas Instruments INA219. This I2C current/power monitor features a dedicated 12-bit delta-sigma ADC and an internal shunt. A standard module equipped with a 0.1Ω shunt resistor can measure up to 3.2A with a resolution of 0.8mA. Because the INA219 handles the differential amplification and ADC conversion internally, it offloads the I2C bus from analog noise and provides direct digital readouts of both current and bus voltage simultaneously.
Expert Calibration Tip: The factory 0.1Ω shunt on cheap INA219 breakout boards often has a 1% to 5% tolerance. To achieve true multimeter-grade accuracy, measure your specific shunt resistor with a 5.5-digit bench DMM, calculate the exact resistance, and update the
cal_valuevariable in your Arduino sketch. This single 5-minute step reduces current measurement error from ~3% down to <0.2%.
Software Workflow: Bridging Serial to Python Dashboards
The true advantage of an Arduino-based test rig is data portability. Relying on the Arduino IDE Serial Monitor is a manual, inefficient workflow. To optimize your testing pipeline, format your microcontroller output as comma-separated values (CSV) and ingest it directly into a Python environment.
- Firmware Output: Configure your Arduino sketch to output data strictly as
timestamp_ms, voltage_v, current_maat a fixed baud rate (e.g., 115200). Avoid printing debug strings to the serial port during acquisition to prevent timing jitter. - Python Ingestion: Use the
pyseriallibrary to open the COM port and stream the data line-by-line into a Python queue. - Data Processing: Pipe the stream into a
pandasDataFrame. This allows you to apply rolling averages to filter out high-frequency noise without modifying the microcontroller firmware. - Visualization: Use
matplotliborplotlyto render live-updating charts. For automated test jigs, write a simple script that calculates the integral of the current over time (Coulomb counting) to automatically verify battery capacity.
This software stack turns a basic microcontroller into a programmable virtual instrument, enabling unattended testing that would otherwise require a $1,200 benchtop data acquisition (DAQ) unit.
Real-World Failure Modes and Edge Cases
When deploying an Arduino as multimeter in a real-world lab or manufacturing environment, you will encounter edge cases that standard DMMs handle internally but DIY rigs expose.
I2C Bus Capacitance and Timing
If your Arduino is housed in an enclosure and connected to the ADS1115 and INA219 via cables longer than 30cm, the parasitic capacitance of the wires will degrade the I2C signal edges, causing silent data corruption or bus lockups. Solution: Decrease the I2C pull-up resistors from the standard 4.7kΩ to 2.2kΩ or 1kΩ to sharpen the rise times, or use an I2C bus extender like the P82B715 for runs exceeding 1 meter.
Ground Loops in PC-Powered Testing
When measuring a device that is also powered via USB from the same PC hosting your Python dashboard, you create a ground loop. The return current from the device under test (DUT) will flow through the Arduino's ground plane, introducing millivolt-level offsets in your voltage readings. Solution: Power the Arduino measurement node from an isolated DC-DC converter or a dedicated battery bank, ensuring the only electrical connection to the DUT is the isolated measurement probes.
Cost vs. Capability Matrix
To contextualize the ROI of building an automated Arduino test node, consider the following market comparison for low-frequency DC logging workflows.
| Equipment Setup | Approx. Cost (2026) | Voltage Resolution | Automated PC Logging | Custom Trigger Logic |
|---|---|---|---|---|
| Fluke 87V Industrial DMM | $420.00 | 100 µV | No (Manual/Optional Adapter) | No |
| Brymen BM235 (EEVblog) | $115.00 | 10 µV | Via USB Opto-Adapter | No |
| Arduino Nano + ADS1115 + INA219 | $18.50 | 125 µV | Native (Python/Serial) | Yes (Firmware Defined) |
While the Fluke and Brymen units offer superior absolute accuracy, input protection, and safety ratings (CAT III/IV) for mains voltage work, they lack the flexible, programmable workflow required for automated embedded systems testing. The Arduino-based rig is not a replacement for safety-critical high-voltage diagnostics, but it is the ultimate workflow optimizer for low-voltage DC characterization, battery profiling, and IoT device power analysis.
Final Thoughts on Input Protection
Unlike a commercial multimeter, a raw DIY rig lacks internal PTC fuses and high-energy MOVs. Always place a fast-acting glass fuse (e.g., 500mA) on your current sensing input, and use 3.3V or 5.1V Zener diodes on your voltage divider outputs to clamp transient spikes before they reach your sensitive I2C ADCs. Proper protection ensures your automated test workflow remains uninterrupted by catastrophic component failure.
For more details on configuring analog references and avoiding common grounding issues, refer to the Arduino Analog Reference Documentation.