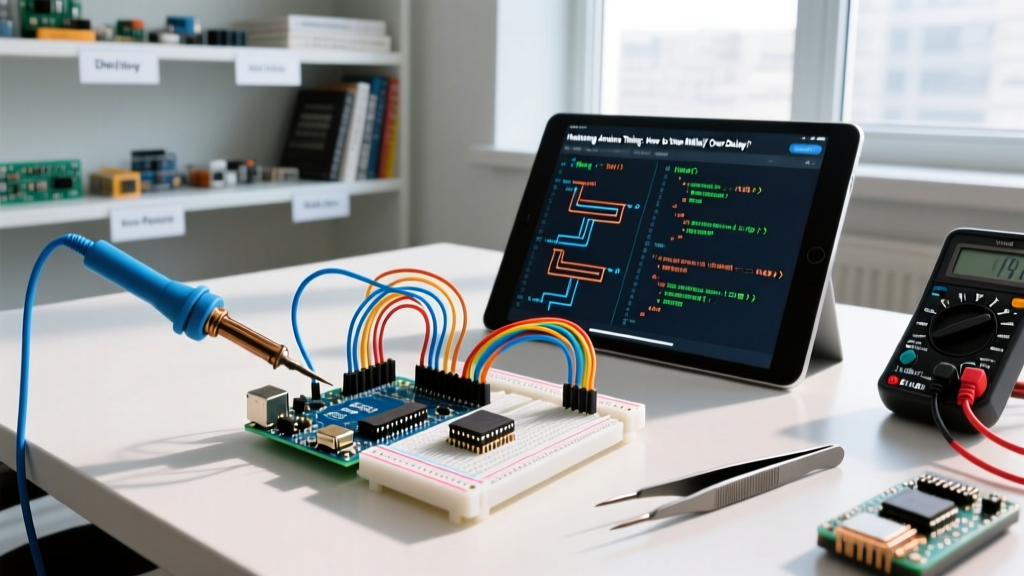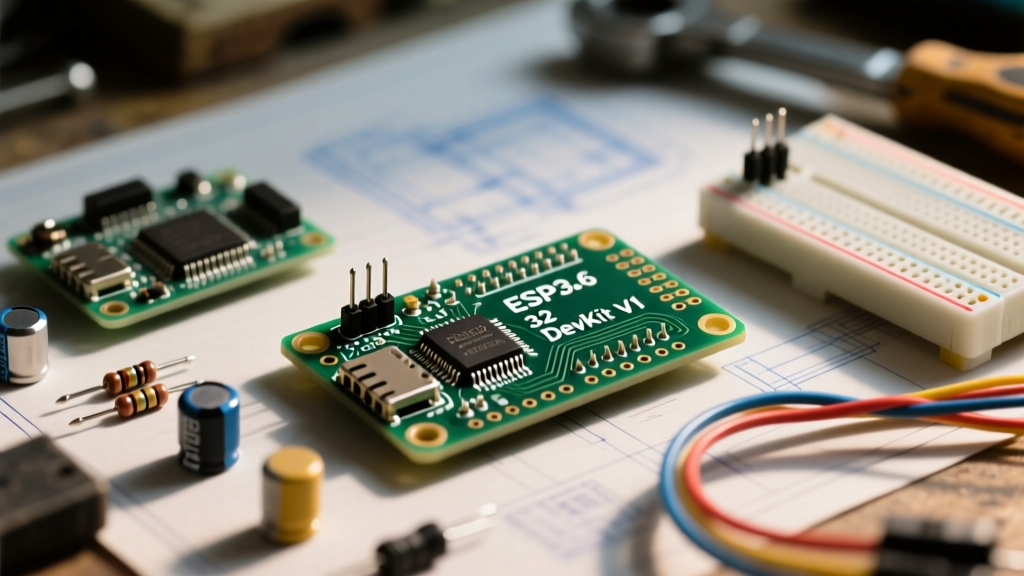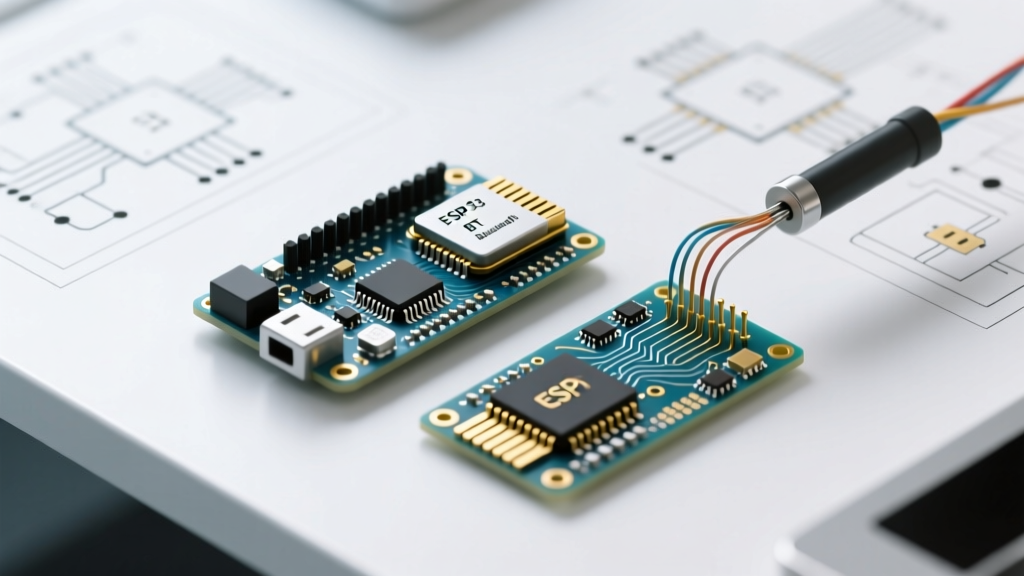

The Legacy of the Arduino BT: A Pioneer in Wireless Making
Long before the ESP32 dominated the maker space and Bluetooth Low Energy (BLE) became a standard, the Arduino BT stood as a groundbreaking piece of hardware. Released in the late 2000s, it was the first official Arduino board to integrate wireless connectivity natively, allowing makers to untether their projects from the USB cable. For vintage hardware collectors, educators maintaining legacy lab kits, and engineers troubleshooting long-deployed industrial sensors, the Arduino BT remains a fascinating piece of microcontroller history.
However, working with the Arduino BT in 2026 presents unique challenges. The board is officially discontinued, the Bluetooth Classic Serial Port Profile (SPP) it relies on is heavily restricted on modern iOS and Android 12+ devices, and replacement components are scarce. This community resource roundup explores how to maintain, restore, and extract value from the classic Arduino BT, while providing a definitive migration guide to modern Bluetooth microcontrollers for new designs.
Inside the Board: ATmega328P Meets Bluegiga WT11
To effectively troubleshoot or modify the Arduino BT, you must understand its dual-chip architecture. The board is essentially two distinct systems sharing a single PCB:
- The Microcontroller: An ATmega328P running at 16MHz, identical to the Arduino Uno, but loaded with a custom Optiboot bootloader configured for 115200 baud to match the Bluetooth module.
- The Wireless Module: A Bluegiga WT11A Bluetooth 2.0+EDR module. This module runs its own proprietary operating system called iWrap and acts as a transparent serial-to-Bluetooth bridge.
Critical Hardware Specs & Known Failure Modes
The integration between the ATmega and the WT11 was elegant but fragile. The WT11's PIO (Programmable I/O) pins were directly tied to the ATmega's RESET line. When a Bluetooth connection was established, the WT11 would pulse the reset pin, triggering the Optiboot bootloader and enabling Over-The-Air (OTA) programming. Over the years, the community has documented several specific failure modes:
- LDO Voltage Regulator Failure: The WT11 requires a stable 3.3V supply, while the ATmega runs at 5V. The onboard 3.3V LDO (often an LP2985) is prone to thermal failure if the board is powered via the barrel jack with an unregulated 9V-12V wall wart. If the WT11 fails to power up, the ATmega will run its sketch, but no Bluetooth pairing will be possible.
- iWrap Firmware Corruption: Sending malformed AT commands via the serial monitor at the wrong baud rate can corrupt the WT11's internal flash. A bricked WT11 will not respond to
SET BTqueries. - Level Shifter Degradation: The board uses a complex network of MOSFETs and resistors to level-shift the 5V ATmega TX/RX lines to the 3.3V WT11 pins. Cold solder joints on these discrete components frequently cause one-way serial communication (e.g., you can receive data on your PC, but cannot upload sketches).
Community Callout: WT11 Firmware Recovery
If your WT11 module is unresponsive, the community-developed recovery method involves using a USBasp ISP programmer to flash a custom 'dummy' bootloader to the ATmega that continuously outputs a hardcoded recovery string to the WT11's RX pin at 38400 baud, forcing the WT11 into DFU (Device Firmware Update) mode. You can find the recovery scripts on GitHub by searching for 'WT11 iWrap DFU recovery arduino'.
2026 Community Resource Roundup: Keeping the BT Alive
While the Arduino Official Documentation has archived the legacy hardware pages, the open-source community has preserved the knowledge required to keep these boards operational. Here are the most valuable community resources for Arduino BT owners today:
1. Custom Bootloader Compilations
The original Arduino BT bootloader consumed nearly 2KB of flash space. Modern community forks of Optiboot have reduced this to 512 bytes while maintaining the 115200 baud rate required for WT11 compatibility. Compiling these requires defining -DBAUD_RATE=115200 and -DLED=BUILTIN_LED in the Makefile before flashing via ICSP.
2. iWrap 4.0 AT Command Cheat Sheets
The WT11 module does not use standard Hayes AT commands. It uses Bluegiga's proprietary iWrap syntax. Community-maintained wikis provide essential translation tables. For example, to change the device name, you do not use AT+NAME; instead, you must enter command mode by sending a +++ escape sequence, waiting 1 second, and typing SET BT NAME "MySensor".
3. Level-Shifting Bypass Mods
For boards with degraded logic level shifters, makers have documented hardware modifications to bypass the faulty traces. By carefully cutting the trace from the ATmega TX pin and routing it through a standalone BSS138 bidirectional logic level converter module (costing roughly $1.50), you can restore reliable OTA uploads.
Modern Bluetooth MCU Alternatives: What to Use Today
If you are starting a new project in 2026, relying on Bluetooth Classic SPP (which the Arduino BT uses) is highly discouraged. Apple devices do not support SPP without MFi certification, and Android heavily restricts it. The industry has entirely shifted to Bluetooth Low Energy (BLE) using GATT (Generic Attribute Profile) servers. Below is a comparison of the best modern alternatives to the Arduino BT.
| Feature | Classic Arduino BT (Legacy) | ESP32-C3 SuperMini | Adafruit Feather nRF52840 | Arduino Nano 33 BLE Sense Rev2 |
|---|---|---|---|---|
| Architecture | AVR 8-bit (ATmega328P) | RISC-V 32-bit | ARM Cortex-M4F 32-bit | ARM Cortex-M4F 32-bit |
| Wireless Protocol | Bluetooth 2.0 Classic (SPP) | Wi-Fi 4 + Bluetooth 5 (LE) | Bluetooth 5.0 (LE) + NFC | Bluetooth 5.0 (LE) |
| Typical 2026 Price | $65+ (eBay / Used) | $3.50 - $5.00 | $24.95 (MSRP) | $48.00 (MSRP) |
| OTA Programming | Native (via WT11 Reset) | Native (Wi-Fi or BLE OTA) | Native (via AdafruitOTA) | Supported via BLE |
| Deep Sleep Current | ~15 mA (WT11 Sniff Mode) | ~5 µA | ~2.7 µA | ~3.2 µA |
| iOS Compatibility | No (Requires MFi) | Yes (via BLE / WebSerial) | Yes (Native BLE) | Yes (Native BLE) |
Deep Dive: The ESP32-C3 SuperMini
According to the Espressif ESP32-C3 Technical Reference, this chip represents the ultimate budget replacement for legacy wireless Arduino boards. Priced under $5, it offers a RISC-V core, native USB-C, and Bluetooth 5 LE. However, migrating from the Arduino BT requires a paradigm shift in your code.
Deep Dive: Nordic nRF52840 Ecosystem
For ultra-low-power sensor nodes, the Nordic Semiconductor nRF52840 remains the gold standard. Its advanced power management allows coin-cell-operated BLE beacons to run for years, a stark contrast to the Arduino BT which would drain a 9V battery in a matter of hours.
Migration Guide: Classic SPP to Modern BLE
The most significant hurdle for makers upgrading from the Arduino BT is the software architecture. The Arduino BT treated Bluetooth as a simple serial cable. You wrote Serial.print("Temp: 25C"); and it appeared on your PC's COM port. BLE does not work this way.
Understanding GATT Services and Characteristics
In BLE, data is organized into a hierarchy:
- Profile: The overall application (e.g., Health Thermometer Profile).
- Service: A collection of related data (e.g., Environmental Sensing Service, UUID
0x181A). - Characteristic: The actual data point (e.g., Temperature Measurement, UUID
0x2A1C).
To emulate the old serial behavior, the community relies on the Nordic UART Service (NUS). NUS uses two specific 128-bit UUIDs to create a virtual TX and RX pipe over BLE.
Code Migration Example
Legacy Arduino BT Code:
void setup() {
  Serial.begin(115200); // WT11 handles the wireless bridge
}
void loop() {
  int sensorVal = analogRead(A0);
  Serial.println(sensorVal);
  delay(1000);
}
Modern ESP32 BLE Code (using NimBLE):
#include <NimBLEDevice.h>

// Nordic UART Service UUIDs
#define SERVICE_UUID        "6E400001-B5A3-F393-E0A9-E50E24DCCA9E"
#define CHARACTERISTIC_UUID_RX "6E400002-B5A3-F393-E0A9-E50E24DCCA9E"
#define CHARACTERISTIC_UUID_TX "6E400003-B5A3-F393-E0A9-E50E24DCCA9E"

BLECharacteristic *pCharacteristic;

void setup() {
  NimBLEDevice::init("ModernSensor");
  NimBLEServer *pServer = NimBLEDevice::createServer();
  NimBLEService *pService = pServer->createService(SERVICE_UUID);

  pCharacteristic = pService->createCharacteristic(
    CHARACTERISTIC_UUID_TX, NIMBLE_PROPERTY::NOTIFY
  );
  pService->start();
  // Start advertising...
}

void loop() {
  int sensorVal = analogRead(A0);
  String payload = String(sensorVal);
  pCharacteristic->setValue(payload.c_str());
  pCharacteristic->notify();
  delay(1000);
}
Power Profiling: Legacy vs. Modern Bluetooth LE
One of the primary reasons the Arduino BT was relegated to indoor, plugged-in projects was its abysmal power efficiency. The Bluegiga WT11 module, even in its lowest power 'sniff' mode, drew approximately 15mA to 20mA continuously to maintain the SPP link.
Modern BLE 5.0 devices utilize connection intervals and advertising packets. An ESP32-C3 or nRF52840 can advertise its presence drawing only 10 µA to 50 µA on average. When a central device (like a smartphone) connects, the MCU wakes up, transfers the sensor payload in under 3 milliseconds, and returns to deep sleep. This allows modern BLE sensors to operate on a single CR2032 coin cell for 2 to 5 years, making them viable for remote agricultural monitoring, structural health sensing, and wearable tech—applications that were physically impossible with the Arduino BT.
Final Verdict for Makers
The Arduino BT will forever hold a respected place in the Arduino Community Forums as the board that proved wireless microcontrollers were accessible to hobbyists. If you possess one, leverage the community bootloaders and iWrap recovery scripts to keep it functional for desktop-based educational demonstrations or retro-computing interfaces where Bluetooth Classic is still supported.
However, for any new deployment in 2026—especially those requiring mobile app integration, low-power battery operation, or mesh networking—abandon the SPP paradigm entirely. Adopt an ESP32-C3 for budget-constrained Wi-Fi/BLE combo projects, or invest in the nRF52840 ecosystem for professional-grade, ultra-low-power BLE sensor networks. The transition from serial strings to GATT characteristics requires a weekend of learning, but the reliability and power savings are indispensable for modern electronics design.