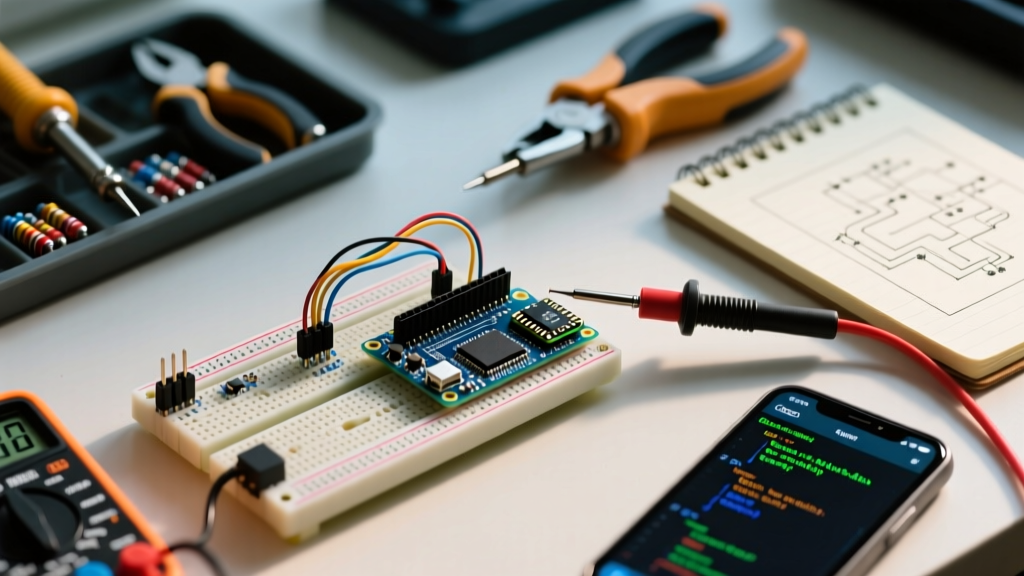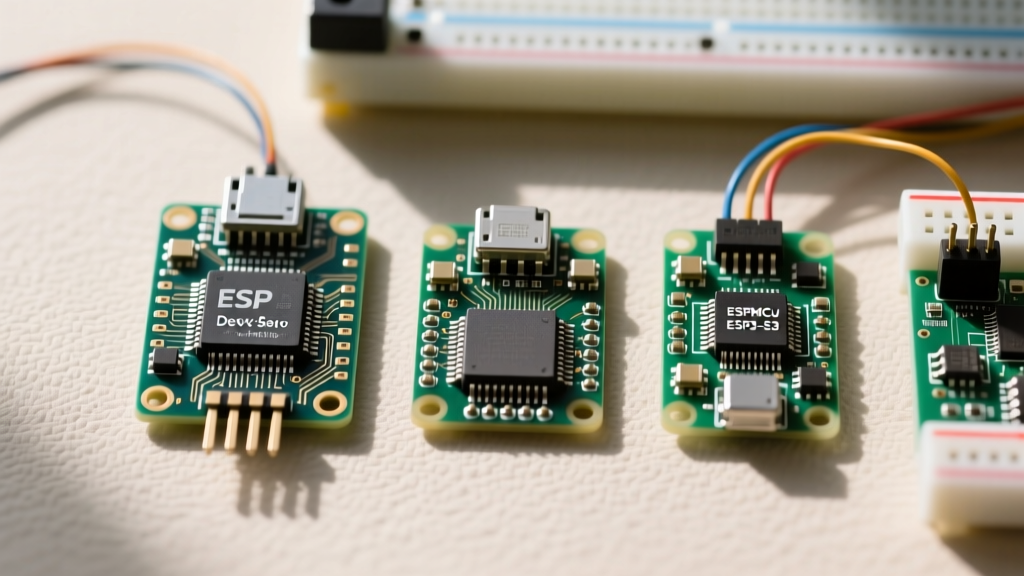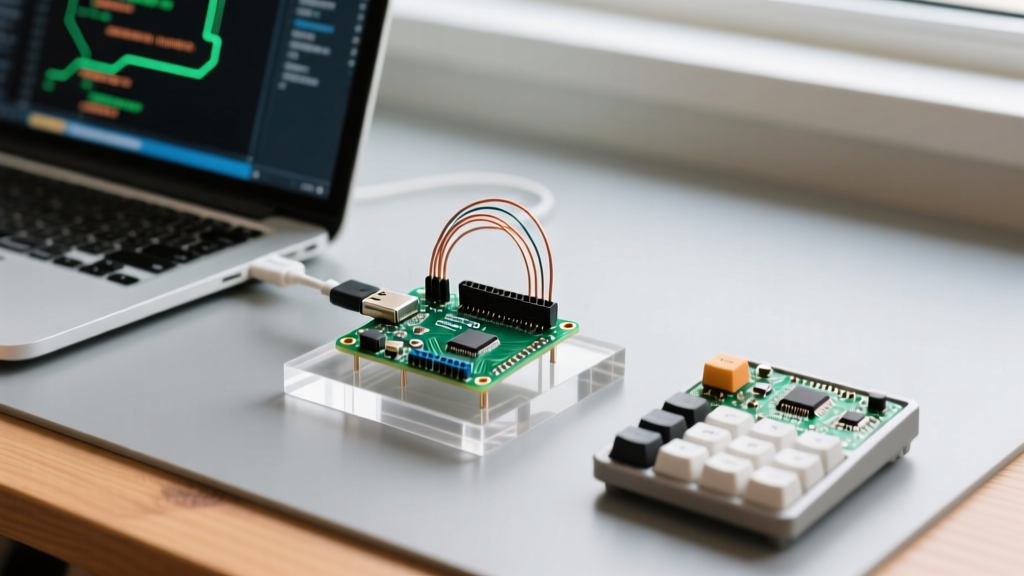

The Hardware Reality: Why Chip Architecture Matters
Most makers treat the concept of using an Arduino as a keyboard as a novelty project—perhaps to build a single-button 'mute' switch for video calls. However, in 2026, with the rise of complex remote work software suites, parametric CAD tools, and non-linear video editors, custom Human Interface Device (HID) macro pads are vital workflow optimization tools. By offloading repetitive keystroke combinations to dedicated physical interfaces, you reduce cognitive load and physical strain.
Before writing a single line of code, you must select the correct microcontroller. Not all Arduinos can natively emulate a keyboard. The standard Arduino Uno relies on the ATmega328P for logic and a secondary ATmega16U2 chip for USB-to-Serial conversion. To use an Uno as a keyboard, you must flash custom firmware directly to the 16U2 chip—a tedious process that breaks standard serial uploading. Instead, workflow optimization demands boards with native USB HID support via the ATmega32U4 chip.
MCU Selection Matrix for HID Workflows
| Microcontroller Board | Core Chip | Native HID Support | Approx. Cost (2026) | Best Use Case |
|---|---|---|---|---|
| SparkFun Pro Micro | ATmega32U4 | Yes (Native) | $22 (Genuine) / $5 (Clone) | Compact custom macro pads, integrated rotary encoders |
| Arduino Leonardo | ATmega32U4 | Yes (Native) | $26 | Beginner prototyping, full-sized keyboard builds |
| Arduino Uno R3 | ATmega328P + 16U2 | No (Requires Firmware Flash) | $28 | Avoid for HID; stick to standard serial projects |
| Seeed Studio XIAO RP2040 | RP2040 | Yes (via TinyUSB) | $14 | Advanced workflows requiring TinyUSB consumer controls |
For dedicated desktop workflow optimization, the SparkFun Pro Micro (or its readily available $5 clones) is the undisputed champion. Its breadboard-friendly footprint allows you to wire up mechanical keyswitches and rotary encoders without the bulk of a full Arduino Leonardo.
Designing the Ultimate Workflow Macro Pad
Optimizing a workflow requires mapping physical inputs to software bottlenecks. Let us explore two high-value scenarios where an Arduino HID setup drastically reduces project completion times.
Scenario A: Non-Linear Video Editing (NLE)
Video editors using Adobe Premiere Pro or DaVinci Resolve rely heavily on the J-K-L shuttle keys for timeline scrubbing. Repeatedly reaching for the keyboard breaks visual focus on the monitors. By building a 3-button arcade-style macro pad mapped to J (Reverse), K (Pause), and L (Forward), alongside a rotary encoder mapped to timeline zooming (\ and =), editors can keep their left hand on the mouse and their right hand on the tactile macro pad.
Scenario B: Parametric CAD Modeling
In Fusion 360 or SolidWorks, users frequently cycle through standard planes, isolate bodies, and trigger the 'Extrude' command. Mapping Shift+Right Click (Isolate) and E (Extrude) to heavy-duty mechanical switches (like Cherry MX Blues for tactile feedback) reduces the micro-movements required to navigate complex UI ribbons. According to ergonomic studies on repetitive strain, reducing mouse travel distance by utilizing macro keyboards can significantly decrease the risk of wrist fatigue over long 8-hour modeling sessions.
The Code: Bulletproof HID Implementation
The standard Arduino Keyboard.h library is sufficient for basic alphanumeric inputs. Below is a production-ready sketch for a 2-button macro pad with hardware debouncing. Notice the inclusion of a 'Safe Mode' failsafe—a critical addition often missing from beginner tutorials.
#include <Keyboard.h>

// Pin Definitions
const int BTN_EXTRUDE = 2;
const int BTN_ISOLATE = 3;
const int SAFE_MODE_PIN = 10; // Failsafe pin

// Debounce Variables
unsigned long lastDebounceTime = 0;
unsigned long debounceDelay = 5; // 5ms for mechanical switches

void setup() {
  pinMode(BTN_EXTRUDE, INPUT_PULLUP);
  pinMode(BTN_ISOLATE, INPUT_PULLUP);
  pinMode(SAFE_MODE_PIN, INPUT_PULLUP);

  // CRITICAL FAILSAFE: If Pin 10 is grounded on boot, do NOT initialize Keyboard.
  // This prevents 'boot-loop bricking' if a key gets stuck in code.
  if (digitalRead(SAFE_MODE_PIN) == LOW) {
    while(1); // Halt execution safely
  }

  Keyboard.begin();
}

void loop() {
  handleButton(BTN_EXTRUDE, 'e'); // Map to 'E' for Extrude
  handleComboButton(BTN_ISOLATE); // Map to Shift + Right Click
}

void handleButton(int pin, char key) {
  if (digitalRead(pin) == LOW) {
    if ((millis() - lastDebounceTime) > debounceDelay) {
      Keyboard.press(key);
      delay(50); // Hold duration
      Keyboard.release(key);
      lastDebounceTime = millis();
    }
  }
}

void handleComboButton(int pin) {
  if (digitalRead(pin) == LOW) {
    if ((millis() - lastDebounceTime) > debounceDelay) {
      Keyboard.press(KEY_LEFT_SHIFT);
      Keyboard.press(KEY_RIGHT_ARROW); // Substitute for Right Click via OS mapping
      delay(50);
      Keyboard.releaseAll();
      lastDebounceTime = millis();
    }
  }
}
Critical Edge Case: Preventing the 'Boot-Loop Brick'
When configuring an Arduino as a keyboard, the most common catastrophic failure is the 'infinite keystroke loop'. If you upload a sketch that triggers Keyboard.print() or Keyboard.press() continuously without a physical button state check or a delay, the microcontroller will flood the host operating system with inputs the millisecond it is plugged in.
Expert Warning: If your Arduino floods the OS with inputs, it will hijack the mouse and keyboard queue, making it nearly impossible to click the 'Upload' button in the Arduino IDE to flash a corrected sketch. Always implement a 2-second delay in your setup() function, or use a dedicated 'Safe Mode' jumper pin (as shown in the code above) that halts HID initialization if grounded during boot.
To recover a bricked ATmega32U4 board, you must double-tap the reset button on the PCB exactly as the IDE finishes compiling and begins the 'Uploading...' phase. This forces the bootloader into a 8-second serial listening window before the malicious HID sketch can execute.
Advanced Optimization: Beyond Standard Keyboard Libraries
While the native Arduino Keyboard Library handles standard alphanumeric keys and basic modifiers (Ctrl, Alt, Shift), it completely lacks support for Consumer Control descriptors. This means you cannot natively map a button to 'Play/Pause', 'Volume Up', or 'Next Track' using the default library.
Integrating the HID-Project Library
For true workflow optimization, media keys and system controls are essential. To unlock the full USB HID descriptor tree, install the HID-Project library by Nico Hood via the Arduino Library Manager. This library expands your ATmega32U4's capabilities to include:
- Consumer Controls: Media playback, volume dials, and browser refresh.
- System Controls: Sleep, wake, and power management triggers.
- Raw HID: Direct communication with custom Python/C# desktop companion apps for dynamic macro updating without reflashing the MCU.
- Absolute Mouse: Useful for automated UI testing or digital signage calibration.
Rotary Encoders for Analog Workflows
Buttons are binary; workflows are often analog. Integrating a rotary encoder (like the EC11 series, costing roughly $1.50 each) allows for infinite scrolling. By wiring the CLK and DT pins to hardware interrupts on the Pro Micro (Pins 1, 2, 3, or 7), you can map clockwise rotation to Consumer.write(MEDIA_VOLUME_UP) and counter-clockwise to MEDIA_VOLUME_DOWN. For video editors, mapping the encoder to the Mouse.move() X-axis while holding a specific modifier key creates a physical jog wheel that mimics a $300 professional editing console like the Loupedeck or Blackmagic Speed Editor.
Conclusion: The ROI of Custom Silicon
Treating an Arduino as a keyboard is not merely a parlor trick; it is a highly effective method for reclaiming lost time in digital workflows. By investing $10 in an ATmega32U4 clone, a handful of mechanical switches, and leveraging robust libraries like HID-Project, you can build a highly specialized, tactile interface tailored exactly to your software's bottlenecks. Remember to respect the hardware architecture, implement failsafes against input flooding, and map your physical inputs directly to your most repetitive digital tasks.
For further reading on USB descriptor protocols and hardware integration, refer to the SparkFun Pro Micro Hookup Guide to ensure your wiring and driver configurations are optimized for native HID communication.