
The Architecture of Arduino and Android Integration
Combining the real-time hardware control of a microcontroller with the heavy computational power and rich UI of a smartphone is a foundational concept in modern embedded systems. When exploring Arduino and Android integration, you are essentially bridging a low-level I/O nervous system with a high-level cognitive brain. The microcontroller handles deterministic tasks—reading sensors at exact microsecond intervals, driving PWM motors, and managing interrupts—while the Android device handles complex data logging, cloud synchronization, machine learning inference, and graphical user interfaces.
However, bridging these two vastly different ecosystems requires a solid understanding of communication protocols, voltage logic levels, and OS-level permission structures. In 2026, the landscape of mobile-to-microcontroller communication has evolved significantly, particularly regarding wireless protocols and Android's tightening security sandbox. This guide breaks down the three primary physical layers for connecting Arduino and Android devices: USB OTG, Bluetooth (Classic and BLE), and Wi-Fi via ESP32.
Protocol Comparison Matrix: USB vs. Bluetooth vs. Wi-Fi
Choosing the right physical transport layer depends entirely on your project's constraints regarding latency, range, power consumption, and budget. Below is a comparative analysis of the standard modules used in maker and prototyping environments.
| Protocol | Standard Hardware | Avg. Latency | Range | Power Draw (Active) | Approx. Cost (2026) |
|---|---|---|---|---|---|
| USB OTG (Wired) | Arduino Uno R4 / Nano | < 1 ms | 1-2 Meters | ~20-50 mA | $12 - $22 |
| Bluetooth Classic | HC-05 Module | 15 - 30 ms | 10 Meters | ~30 mA (Paired) | $5 - $8 |
| Bluetooth Low Energy | HM-10 / ESP32 BLE | 10 - 40 ms | 15-50 Meters | ~12 mA (Burst) | $4 - $7 |
| Wi-Fi (TCP/MQTT) | ESP32-WROOM-32E | 20 - 100 ms | 50+ Meters | ~160-240 mA (Tx) | $6 - $10 |
Deep Dive 1: USB OTG and Android Open Accessory (AOA)
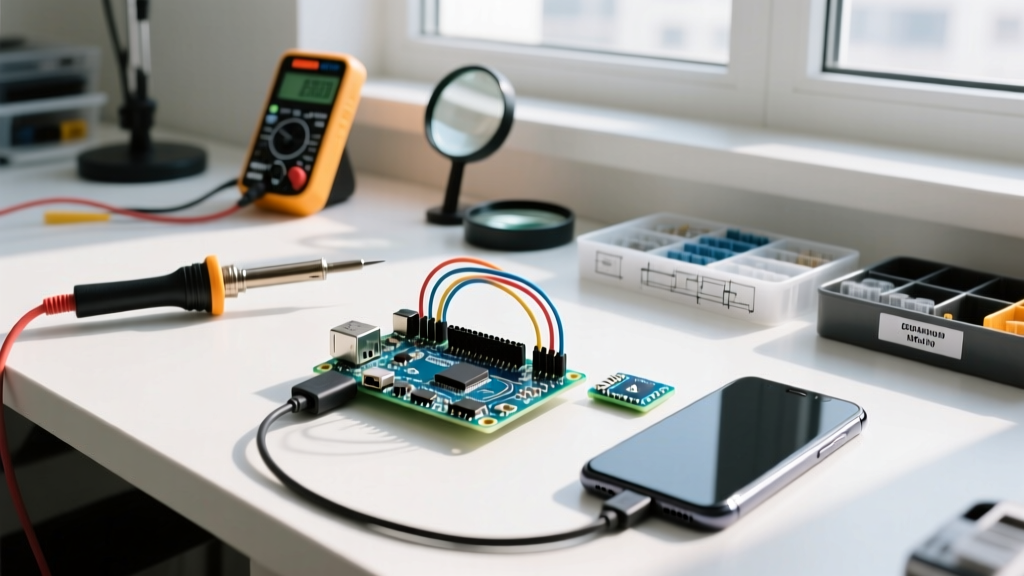
For applications requiring zero packet loss and ultra-low latency—such as real-time oscilloscope apps or robotic teleoperation—wired USB is the undisputed champion. Modern Android devices support USB On-The-Go (OTG), allowing the phone to act as the USB Host while the Arduino acts as the USB Device.
Hardware and Wiring Realities
To connect an Android phone to an Arduino Uno or Nano, you need a USB-C to USB-A OTG adapter (ensure it has the internal ID pin grounded to trigger host mode). The Arduino communicates via the CDC/ACM (Communication Device Class / Abstract Control Model) profile.
Critical Failure Mode: A common mistake among beginners is backpowering. If you connect an externally powered Arduino to an Android phone via USB without proper isolation, the Arduino's 5V rail can backfeed into the phone's USB-C port. This can trigger the phone's Over-Voltage Protection (OVP) and permanently damage the charging IC. Always power the Android device from its own battery, and if the Arduino needs external power, use a USB isolator chip like the ADuM4160 ($8-$12) to protect the phone.
Software Implementation
On the Arduino side, standard Serial.print() commands are routed through the ATmega16U2 (or CH340G on clones) to the Android device. On the Android side, developers utilize the Android USB Host API. You must declare a USB device filter in your AndroidManifest.xml to intercept the connection event automatically when the Arduino is plugged in.
Deep Dive 2: Bluetooth Classic vs. BLE (Wireless Freedom)
Wireless communication is where the Arduino and Android ecosystem truly shines for IoT and wearable projects. However, the transition from Bluetooth Classic to Bluetooth Low Energy (BLE) has introduced significant architectural shifts that developers must navigate.
The Deprecation of Bluetooth Classic (HC-05)
For over a decade, the HC-05 module was the default choice for wireless Arduino projects. It uses the Serial Port Profile (SPP) to create a virtual serial bridge. You wire the HC-05's TX/RX pins to the Arduino's RX/TX pins (using a voltage divider on the HC-05 RX pin to step 5V down to 3.3V) and communicate at 9600 baud.
However, Google has been aggressively deprecating SPP and Bluetooth Classic in recent Android versions to improve security and battery life. While HC-05 modules still work on older devices or specific industrial Android scanners, they are a dead end for modern consumer app development.
The BLE Paradigm Shift (HM-10 and ESP32)
Modern Arduino and Android integration relies on BLE. Modules like the HM-10 or the native BLE stack on an ESP32 do not use simple serial strings. Instead, they use a GATT (Generic Attribute Profile) server-client model. Data is organized into Services and Characteristics, identified by 128-bit UUIDs.
- Arduino Side: You write byte arrays to a specific Characteristic UUID rather than using
Serial.print(). - Android Side: The app must scan for the device, connect, discover services, and subscribe to notifications.
Android 12+ Permission Hurdle: If you are writing the Android app, be aware that Android 12 introduced granular Bluetooth permissions. You can no longer just request BLUETOOTH. You must dynamically request BLUETOOTH_SCAN and BLUETOOTH_CONNECT at runtime, and handle location permissions depending on the OS version. Failing to implement these runtime checks is the number one reason BLE apps crash on modern smartphones.
Deep Dive 3: Wi-Fi and MQTT via ESP32
When your project requires internet connectivity, long range, or integration with smart home ecosystems, Wi-Fi is the mandatory choice. While you can bolt an ESP8266 Wi-Fi shield onto an ATmega328P-based Arduino Uno, the 2KB SRAM limit of the ATmega chip makes parsing modern web protocols nearly impossible. The industry standard in 2026 is to use the ESP32-WROOM-32E as the primary microcontroller, programmed via the Arduino IDE.
Why MQTT Beats HTTP for Microcontrollers
Many beginners attempt to use HTTP REST APIs to send sensor data from an ESP32 to an Android app. This is highly inefficient. HTTP requires heavy TCP handshakes, TLS encryption overhead, and large header payloads. Instead, professional integrations use MQTT (Message Queuing Telemetry Transport).
MQTT is a lightweight publish/subscribe protocol. The ESP32 publishes a tiny JSON payload (e.g., {'temp': 22.5}) to a broker (like Mosquitto or AWS IoT Core), and the Android app subscribes to that exact topic. The MQTT specification ensures that the TCP connection stays open with minimal keep-alive pings, drastically reducing the ESP32's power consumption and latency.
Handling JSON on the MCU
When sending structured data between Arduino and Android, raw comma-separated strings are fragile. Use the ArduinoJson library on the ESP32 to serialize data. Because the ESP32 has 520KB of SRAM, it can easily handle JSON documents with dozens of nested key-value pairs, which would instantly cause a stack overflow on a classic Arduino Uno.
The Android Development Stack: Choosing Your Tool
How you build the Android side of your Arduino and Android project depends on your programming expertise and time-to-market requirements.
- MIT App Inventor / Thunkable: Block-based visual programming. Excellent for high school students and rapid prototyping. Includes drag-and-drop Bluetooth and Arduino components. Limitation: Poor UI customization and cannot handle complex multi-threaded data logging.
- Flutter (Dart): The current cross-platform darling. Using packages like
flutter_blue_plus, you can write one codebase that compiles to Android, iOS, and desktop. Ideal for commercial products requiring beautiful, custom UIs. - Native Kotlin / Java: The professional standard. Using the Arduino Serial protocols alongside Android's native
UsbManagerandBluetoothGattAPIs provides maximum control over background services, wake-locks, and raw byte manipulation. Requirement: Steep learning curve and requires Android Studio.
Summary and Best Practices
Successfully integrating Arduino and Android hardware requires matching the protocol to the physical constraints of your environment. Use USB OTG for high-speed, low-latency data acquisition where cables are acceptable. Transition to BLE (ESP32/HM-10) for battery-powered, short-range wearable sensors, ensuring you respect modern Android runtime permissions. Finally, leverage Wi-Fi and MQTT for distributed IoT networks where the Android device acts as a remote dashboard rather than a direct physical tether.
Always remember to respect logic level differences: Android devices and modern wireless modules operate at 3.3V, while classic 5V Arduinos will fry their RX pins without a simple resistor voltage divider or a bidirectional logic level shifter ($2-$4). By mastering these physical and software boundaries, you unlock the full potential of mobile-embedded computing.