
The Core Confusion: AVR Libc vs. Arduino API
When embedded engineers and makers transition from raw C/C++ environments or STM32 HAL development to the Arduino IDE, one of the most frequent hurdles is microsecond timing. If you have ever searched for delay_us arduino solutions, you have likely encountered a wall of compilation errors or erratic hardware behavior. The root cause is almost always a fundamental misunderstanding of how different abstraction layers handle sub-millisecond delays.
In standard AVR-GCC programming, developers rely on _delay_us() from the <util/delay.h> library. However, the Arduino API abstracts this entirely, providing its own delayMicroseconds() function. Attempting to use delay_us() or _delay_us() natively in an Arduino sketch without proper configuration leads to immediate compiler rejection or severe runtime timing inaccuracies. This guide provides a deep-dive diagnostic framework for resolving these errors, understanding architecture-specific limits, and eliminating interrupt-induced jitter.
The 'Not Declared in This Scope' Compilation Error
The most common error diagnosis begins with a failed compilation. You write a quick bit-banging routine for a sensor like the DHT22 or a custom 1-Wire protocol, insert delay_us(10);, and hit verify. The IDE halts with:
error: 'delay_us' was not declared in this scope
Diagnostic Breakdown: The Arduino IDE does not map delay_us to any native function by default. Furthermore, the actual AVR Libc function includes an underscore prefix: _delay_us(). To resolve this, you have two distinct paths depending on your project requirements.
Path A: Switch to the Arduino API (Recommended for 90% of Users)
Replace your code with the native Arduino function. This requires no additional includes and works universally across AVR, ARM, and ESP architectures.
// Incorrect
// delay_us(50);

// Correct
 delayMicroseconds(50);
According to the official Arduino language reference, delayMicroseconds() is highly calibrated for the specific clock speed of your target board, utilizing inline assembly on AVR chips to ensure cycle-accurate delays.
Path B: Invoke the AVR Libc Implementation
If you are strictly targeting an ATmega328P or ATmega2560 and require the specific mathematical loop provided by the GNU toolchain, you must include the header and use the exact syntax:
#include <util/delay.h>

void setup() {
  // Must use the underscore prefix
  _delay_us(50);
}
As documented in the AVR Libc Delay Utilities manual, this function relies on the compiler's optimization engine to calculate the exact number of NOP (No Operation) instructions required at compile time.
Architecture Mismatch: AVR vs. ARM vs. ESP32
A critical failure mode occurs when developers port code from an Arduino Uno (AVR) to an Arduino Zero (SAMD21) or an ESP32-WROOM-32E. The underlying hardware timers and clock speeds differ wildly, meaning a hardcoded loop that works on a 16 MHz ATmega328P will execute at the wrong speed on a 240 MHz ESP32.
| MCU Architecture | Standard API Function | Max Accurate Limit | Underlying Mechanism |
|---|---|---|---|
| ATmega328P (16 MHz) | delayMicroseconds() |
16,383 µs | Calibrated Assembly Loop |
| SAMD21G18A (48 MHz) | delayMicroseconds() |
~10,000 µs | Cycle-counting loop |
| ESP32 (240 MHz) | delayMicroseconds() |
~100,000 µs | Hardware Timer / ROM ets_delay_us |
| STM32F103 (72 MHz) | delayMicroseconds() |
~20,000 µs | SysTick / DWT Cycle Counter |
Edge Case Warning: On the 16 MHz AVR architecture, passing a value greater than 16383 to delayMicroseconds() will result in an integer overflow within the assembly loop, causing a drastically shorter delay than expected. If you need a delay of 20,000 µs (20 ms) on an Arduino Uno, you must use delay(20) instead.
The Compiler Optimization Trap (-Os vs -O0)
If you chose Path B and are using _delay_us() from <util/delay.h>, you might encounter a massive binary size bloat or a warning stating that the delay is not a compile-time constant.
The AVR Libc delay functions require the compiler to know the exact value of the delay before the code is compiled so it can unroll the loops. Furthermore, they require compiler optimization to be enabled (the Arduino IDE uses -Os by default to optimize for size). If you attempt to pass a variable into _delay_us(variable), the compiler cannot pre-calculate the loop iterations. It will generate a massive, bloated floating-point math library to calculate the delay at runtime, often exceeding the Uno's 32KB flash limit and causing a 'Sketch too big' compilation error.
The Fix: Never pass dynamic variables into _delay_us(). If your delay must be dynamic, you are forced to use the Arduino API delayMicroseconds(), which handles variables gracefully via a calibrated runtime loop. You can inspect the exact assembly implementation in the ArduinoCore-avr wiring.c source code to see how the runtime variable loop is constructed.
Real-World Edge Case: Interrupt Jitter
When diagnosing timing errors in protocols like WS2812B (NeoPixel) LED driving or ultrasonic sensor pulse-in measurements, developers often find that their microsecond delays are inexplicably stretching. A 5 µs delay might occasionally measure as 15 µs on an oscilloscope.
The Culprit: Timer0 Overflow Interrupts. By default, the Arduino core uses Timer0 to handle millis() and delay(). This interrupt fires approximately every 1 ms (1000 µs). If your microsecond delay routine is executing precisely when the ISR (Interrupt Service Routine) fires, the CPU pauses your delay loop, services the interrupt (which takes roughly 5-10 µs), and then resumes.
Diagnostic Solution
For strictly time-critical bit-banging operations, you must temporarily disable interrupts. Wrap your timing block as follows:
noInterrupts();
delayMicroseconds(5);
// Trigger pin HIGH/LOW
interrupts();
Note: Disabling interrupts for longer than 100 µs will cause millis() to lose time and can disrupt Serial communication buffers. Use this surgical approach only for the exact microseconds required.
The Legacy 'Zero Delay' Bug
If you are maintaining legacy code or working with older third-party AVR board cores (pre-2018), calling delayMicroseconds(0) will not result in a zero-microsecond delay. Due to an underflow bug in the original assembly implementation, passing 0 caused the loop counter to roll over to its maximum integer value, resulting in a blocking delay of roughly 16 milliseconds. While this has been patched in modern official Arduino cores, it remains a vital diagnostic checkpoint if you are porting old libraries to modern hardware and experiencing mysterious 16ms hangs.
Diagnostic Checklist for Microsecond Timing Failures
When your hardware fails to initialize or data sheets report timing violations, run through this structured diagnostic flow:
- Verify Syntax: Ensure you are using
delayMicroseconds()(camelCase) and notdelay_us(). - Check Architecture Limits: Confirm your requested delay does not exceed the 16383 µs limit on 16 MHz AVR boards.
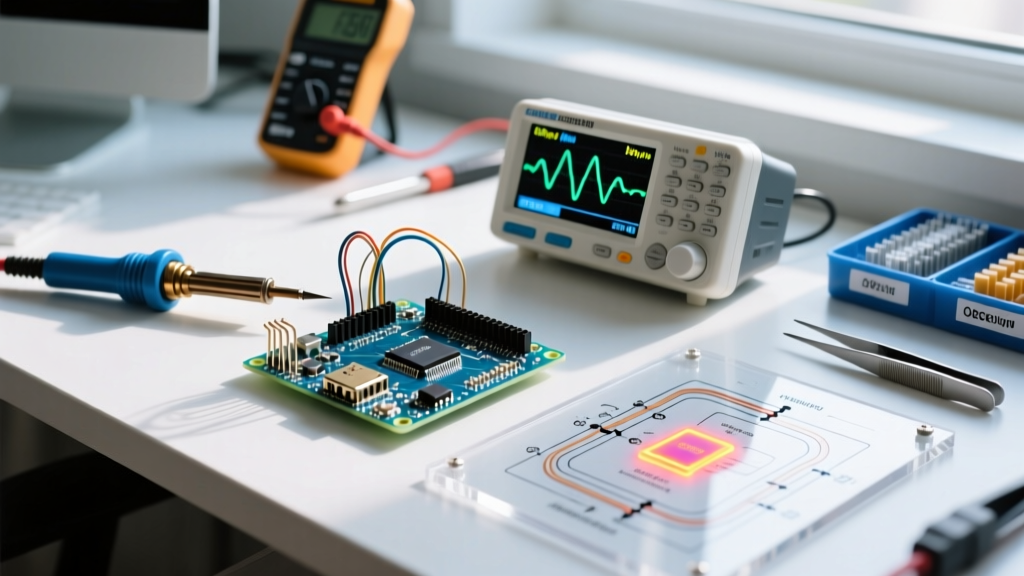
- Oscilloscope Validation: Hook a logic analyzer or oscilloscope to the GPIO pin. Measure the actual pulse width. If it is consistently 5-10 µs longer than requested, you are experiencing ISR jitter.
- Disable Interrupts: Implement
noInterrupts()around the critical timing block and re-measure. - Review Compiler Flags: If using custom Makefiles outside the Arduino IDE, ensure
-Osor-O2is active, otherwise inline assembly delays will fail to compile or execute incorrectly.
When Software Delays Fail: Hardware Timer Alternatives
Software-based microsecond delays are inherently blocking. The CPU does nothing but count NOP instructions. If your project requires precise microsecond timing while simultaneously processing sensor data or handling network stacks (like on the ESP32), you must abandon software delays entirely.
Instead, utilize hardware timers. On the ATmega328P, configuring Timer1 for Fast PWM mode allows you to generate sub-microsecond pulses with zero CPU intervention. On the ESP32, the LEDC (LED Control) peripheral or the MCPWM (Motor Control PWM) modules can generate nanosecond-accurate waveforms in the background. For addressable LEDs, libraries like FastLED automatically bypass delayMicroseconds() and write directly to hardware timer registers to guarantee zero-jitter data transmission.
Frequently Asked Questions
Can I use delay_us in the Arduino IDE for ESP32?
No. The ESP32 architecture relies on Xtensa or RISC-V instruction sets, not AVR. The <util/delay.h> library is strictly for 8-bit AVR microcontrollers. On the ESP32, you must use delayMicroseconds() or the Espressif-specific ets_delay_us() found in the ROM API.
Why is my delayMicroseconds() slightly longer than expected?
Function call overhead. The act of jumping to the delayMicroseconds() function, pushing registers to the stack, and returning takes approximately 1 to 2 µs on a 16 MHz AVR. For ultra-precise sub-5 µs timing, developers often write custom inline assembly macros directly in the sketch to eliminate function call overhead.