
The Root Cause of DHT Sensor Failures
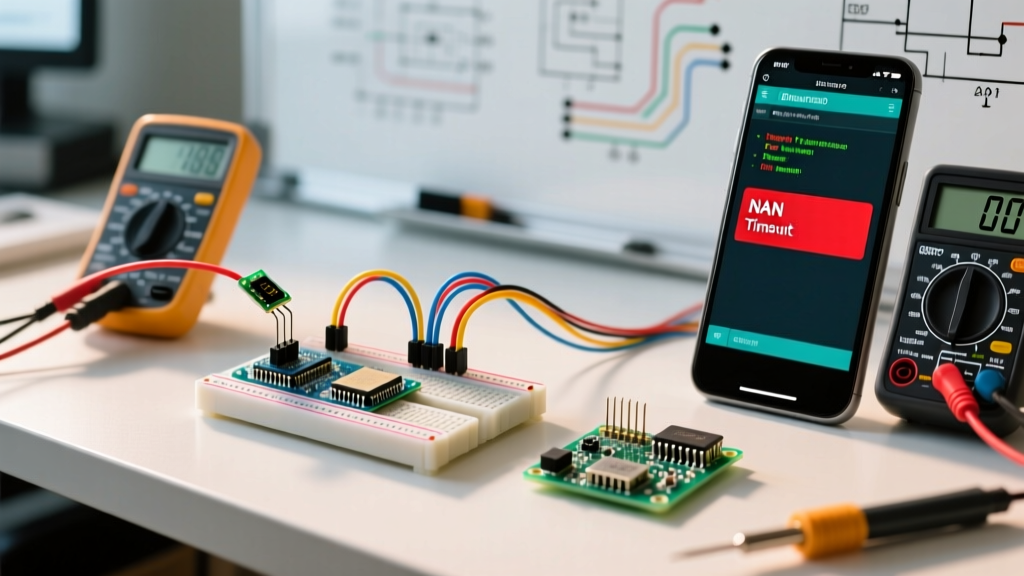
If you have spent any time building environmental monitoring projects, you have likely encountered the infamous NaN (Not a Number) or Timeout errors when using a DHT library Arduino setup. The DHT11 and DHT22 (AM2302) sensors are ubiquitous in the DIY electronics space, costing between $1.50 and $4.50 respectively, but they are notoriously finicky in production environments.
To troubleshoot effectively, you must understand the underlying communication protocol. Unlike I2C or SPI, DHT sensors use a proprietary, custom single-bus (1-wire) protocol. The microcontroller pulls the data line LOW to initiate a read, then releases it. The sensor responds by pulling the line LOW and HIGH in specific microsecond intervals to transmit 40 bits of data (16-bit humidity, 16-bit temperature, and an 8-bit checksum). Because this protocol relies on strict microsecond-level timing, any interrupt that pauses the Arduino's CPU—such as a WiFi stack operation on an ESP32 or a timer interrupt—will cause the pulse counting to fail, resulting in a checksum mismatch and a NaN output.
Decoding Common DHT Library Error Outputs
Before rewriting your code, map your serial monitor output to the actual failure mode. The standard Adafruit DHT Sensor Library returns specific float values when a read fails.
| Serial Output | Technical Meaning | Primary Root Cause |
|---|---|---|
NaN |
Checksum Mismatch or Timeout | Interrupts firing during the 5ms read window; missing pull-up resistor; data line noise. |
0.00 |
Valid Checksum, Zero Data | Sensor is in a power-on initialization state; internal MCU of the sensor hasn't booted. |
-999.00 |
Library-specific Error Code | Used by alternative libraries (like DHTNEW) to explicitly flag a bus timeout without returning NaN. |
80.0% / 0.0°C |
Cold Start Artifact | DHT22 specific: The very first read after power-on often returns default factory calibration memory. |
Hardware-Level Debugging: Beyond the Breadboard
Software library tweaks cannot fix a degraded physical signal. If your DHT library Arduino code is timing out, audit your hardware against these strict parameters:
- The Pull-Up Resistor: The 1-wire data line MUST be pulled HIGH. If you are using a bare 4-pin DHT22, you must solder a 4.7kΩ resistor between VCC and DATA. If you are using a 3-pin PCB module, it likely has a 10kΩ resistor onboard. However, 10kΩ is often too weak for wire runs over 1 meter. Add an external 4.7kΩ pull-up at the microcontroller end for runs up to 3 meters.
- Decoupling Capacitors: DHT sensors draw short bursts of current (up to 1.5mA) during transmission. Place a 100nF (0.1µF) ceramic capacitor directly across the VCC and GND pins of the sensor to prevent localized voltage sags that reset the sensor's internal MCU mid-transmission.
- Parasitic Capacitance: Long wires act as capacitors, rounding off the sharp digital edges required for microsecond pulse counting. Keep data wire lengths under 3 meters (10 feet). For longer runs, abandon the DHT protocol entirely and switch to an I2C-based AM2320 or BME280 sensor.
The ESP32 RTOS Interrupt Conflict
The most common source of DHT library Arduino frustration in modern IoT projects occurs when migrating from an Arduino Uno (AVR) to an ESP32 or ESP8266. The standard Adafruit library disables global interrupts during the read process to ensure accurate timing. On a single-core AVR, this works fine. On a dual-core ESP32 running FreeRTOS, disabling interrupts can cause the WiFi/Bluetooth stack to crash, trigger the watchdog timer (WDT), or simply fail because the RTOS scheduler overrides the interrupt disable command.
The Solution: Switch to DHTNEW
For ESP32 and ESP8266 architectures, abandon the legacy Adafruit library. Instead, use Rob Tillaart's DHTNEW library. DHTNEW is engineered specifically to handle RTOS environments. It includes built-in interrupt handling, non-blocking read capabilities, and automatic sensor type detection. It returns explicit error codes (like DHTLIB_ERROR_TIMEOUT) rather than unhelpful NaN floats, making programmatic error handling vastly superior.
Implementing Non-Blocking Retry Logic
Never use delay(2000) to space out your DHT reads. Blocking delays freeze your microcontroller, causing buffer overflows in serial communication and missed network packets. Instead, implement a state-machine retry logic using millis().
According to the Adafruit DHT Tutorial, the DHT22 requires a minimum of 2 seconds between reads, while the DHT11 requires 1 second. Here is the architectural pattern for a robust, non-blocking read loop:
- Check if
millis() - lastReadTime >= 2500(giving a 500ms safety buffer). - Call the read function.
- Evaluate the return status. If it returns a timeout or checksum error, increment a
failCountvariable. - If
failCount >= 3, trigger a hardware reset of the sensor by toggling its VCC pin via a MOSFET or GPIO pin (if wired through a transistor), or flag the system for a soft reboot.
Power-On and Cold-Start Edge Cases
A highly specific edge case that catches many developers off guard is the "Cold Start" artifact. When a DHT22 is first powered on, its internal thermistor and capacitive humidity element require time to stabilize and poll the environment. If you request a reading within the first 1 to 2 seconds of boot, the sensor will output its last known EEPROM state or factory default (often 80% RH and 0.0°C).
The Fix: In your setup() function, initialize the sensor, then immediately execute a delay(2000) followed by a "dummy read". Discard the result of this dummy read entirely. Only begin logging or transmitting data on the second read cycle. This ensures the sensor's internal sampling capacitor has fully charged and the thermistor has acclimated to the immediate ambient air.
Summary Troubleshooting Checklist
Before assuming your microcontroller or sensor is defective, run through this definitive checklist:
- Verify the 4.7kΩ pull-up resistor is present on the DATA line.
- Confirm a 100nF decoupling capacitor is placed across VCC and GND.
- Ensure a 2-second boot delay and dummy read are implemented in
setup(). - Migrate to the DHTNEW library if using ESP32/ESP8266 to prevent RTOS watchdog resets.
- Replace
delay()withmillis()based non-blocking polling intervals.
By respecting the strict timing requirements of the 1-wire protocol and modernizing your library choice for 32-bit RTOS architectures, you can transform the DHT22 from a frustrating prototype toy into a reliable environmental monitoring node.