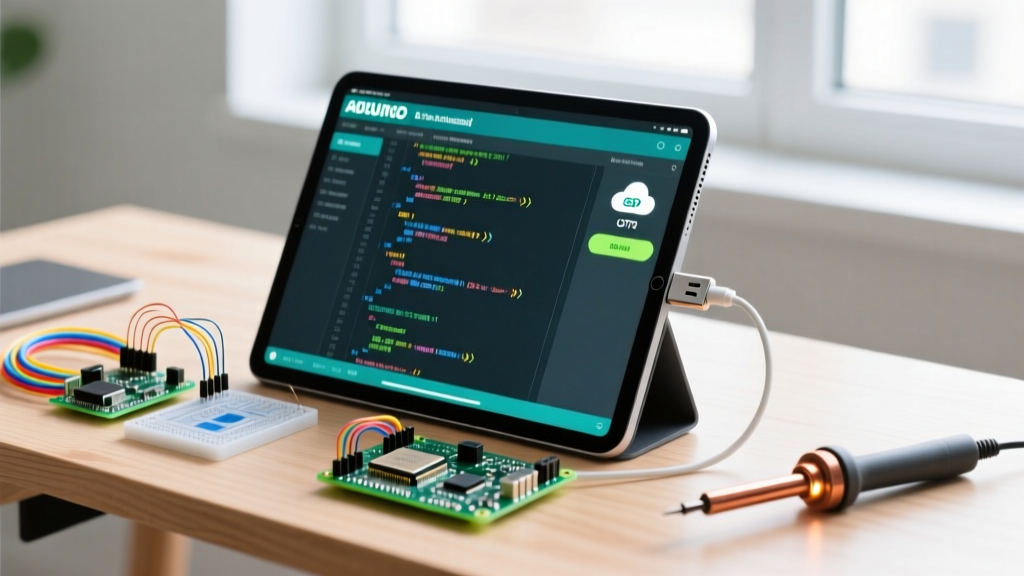

The Hard Truth About Native Arduino IDE on iPadOS
If you are a beginner transitioning from a laptop to an Apple tablet, you will quickly hit a wall: there is no official, native Arduino IDE desktop application for iPadOS. The Arduino IDE relies on local serial port access and C++ AVR-GCC compilers that Apple restricts within its mobile sandbox environment. However, as of 2026, the iPad has evolved into a formidable portable coding station. By leveraging cloud-based compilers, native third-party apps, and specific USB On-The-Go (OTG) hardware bridges, you can successfully write, compile, and upload code to microcontrollers directly from your iPad.
This guide bypasses the generic advice and dives straight into the electrical realities, Safari browser limitations, and exact hardware configurations required to turn your iPad into a functional Arduino development environment.
The Hardware Bridge: USB-C vs. Lightning Power Limits
Before writing a single line of code, you must solve the physical connection. The Arduino Uno R3 and Nano require a stable 5V USB connection to receive serial data and power. The success of this connection depends entirely on your iPad's port type.
USB-C iPads (2018 and Newer, M-Series Chips)
Modern iPads with USB-C ports (including the iPad Air and iPad Pro) output up to 4.5W (5V at 900mA) to connected peripherals. Since a standard Arduino Uno R3 draws roughly 45mA to 50mA at idle, a USB-C iPad can power the board and a basic sensor shield without issue.
- Recommended Adapter: Apple USB-C to USB Adapter (Retail: $29). This simple dongle provides a female USB-A port for your standard USB-B Arduino cable.
- Alternative Hub: Anker 341 USB-C Hub (Retail: $22). Useful if you need to plug in a USB mouse and keyboard alongside your Arduino.
Lightning iPads (Older Models, Base iPad 9th/10th Gen)
Lightning ports are strictly limited to 100mA (0.1A) output for unauthenticated peripherals. If your Arduino draws more than 100mA (which happens instantly if you add an LCD screen, a servo motor, or a NeoPixel strip), the iPad will abruptly cut power and display the dreaded "Cannot Use Accessory: This accessory requires too much power" error.
- The Fix: You must use the Lightning to USB 3 Camera Adapter (Retail: $39). This specific adapter features a secondary Lightning port allowing you to plug in your iPad charger, injecting passthrough power to the USB-A port to safely run your microcontroller.
Method 1: Arduino Cloud Web Editor (The Official Route)
The Arduino Cloud Editor is a browser-based IDE that mirrors the desktop experience. You write code in Safari, compile it on Arduino's remote servers, and push the binary to your board. However, iPad users face a massive, rarely documented hurdle: The Web Serial API.
Expert Insight: The Safari WebSerial Roadblock
Direct USB uploading from a browser requires the Web Serial API. As detailed by Mozilla Developer Network (MDN) and tracked on CanIUse, Apple's Safari browser does not support the Web Serial API. This means you cannot plug a standard Arduino Uno into an iPad, open Safari, and hit "Upload" via the Cloud Editor. The serial port selection menu will simply be missing.
The Cloud Workarounds for Safari
Since direct USB serial uploading is blocked in Safari, you have two options when using the Arduino Cloud on an iPad:
- Over-The-Air (OTA) via WiFi: Use a WiFi-enabled board like the ESP32 DevKitC V4 or the official Arduino Nano RP2040 Connect. You can link these boards to your Arduino Cloud IoT account and push code wirelessly over your local network, completely bypassing the need for Safari's Web Serial API.
- The Arduino Cloud IoT App: Download the official iOS app. While primarily used for dashboard monitoring, it maintains better background Bluetooth (BLE) and local network permissions than Safari, allowing for wireless uploads to compatible boards.
Method 2: Bluino Loader (The Native Offline App)
If you are working with a standard, offline Arduino Uno or Nano and need direct USB uploading without relying on cloud servers, Bluino Loader is the premier native iOS/iPadOS application.
Bluino includes a built-in AVR-GCC compiler that runs locally on your iPad's processor. When you plug your Arduino into your iPad via the USB-C OTG adapter, Bluino utilizes Apple's approved external accessory protocols to mount the serial port, compile your C++ code, and push the hex file directly to the ATmega328P chip.
- Pros: Works entirely offline (great for field robotics or remote classrooms); supports direct USB OTG uploading; no subscription required for basic features.
- Cons: The UI is dated compared to the modern Arduino IDE 2.0; lacks advanced library management for niche GitHub repositories; iOS updates occasionally break USB serial permissions requiring an app update.
Feature Comparison Matrix: iPad Coding Methods
| Feature | Arduino Cloud (Safari) | Bluino Loader (App) | Remote Desktop (Jump Desktop) |
|---|---|---|---|
| Cost | Free (Tiered Cloud plans) | $4.99 (App Store) | $15.99 + PC required |
| Compilation | Cloud Servers | Local iPad Processor | Remote PC/Mac |
| Standard USB Upload | No (Safari WebSerial block) | Yes (via OTG Adapter) | Yes (via PC connection) |
| WiFi/OTA Upload | Yes | Limited | Yes |
| Library Manager | Extensive (Cloud-synced) | Basic (Pre-loaded) | Full Desktop IDE |
Step-by-Step: Your First iPad-to-Arduino Upload
Let's walk through the most reliable method for a beginner using a standard Arduino Uno R3 and a modern USB-C iPad using the Bluino Loader method.
- Acquire the Hardware: Purchase the Apple USB-C to USB Adapter ($29) and ensure you have a high-quality USB-A to USB-B cable. Avoid gas-station cables; poor shielding causes serial handshake failures on iPadOS.
- Install the Software: Download Bluino Loader from the Apple App Store.
- Connect the Board: Plug the USB-B end into the Arduino Uno, and the USB-A end into the Apple adapter. Plug the adapter into your iPad.
- Grant Permissions: iPadOS will prompt: "Allow Bluino to access [USB Device]?" Tap Allow.
- Write the Code: Open the app, select File > Examples > Basics > Blink. This loads the standard LED flashing script.
- Verify and Upload: Tap the checkmark icon to compile locally. Check the console for "Done compiling." Then, tap the right-facing arrow icon to upload. The RX/TX LEDs on the Uno will flicker rapidly, confirming the serial transfer.
Troubleshooting Common iPadOS Serial Errors
1. "Device Not Recognized" or Silent Failures
If the iPad charges the Arduino (the green PWR LED turns on) but the app cannot find the serial port, you are likely using a charge-only USB cable. Microcontrollers require a cable with all four internal wires (VCC, GND, D+, D-). Swap to a certified data-sync cable.
2. The "Accessory Uses Too Much Power" Loop
As mentioned, Lightning iPads limit output to 100mA. If you are testing a circuit with a 5V relay module or an ultrasonic sensor, the combined draw will exceed the Lightning port's limit. Solution: Disconnect the sensors, upload the code using only the bare Arduino board, and then plug your external sensors into a separate 5V breadboard power supply.
3. Safari WebSerial Grayed Out
If you attempt to force the Web Serial API in Safari by enabling experimental flags in the iOS Settings > Safari > Advanced > Feature Flags, be warned: Apple routinely resets these flags upon minor iPadOS updates. Relying on experimental flags for a school project or production prototype is highly discouraged. Stick to native apps or WiFi OTA workflows for stability.
Final Thoughts for the Mobile Maker
While the lack of a native, first-party Arduino IDE on iPadOS is frustrating, the ecosystem has matured. By understanding the electrical limitations of Apple's USB controllers and the software sandboxing of Safari, you can choose the right workaround. For WiFi-enabled IoT projects, the Arduino Cloud remains unmatched. For rugged, offline USB coding in the field, a USB-C OTG adapter paired with a native compiler app transforms your iPad into a highly capable, ultra-portable microcontroller workbench.