
The iPadOS Sandbox Reality: Why Native USB Fails
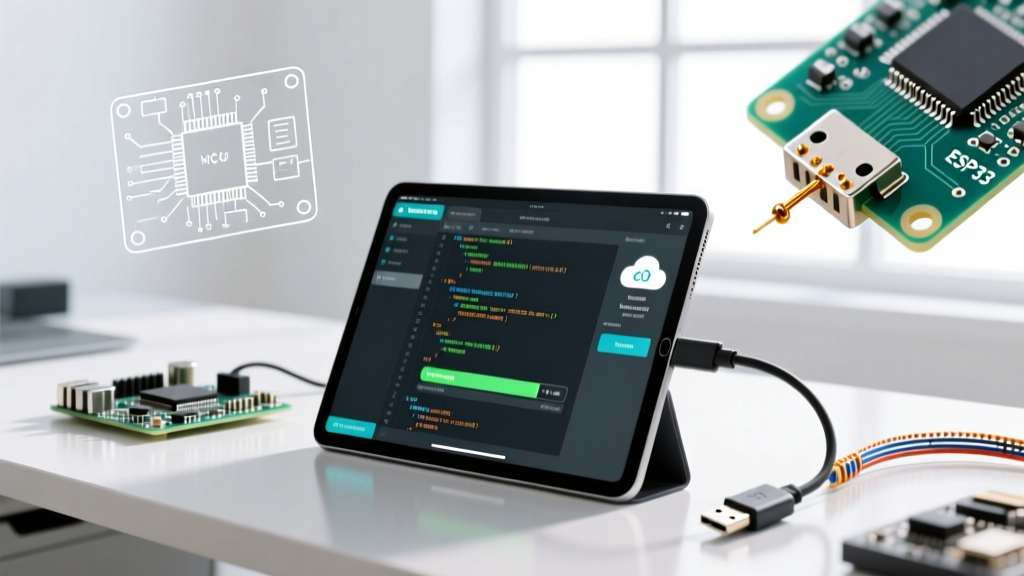
If you are attempting to use an iPad Arduino IDE setup in 2026 by simply plugging a USB-C cable from your iPad Pro M4 into an Arduino Uno R4, you have likely hit a wall. The fundamental bottleneck is not your hardware; it is the iPadOS sandbox architecture. Unlike macOS or Windows, iPadOS restricts raw USB serial access for standard microcontrollers.
According to the MDN Web Serial API documentation, Apple's Safari browser does not support the Web Serial API. Furthermore, the Arduino Create Agent—a background daemon required for the Arduino Cloud Web Editor to detect local USB ports—is compiled for desktop operating systems and cannot run on iPadOS. Consequently, direct tethered flashing of AVR and standard ARM boards from an iPad is functionally impossible without specialized MFi (Made for iPhone/iPad) certified hardware, which is virtually nonexistent in the hobbyist maker space.
To achieve true performance optimization for coding on an iPad, we must bypass the USB-C bottleneck entirely and optimize for cloud compilation, Over-The-Air (OTA) workflows, and remote desktop environments.
Strategy 1: The ESP32 OTA Bypass (Zero-Latency Flashing)
The most effective way to optimize your iPad coding workflow is to abandon physical cables and transition to ESP32 or ESP8266 microcontrollers utilizing Over-The-Air (OTA) updates. By leveraging the Arduino Cloud IoT or a local network OTA script, you eliminate the iPadOS USB restriction entirely.
Optimizing Network Handshakes
When compiling via Arduino Cloud and pushing to an ESP32 over Wi-Fi, latency is your enemy. To optimize the upload speed from your iPad:
- Force 5GHz Band Steering: Ensure your ESP32 is connected to a dedicated 5GHz SSID. The ESP32's native Wi-Fi antenna struggles with 2.4GHz congestion, leading to OTA timeout failures during the packet verification stage.
- Static IP Assignment: Reserve a static IP for your ESP32 via your router's DHCP settings. This saves 400-800ms of DNS/mDNS resolution time when the Arduino Cloud server attempts to route the compiled binary to your device.
// Optimized ArduinoOTA snippet for iPad Cloud Workflows
#include
#include

void setup() {
  WiFi.begin("SSID_5GHz", "Password");
  while (WiFi.status() != WL_CONNECTED) { delay(50); }

  ArduinoOTA.setHostname("iPad_Optimized_Node");
  ArduinoOTA.setPasswordHash("your_md5_hash"); // Security prevents rogue uploads
  ArduinoOTA.begin();
}

void loop() {
  ArduinoOTA.handle();
  // Your main logic here
}
Strategy 2: Remote Desktop & ProMotion Tuning
If your project strictly requires an Arduino Uno, Mega, or Nano, and you must use the native desktop Arduino IDE, the optimal iPad workflow is a Remote Desktop connection to a local Mac or PC. However, a poorly configured VNC/RDP stream will ruin the experience on a 120Hz ProMotion display.
Tuning Screens 5 for Code Scrolling
Using an app like Screens 5 (approximately $34.99 on the App Store) or Jump Desktop, you must optimize the visual stream for high-contrast text rendering rather than video playback.
- Color Depth: Drop the remote color depth to 16-bit or 'Adaptive'. The Arduino IDE's UI consists mostly of flat colors and syntax highlighting. This reduces bandwidth requirements by 40%, eliminating scroll lag.
- Cursor Rendering: Enable 'Draw cursor locally' in your remote app settings. This ensures your Apple Pencil or trackpad cursor moves at the iPad's native 120Hz refresh rate, even if the background desktop stream is capped at 30fps.
- Keyboard Mapping: Map the iPad's Smart Keyboard Folio `Cmd+S` and `Cmd+U` directly to the host machine's compile and upload shortcuts to maintain muscle memory.
Expert Insight: Do not attempt to use browser-based remote desktop clients on Safari for coding. The browser's rendering engine will introduce input latency. Always use a native, compiled iPadOS remote desktop client to leverage the M-series chip's hardware video decoding.
Strategy 3: Arduino Cloud & WebAssembly Caching
For users relying on the Arduino Cloud Web Editor via Safari or Chrome on iPad, performance optimization means managing browser memory and compilation queues. The Arduino Cloud compiles your code on remote AWS servers, meaning your iPad's processing power is only used for the text editor and WebAssembly-based serial monitoring (where supported).
Reducing Cloud Compile Times
Cloud compile queues can take anywhere from 15 to 45 seconds during peak hours. You can optimize your code structure to reduce the server-side compilation time:
- Modularize Heavy Libraries: Avoid including monolithic libraries like `
` or ` ` in every single `.cpp` file. Use forward declarations in your headers and restrict library imports to the implementation files. - Pragma Optimization: Add
#pragma GCC optimize ("O3")at the very top of your main sketch. While this shifts the burden to the cloud server's CPU, it forces the compiler to aggressively inline functions, often resulting in a smaller binary payload that uploads faster to your IoT board. - Disable Unused Warnings: Adding
#pragma GCC diagnostic ignored "-Wunused-variable"can shave seconds off the server-side linting and warning generation phase, which is notoriously slow on the Arduino Cloud backend.
Hardware Matrix: Choosing the Right iPad for Coding
Not all iPads handle the modern coding workflow equally. Browser-based IDEs and Remote Desktop clients are highly dependent on RAM and GPU binning. Below is a 2026 performance matrix for iPad-based microcontroller development.
| iPad Model (2024-2026) | Chipset | RAM | Best IDE Workflow | Performance Bottleneck |
|---|---|---|---|---|
| iPad Pro 13" (M4) | Apple M4 | 16GB | Remote Desktop + Local Cloud | None. Handles 4K VNC & heavy browser tabs. |
| iPad Air 13" (M2) | Apple M2 | 8GB | Arduino Cloud Web Editor | RAM limits; Safari tab reloading if multitasking. |
| iPad 10th Gen | A14 Bionic | 4GB | OTA ESP32 via Mobile App | Severe RAM limits; crashes on complex Web IDEs. |
For professional engineers and serious hobbyists, the 8GB RAM ceiling on the M2 iPad Air is the primary bottleneck. Safari's aggressive memory management will frequently reload the Arduino Cloud Web Editor tab if you switch to a datasheet PDF or a browser-based oscilloscope app. The M4 iPad Pro's 16GB of unified memory completely eliminates this tab-reloading latency, making it the only viable option for full-time remote IDE workflows.
Advanced Debugging: The Serial Monitor Workaround
Because native USB serial is blocked, debugging via the Serial Monitor on an iPad requires creativity. If you are using an ESP32 or Raspberry Pi Pico W, optimize your debugging by routing serial output over WebSockets to a local Node-RED server or a service like Teleplot.
By sending your Serial.println() data over UDP or MQTT instead of relying on a physical serial connection, you can view real-time telemetry graphs on your iPad using a dedicated MQTT dashboard app. This not only bypasses the iPadOS USB restriction but also allows you to debug hardware that is physically located in another room or enclosed in a sealed project box.
Summary of Optimization Tactics
Mastering the iPad Arduino IDE experience requires accepting the limitations of iPadOS and pivoting to network-based workflows. By utilizing ESP32 OTA updates, tuning remote desktop protocols for 120Hz displays, and optimizing code for faster cloud compilation, you can transform your iPad from a restricted tablet into a highly efficient, portable microcontroller development station.
For further reading on iPad hardware compatibility and USB accessory restrictions, refer to the official Apple Support documentation on connecting USB devices, and explore the Arduino Cloud official guides for setting up IoT dashboards that complement your iPad workflow.