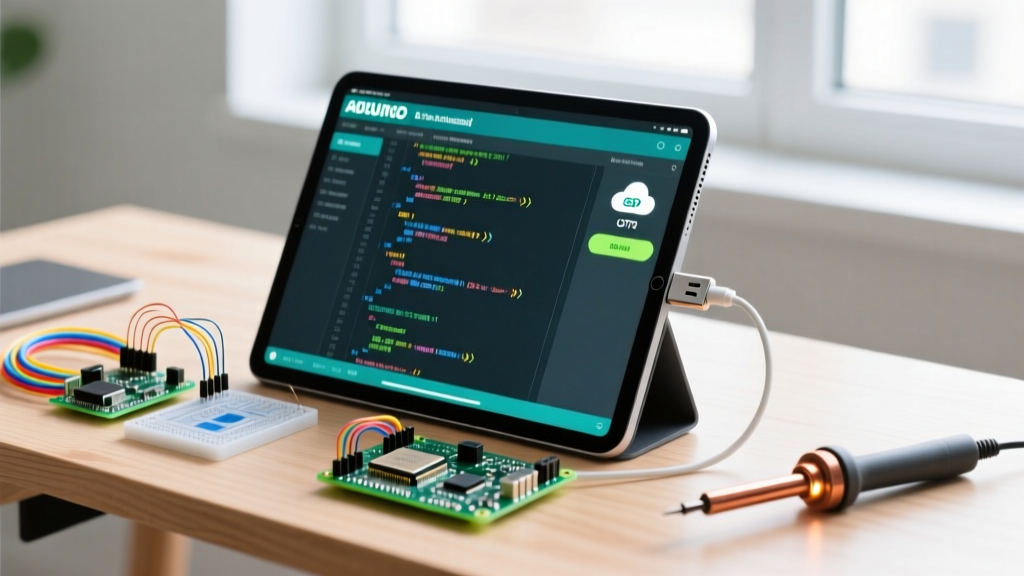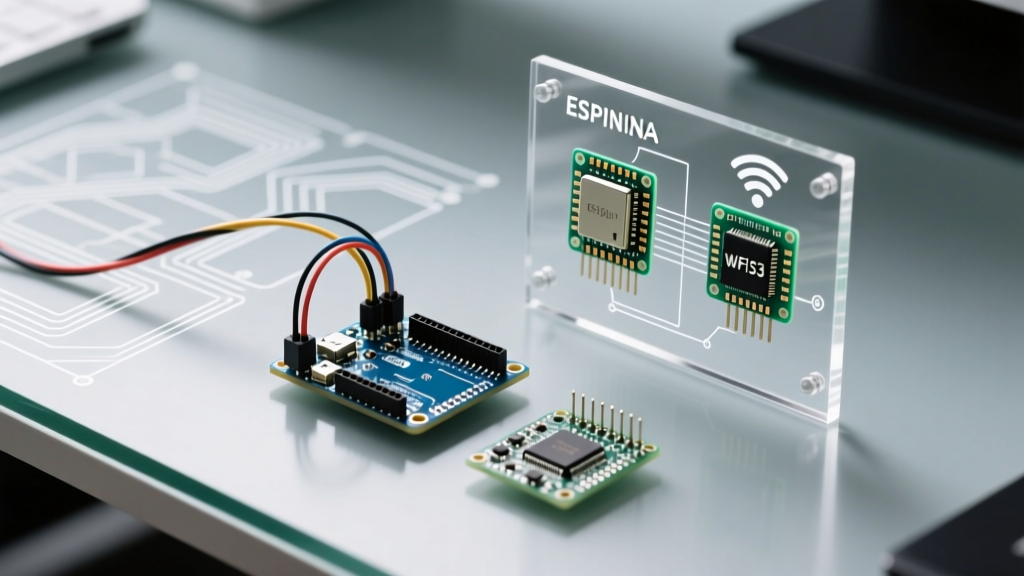

The Evolution of Arduino to WiFi Connectivity
The transition from offline microcontrollers to connected IoT nodes hinges on a reliable Arduino to WiFi bridge. In the early 2010s, achieving this meant wiring up an ESP-01 module and wrestling with fragile AT-command strings over a software serial port. Today, the ecosystem has matured into a robust, coprocessor-driven architecture. Modern boards handle the heavy lifting of the TCP/IP stack on a dedicated WiFi radio, exposing a clean, C++ object-oriented API to the main microcontroller.
In this library deep dive, we dissect the two dominant native frameworks for connecting official Arduino hardware to the internet: WiFiNINA (powering the Nano 33 IoT and MKR WiFi 1010) and WiFiS3 (the backbone of the Uno R4 WiFi). We will explore their underlying SPI communication, memory footprints, real-world failure modes, and advanced optimization techniques for 2026 IoT deployments.
Under the Hood: The Coprocessor Architecture
Unlike a native ESP32 DevKit where the WiFi MAC and the application share the same silicon and memory space, official Arduino WiFi boards utilize a dual-MCU architecture. The main microcontroller (e.g., SAMD21 or Renesas RA4M1) runs your sketch, while a secondary ESP32-based module handles the 802.11 b/g/n radio, WPA2/WPA3 handshake, and TCP/UDP socket buffering.
These two chips communicate via a high-speed SPI bus using a proprietary packet protocol. The libraries—WiFiNINA and WiFiS3—act as translators. When you call WiFi.begin(ssid, password), the library packages this request into an SPI frame, sends it to the coprocessor, and waits for an acknowledgment. This abstraction is what makes the Arduino to WiFi experience feel native, but it also introduces specific latency and memory overhead that engineers must manage.
Library Deep Dive: WiFiNINA (SAMD21 + NINA-W10)
The WiFiNINA library was designed for boards featuring the u-blox NINA-W102 module. Internally, the NINA-W102 houses an ESP32 running a custom, Arduino-compiled firmware that listens for SPI commands. This library has been the workhorse for Arduino IoT Cloud deployments since 2019.
Memory Footprint and Socket Limits
The primary constraint of WiFiNINA boards like the Nano 33 IoT (priced around $21.50 in 2026) is the main MCU's SRAM. The SAMD21G18 has only 32KB of SRAM. Because the TCP/IP stack lives on the NINA module, the main MCU only needs to buffer the payload data. However, the WiFiClient object itself consumes roughly 1.2KB of SRAM per instance.
- Max Concurrent Sockets: The NINA firmware strictly limits you to 10 simultaneous TCP/UDP sockets.
- TLS Support: WiFiNINA supports TLS 1.2 via the
WiFiSSLClientclass. However, as major cloud providers like AWS IoT and Azure mandate TLS 1.3 in 2026, WiFiNINA's aging cryptographic suite is becoming a bottleneck for enterprise deployments. - Throughput: SPI clock speeds are capped at 8MHz in the library defaults to maintain signal integrity on the Nano 33 IoT's compact PCB, limiting raw TCP throughput to roughly 800 Kbps.
Library Deep Dive: WiFiS3 (Renesas RA4M1 + ESP32-S3)
Released with the Uno R4 WiFi (~$27.50), the WiFiS3 library represents a generational leap. The main MCU is a 48MHz Renesas RA4M1 (Cortex-M4) with 32KB SRAM, but the real star is the network coprocessor: an ESP32-S3. The S3 variant includes vector instructions for AI and, crucially, hardware-accelerated cryptographic engines.
TLS 1.3 and Modern Security
The most significant advantage of WiFiS3 is native TLS 1.3 support. Handshakes that took over 2,000ms on the older WiFiNINA module now complete in under 400ms on the ESP32-S3. Furthermore, the WiFiS3 library introduces native support for mDNS (Multicast DNS) and robust OTA (Over-The-Air) update classes that do not block the main Renesas MCU during the firmware download phase.
For a comprehensive look at the pinouts and SPI routing on this board, the official Uno R4 WiFi Cheat Sheet provides excellent architectural diagrams.
Head-to-Head: Arduino WiFi Library Comparison Matrix
| Feature | WiFiNINA (Nano 33 IoT) | WiFiS3 (Uno R4 WiFi) | Native ESP32 (DevKit V1) |
|---|---|---|---|
| Main MCU | SAMD21G18 (Cortex-M0+) | Renesas RA4M1 (Cortex-M4) | Xtensa LX6 (Dual-Core) |
| Coprocessor | ESP32 (NINA-W102) | ESP32-S3 | None (Native) |
| Max TCP Sockets | 10 | 12 | 16+ |
| TLS Support | TLS 1.2 | TLS 1.3 | TLS 1.3 |
| Main SRAM | 32 KB | 32 KB | 520 KB |
| Typical Board Price | $21.50 | $27.50 | $6.00 - $9.00 |
Note: While native ESP32 boards offer more raw resources, official Arduino boards provide superior 5V tolerance, unified IDE support, and integrated sensors (like the LSM6DS3 IMU on the Nano 33 IoT).
Real-World Failure Modes and Troubleshooting
When building an Arduino to WiFi link, the physical layer is only half the battle. The SPI bridge introduces unique failure modes that standard network debugging tools won't catch.
1. The 'WL_NO_SHIELD' Firmware Mismatch
The most common panic state for WiFiNINA users is WiFi.status() returning WL_NO_SHIELD. This rarely means the hardware is broken. It almost always indicates a firmware mismatch between the compiled WiFiNINA library version and the binary flashed on the NINA-W102 module.
The Fix: You must use the FirmwareUpdater sketch (found in the WiFiNINA examples). Set the baud rate to 115200, select the correct COM port, and flash the latest NINA_W102-x.x.x.bin binary. As of 2026, version 1.5.0 or higher is required to patch known WPA2 fragmentation vulnerabilities.
2. SPI Bus Contention with SD Cards
Both the WiFi coprocessor and the onboard microSD card slot (if present) share the same SPI bus. If you attempt to initialize an SD card using SD.begin() without properly managing the Chip Select (CS) pins, the WiFi module will crash or drop packets.
- Ensure the WiFi CS pin (usually pin 24 or 28 internally, mapped via the library) is set HIGH before calling
SD.begin(4). - Use hardware SPI with explicit transaction blocks (
SPI.beginTransaction()) to prevent interrupt-driven WiFi tasks from corrupting SD card writes.
Advanced Optimization Techniques
To squeeze maximum performance out of your Arduino IoT deployment, move beyond basic WiFi.begin() calls and implement these low-level optimizations.
Bypassing Local DNS Bottlenecks
Consumer-grade routers often have abysmal DNS caching, adding 50ms to 200ms of latency to every new HTTP request. You can force your Arduino to use Cloudflare's edge resolvers, drastically reducing API call overhead.
#include <WiFiS3.h>

void setup() {
  WiFi.begin('YourSSID', 'YourPassword');
  // Force Cloudflare DNS to bypass local router latency
  WiFi.setDNS(IPAddress(1, 1, 1, 1), IPAddress(1, 0, 0, 1));
}
According to the official Arduino WiFiNINA reference, this method is also backward compatible with older boards, provided the coprocessor firmware supports custom DNS injection.
Managing Modem Sleep for Low-Latency MQTT
By default, the ESP32 coprocessor enters 'Modem Sleep' between beacon intervals to save roughly 20mA of current. If your project relies on MQTT for real-time actuator control, this sleep state introduces a 100ms to 300ms jitter in packet reception.
If your device is mains-powered, disable this feature via the advanced configuration headers in the library source, or use the WiFi.lowPowerMode(false) function (available in newer WiFiS3 builds) to force the radio into continuous active mode, ensuring sub-20ms MQTT message delivery.
Expert Insight: When designing enclosures for Arduino WiFi boards, remember that the 2.4GHz PCB trace antenna on the NINA-W102 and ESP32-S3 requires a minimum 15mm keep-out zone from any metal chassis or copper ground planes. Placing the board flat against an aluminum extrusion will detune the antenna, dropping your RSSI from -45dBm to -85dBm and causing silent TCP socket drops.
Summary
Establishing a robust Arduino to WiFi connection requires understanding the boundary between your application code and the coprocessor firmware. While WiFiNINA remains a viable, cost-effective solution for basic telemetry and TLS 1.2 endpoints, the WiFiS3 library on the Uno R4 WiFi is the definitive choice for modern, secure, and high-throughput IoT architectures in 2026. By managing SPI contention, enforcing custom DNS routing, and keeping coprocessor firmware updated, you can build industrial-grade connected devices using the familiar Arduino ecosystem.