
The 'Arduino and WiFi' Misconception: Shields vs. System-on-Chip
When beginners first explore the intersection of Arduino and WiFi, they often assume they must buy a classic Arduino Uno and attach a bulky, expensive WiFi shield. While this was the standard approach a decade ago, the IoT landscape in 2026 looks vastly different. Today, the most efficient, cost-effective, and industry-standard method is to use Espressif’s ESP8266 or ESP32 microcontrollers, programmed directly through the familiar Arduino IDE.
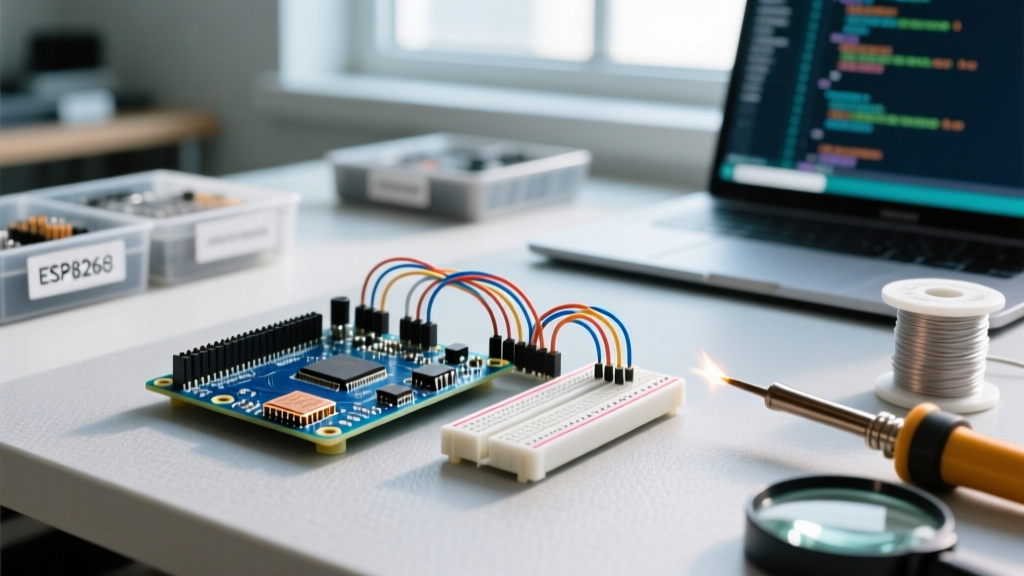
Classic boards like the Arduino Uno R3 lack native wireless radios. Attaching an AT-command-based ESP-01 module requires complex serial bridging, voltage division, and fragile wiring. Instead, modern makers use development boards built around the ESP32 or ESP8266 SoCs (System-on-Chip). These boards feature native WiFi, integrated USB-to-UART bridges, and are fully supported by the Arduino core, allowing you to write standard C++ sketches using the exact same IDE you already know.
Hardware Showdown: Choosing Your WiFi-Enabled Board
Before writing a single line of code, you must select the right hardware. Below is a comparison of the three most common entry points for Arduino WiFi projects, reflecting market availability and pricing in 2026.
| Development Board | Core Architecture | Native Wireless | Avg Price (2026) | USB-UART Bridge |
|---|---|---|---|---|
| NodeMCU V3 (ESP8266) | Tensilica L106 (Single Core) | WiFi 802.11 b/g/n | $6.00 - $8.00 | CH340G |
| ESP32-DevKitC V4 | Xtensa LX6 (Dual Core) | WiFi + Bluetooth 4.2 | $8.50 - $12.00 | CP2102 |
| Arduino Uno R4 WiFi | Renesas RA4M1 + ESP32-S3 | WiFi + BLE 5.0 | $27.50 - $32.00 | Native USB |
Expert Recommendation: For pure beginners, the ESP32-DevKitC V4 offers the best balance of processing power, dual-core multitasking (allowing WiFi tasks to run on Core 0 while your logic runs on Core 1), and abundant GPIO pins. The NodeMCU V3 is an excellent budget alternative but lacks Bluetooth and has fewer ADC-capable pins.
Step 1: Configuring the Arduino IDE for Espressif Boards
Out of the box, the Arduino IDE only supports AVR-based boards. To program ESP32 and ESP8266 chips, you must add Espressif’s board manager URLs.
- Open the Arduino IDE and navigate to File > Preferences (or Arduino IDE > Settings on macOS).
- Locate the 'Additional boards manager URLs' field.
- Paste the following URLs, separating them with a comma:
https://raw.githubusercontent.com/espressif/arduino-esp32/gh-pages/package_esp32_index.json, http://arduino.esp8266.com/stable/package_esp8266com_index.json - Open the Boards Manager from the left sidebar, search for 'ESP32', and install the latest 'esp32 by Espressif Systems' package.
- Connect your ESP32 via a data-capable USB cable. Select your specific board (e.g., 'DOIT ESP32 DEVKIT V1') and the correct COM port from the Tools menu.
Step 2: Writing Your First WiFi Connection Script
Connecting to a local network requires the WiFi.h library, which is natively included in the ESP32 Arduino core. The following sketch initializes the serial monitor, attempts to connect to your router, and prints the assigned local IP address.
#include

// Replace with your actual network credentials
const char* ssid = 'YOUR_NETWORK_SSID';
const char* password = 'YOUR_NETWORK_PASSWORD';

void setup() {
  Serial.begin(115200);
  delay(1000); // Allow serial monitor to initialize

  Serial.println('Initializing WiFi...');
  WiFi.mode(WIFI_STA); // Set as a Station (client)
  WiFi.begin(ssid, password);

  // Wait for connection with a timeout mechanism
  int attempts = 0;
  while (WiFi.status() != WL_CONNECTED && attempts < 40) {
    delay(500);
    Serial.print('.');
    attempts++;
  }

  if (WiFi.status() == WL_CONNECTED) {
    Serial.println('\nSuccess! Connected to WiFi.');
    Serial.print('Local IP Address: ');
    Serial.println(WiFi.localIP());
  } else {
    Serial.println('\nFailed to connect. Check SSID/Password.');
    ESP.restart(); // Reboot and try again
  }
}

void loop() {
  // Main application logic goes here
}
Understanding the WiFi State Machine
When debugging WiFi.status(), the Arduino core returns specific macros defined in the official Arduino WiFi Library documentation. Understanding these is crucial for writing robust reconnection logic:
- WL_IDLE_STATUS: The radio is powered on but not yet attempting to connect.
- WL_NO_SSID_AVAIL: The configured SSID cannot be found in range.
- WL_CONNECT_FAILED: Password is incorrect, or the router rejected the handshake (e.g., MAC filtering is enabled).
- WL_CONNECTED: Successfully authenticated and assigned an IP via DHCP.
Moving Beyond the Local Network: HTTP GET Requests
Once connected, the most common beginner task is fetching data from the internet. The ESP32 core includes the HTTPClient library, which abstracts the complex TCP socket management required for web requests. Below is a snippet to fetch a public API payload:
#include

void fetchTimeData() {
  if (WiFi.status() == WL_CONNECTED) {
    HTTPClient http;
    // Using a free, public API for testing
    http.begin('http://worldtimeapi.org/api/ip');
    int httpCode = http.GET();

    if (httpCode > 0) { // Check for positive HTTP response codes
      if (httpCode == HTTP_CODE_OK) {
        String payload = http.getString();
        Serial.println('API Response:');
        Serial.println(payload);
      }
    } else {
      Serial.printf('HTTP GET failed, error: %s\n', http.errorToString(httpCode).c_str());
    }
    http.end(); // Free up TCP socket resources
  }
}
Security Note for 2026: Many modern APIs enforce HTTPS. The ESP32 supports TLS 1.2/1.3 via the WiFiClientSecure class, but it requires loading root CA certificates to verify the server, which consumes significant SRAM. For beginners, stick to HTTP endpoints or use services that provide simplified certificate verification.
Real-World Troubleshooting: Edge Cases and Hardware Failures
The intersection of Arduino and WiFi is notorious for hardware-level quirks that manifest as software errors. If your code fails, check these three highly specific failure modes:
1. The 'Brownout Detector' Error
Serial Output:
Brownout detector was triggeredfollowed by a continuous reboot loop.
The Cause: When the ESP32 initializes its WiFi radio and performs RF calibration, it draws a transient current spike of up to 240mA to 300mA. If your USB port or cable cannot supply this current, the voltage drops below the 2.43V brownout threshold, triggering a hardware reset. This is incredibly common when using cheap, unpowered USB 2.0 hubs or front-panel PC motherboard headers.
The Fix: Connect the ESP32 directly to a rear motherboard USB 3.0 port (rated for 900mA) or use a dedicated 5V/2A wall adapter. Alternatively, you can disable the brownout detector in code via WRITE_PERI_REG(RTC_CNTL_BROWN_OUT_REG, 0);, but this is a band-aid that risks data corruption during flash writes.
2. 'Timed Out Waiting for Packet Header'
The Cause: The Arduino IDE cannot put the ESP32 into flash download mode automatically. This happens on clone boards using the CH340G USB-UART chip where the DTR/RTS auto-reset circuit traces were poorly routed or omitted to save manufacturing costs.
The Fix: You must manually trigger the bootloader. Click 'Upload' in the IDE. When the console says Connecting..., press and hold the BOOT button on the ESP32, tap the EN (Reset) button once, and then release the BOOT button. The IDE will immediately catch the serial handshake and begin flashing.
3. 5V Logic Frying 3.3V GPIO Pins
The Cause: Beginners often attempt to connect a classic 5V Arduino Uno to an ESP32 via Serial (TX/RX) to act as a WiFi co-processor. The ESP32 operates strictly at 3.3V logic. Feeding 5V from the Uno's TX pin into the ESP32's RX pin will overstress the internal clamping diodes, eventually destroying the GPIO pin or the entire SoC.
The Fix: Always use a bi-directional logic level shifter (such as a BSS138 MOSFET-based module, costing roughly $1.50) between any 5V microcontroller and a 3.3V WiFi SoC. For detailed architectural guidelines on mixed-voltage IoT systems, refer to the Espressif Arduino-ESP32 Official Documentation.
Further Reading and Authoritative Resources
- Espressif Systems: Arduino-ESP32 Core Documentation - The definitive guide on pinouts, deep sleep modes, and WiFi provisioning.
- Arduino Official Reference: WiFi Library - Standardized API documentation for WL_STATUS macros and TCP/UDP classes.
- GitHub: ESP8266 Community Fork - Source code, issue tracking, and advanced memory optimization techniques for the older NodeMCU boards.