
Graduating from the Sandbox: The Platform Migration Imperative
For nearly every embedded systems engineer and DIY electronics enthusiast, the journey begins with an arduino uno kit starter. Priced typically between $35 and $50, these kits provide a frictionless entry into microcontroller programming, bundling the classic ATmega328P-based Uno R3 with breadboards, jumper wires, and fundamental sensors like the DHT11 and HC-SR04. However, as your projects evolve from blinking LEDs to IoT-connected environmental monitors or computer-vision edge devices, the hardware limitations of the Uno become a hard ceiling.
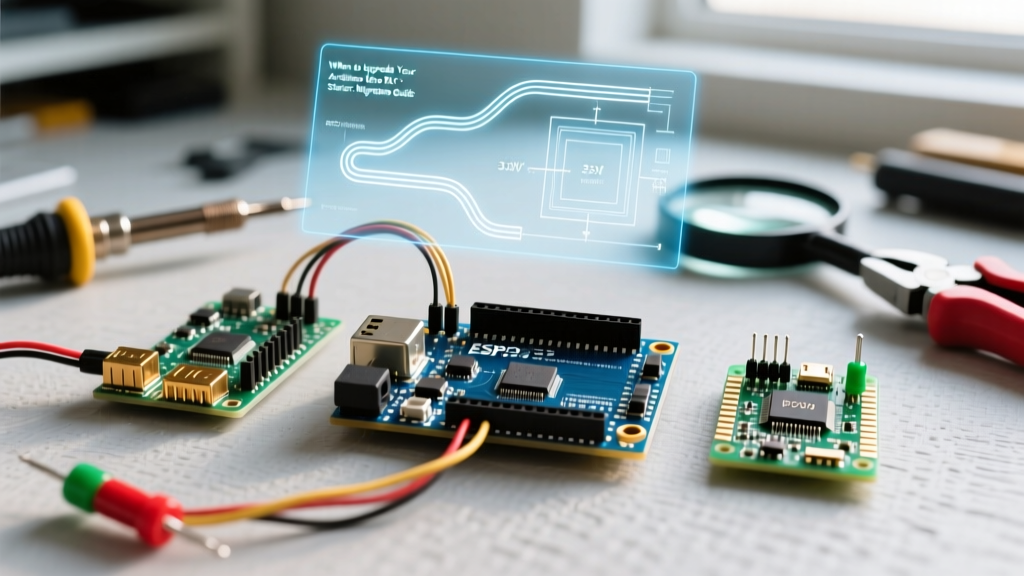
This guide serves as your definitive migration roadmap. We will explore how to transition from your initial arduino uno kit starter to modern, high-performance platforms like the ESP32-S3 and Raspberry Pi Pico W, while systematically salvaging and reusing the components you already own.
Recognizing the ATmega328P Bottleneck
Before migrating, it is critical to understand exactly why the Uno is holding your project back. According to the official Arduino Uno R3 documentation, the board is built around the Microchip ATmega328P. While robust, its 2005-era architecture presents three distinct bottlenecks for modern applications:
- Memory Starvation: With only 2KB of SRAM, a single 128x64 pixel I2C OLED display requires a 1,024-byte frame buffer. This instantly consumes 50% of your available memory, leaving almost no room for complex string manipulation, JSON parsing, or TLS encryption buffers.
- Clock Speed & Compute: The 16MHz AVR architecture lacks a hardware floating-point unit (FPU) and processes 8-bit instructions, making real-time signal processing or PID control loops computationally expensive.
- The Wireless Void: The Uno lacks native Wi-Fi or Bluetooth. Adding an ESP-01 module via AT commands over UART is a fragile, high-latency workaround that fails under the demands of modern MQTT or RESTful API integrations.
Top Migration Paths for 2026 and Beyond
When moving past your arduino uno kit starter, you do not need to buy an entirely new, expensive premium kit. Instead, you can purchase advanced development boards and integrate them with your existing passive and active components. Here are the two premier migration targets in the current market.
1. The Wireless Workhorse: ESP32-S3
As of 2026, the Espressif ESP32-S3 is the undisputed king of wireless IoT prototyping. Featuring a dual-core Xtensa LX7 running at 240MHz, it includes vector instructions for accelerating neural network computations. Crucially, it offers native Wi-Fi 4 and Bluetooth 5 (LE), along with 512KB of internal SRAM (and support for up to 8MB of external PSRAM). Dev boards like the ESP32-S3-DevKitC-1 cost roughly $8 to $12, making it a highly economical upgrade.
2. The Dual-Core Powerhouse: Raspberry Pi Pico W
If your project demands precise timing, custom communication protocols, or MicroPython support, the Raspberry Pi Pico W is the ideal migration path. Built on the RP2040 silicon, it features two ARM Cortex-M0+ cores at 133MHz and 264KB of SRAM. Its killer feature is the Programmable I/O (PIO) state machines, which allow you to create custom hardware interfaces (like WS2812B LED protocols or custom UARTs) without burdening the main CPU. You can review the RP2040 hardware datasheet for deep architectural insights. The Pico W retails for approximately $6.
The 5V to 3.3V Logic Trap: Component Compatibility
The most common failure mode when migrating from an arduino uno kit starter is frying the new microcontroller. The Uno operates at 5V logic. Modern boards like the ESP32-S3 and RP2040 operate strictly at 3.3V logic and are not 5V tolerant. Feeding a 5V signal into an ESP32 GPIO pin will permanently destroy the silicon.
Here is a compatibility matrix detailing how to safely reuse the sensors from your original starter kit:
| Starter Kit Component | Uno (5V Logic) | ESP32 / Pico (3.3V Logic) | Required Migration Action |
|---|---|---|---|
| HC-SR04 Ultrasonic | 5V Trigger / 5V Echo | 3.3V Trigger / 5V Echo | Use a BSS138 level shifter or a 1k/2k ohm voltage divider on the Echo pin. |
| DHT11 Temp/Humidity | 5V VCC, 5V Data | 3.3V VCC, 3.3V Data | Direct connection. Power via 3.3V pin; internal pull-up works natively. |
| SG90 Micro Servo | 5V Power, 5V PWM | 5V Power, 3.3V PWM | Power servo from 5V (VBUS/VIN), connect PWM signal directly to 3.3V GPIO. |
| SSD1306 I2C OLED | 5V VCC, 5V I2C | 3.3V VCC, 3.3V I2C | Connect VCC to 3.3V. I2C lines are open-drain and safe at 3.3V. |
| Photoresistor (LDR) | 5V Analog Read | 3.3V Analog Read | Use 3.3V as the reference voltage for the voltage divider. |
Pro-Tip on Level Shifting: Do not rely on simple resistor voltage dividers for high-speed I2C or SPI lines; the parasitic capacitance will degrade your signal edges. For buses, invest $2 in a pack of BSS138-based bidirectional logic level converters.
Code Porting: Adjusting to New Architectures
Hardware is only half the battle. When migrating code from your arduino uno kit starter projects, you must account for architectural differences in the Arduino IDE (or PlatformIO) environment.
Analog Read Resolution Shifts
The Uno features a 10-bit Analog-to-Digital Converter (ADC), returning values from 0 to 1023. Both the ESP32-S3 and RP2040 utilize 12-bit ADCs (0 to 4095). If your legacy code uses hardcoded thresholds for light or temperature sensors, your logic will break. You can resolve this globally in your setup() function:
// Force 10-bit resolution to maintain legacy Uno code compatibility
#if defined(ARDUINO_ARCH_ESP32) || defined(ARDUINO_ARCH_RP2040)
  analogReadResolution(10);
#endif
Note: The ESP32 ADC is notoriously non-linear at the extreme high and low ends of the voltage spectrum. For precision analog sensing, consider adding an external ADS1115 I2C ADC module.
Pin Mapping and Hardware Timers
The Uno's analogWrite() function relies on specific hardware timers tied to specific pins (e.g., Pins 3, 5, 6, 9, 10, 11). Modern boards use LEDC (ESP32) or hardware PWM slices (RP2040) that can be mapped to almost any GPIO pin. You will need to update your pin definition macros and remove assumptions about timer conflicts that plagued the older AVR architecture.
Economic Analysis: Upgrade vs. Replace
Many beginners mistakenly believe they must purchase a $100+ "Advanced IoT Kit" when they outgrow their initial setup. By leveraging the migration strategy, you retain the highest ROI on your initial investment.
| Strategy | Estimated Cost | Learning Curve | Component Waste |
|---|---|---|---|
| Buy New Premium IoT Kit | $90 - $130 | High (New sensors to learn) | High (Original kit sits in a drawer) |
| Migrate using ESP32-S3 Dev Board | $9 - $14 | Medium (Logic shifting, new IDE core) | Zero (Reuses breadboards, wires, basic sensors) |
| Migrate using Raspberry Pi Pico W | $6 - $10 | Medium (MicroPython or C++ SDK) | Zero (Maximizes existing inventory) |
Final Migration Checklist
Before you desolder your first prototype and move away from the arduino uno kit starter ecosystem, verify the following:
- Audit Voltage Requirements: Map every component's VCC and logic-level requirements. Identify any 5V-only modules (like certain relay boards or older LCD shields) that require replacement or opto-isolation.
- Install Board Cores: Ensure you have the latest ESP32 Arduino Core (v3.x) or the Raspberry Pi Pico Arduino core installed via the Board Manager.
- Verify Power Delivery: The Uno's onboard 5V regulator can safely dissipate heat for a few servos. The 3.3V LDO regulators on cheap ESP32 clones will overheat and thermal-throttle if you draw more than 300mA. Always power high-current actuators via an external buck converter (e.g., LM2596) wired directly to the 5V rail.
Migrating from your first microcontroller kit is a rite of passage. By understanding the underlying hardware architectures, respecting logic-level boundaries, and strategically selecting your target SoC, you transform a box of beginner parts into a professional-grade IoT prototyping lab.