
The Anatomy of Arduino Uno I2C Pins
When building sensor networks, the Inter-Integrated Circuit (I2C) bus is the undisputed workhorse of the microcontroller world. However, not all implementations of the Arduino Uno I2C pins are created equal. Whether you are chaining a BME280 environmental sensor, an MPU6050 IMU, or an OLED display, the physical and electrical realities of your board's I2C architecture dictate your project's reliability.
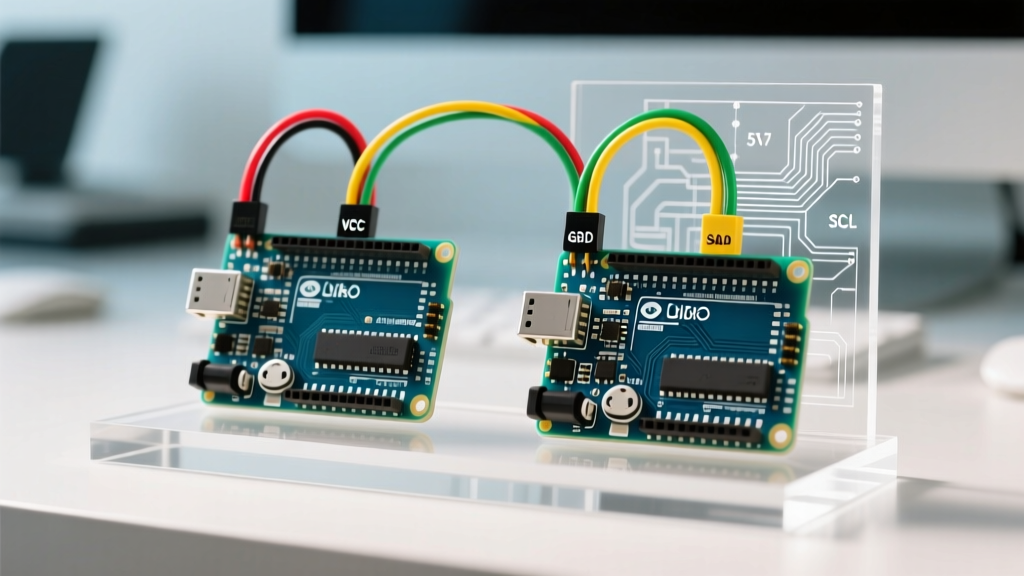
On the classic ATmega328P-based Uno R3, the I2C pins are mapped to Analog 4 (SDA) and Analog 5 (SCL). Additionally, a secondary dedicated header was introduced in later R3 revisions near the AREF pin, duplicating these lines for shield compatibility. But as we move into 2026, the ecosystem has fractured into ultra-cheap $6 clones and sophisticated $25+ premium boards like the Arduino Uno R4 Minima and SparkFun RedBoard Plus. Understanding the electrical differences between these tiers is critical for preventing bus collisions, NACK errors, and ghosting.
Budget Clones ($5–$8): The Hidden I2C Compromises
Walk into any university robotics lab or browse Amazon for starter kits, and you will find HiLetgo or Elegoo Uno R3 clones powered by the CH340G USB-to-serial chip. While these boards are phenomenal for basic GPIO and PWM tasks, their I2C implementation often harbors hidden cost-cutting measures.
The Missing Pull-Up Resistor Problem
I2C is an open-drain (or open-collector) protocol. This means devices can only pull the SDA and SCL lines LOW; they cannot drive them HIGH. To return the lines to a HIGH state, pull-up resistors are mandatory. According to the NXP UM10204 I2C-bus specification, standard mode (100kHz) requires pull-ups typically ranging from 4.7kΩ to 10kΩ.
To save roughly $0.02 per unit in mass manufacturing, many budget clones completely omit the onboard 4.7kΩ pull-up resistors on the SDA and SCL traces. If you connect a single sensor module that happens to have its own pull-ups, the bus will work fine. However, if you daisy-chain multiple modules, or use a raw I2C chip without a breakout board, the lines will float, resulting in erratic data reads and complete bus lockups.
Header Degradation and Bus Capacitance
Budget clones frequently use stamped, tin-plated 0.1-inch female headers rather than drawn phosphor-bronze gold-plated headers. After 10 or 15 jumper wire insertions, the leaf springs lose tension. Because I2C is highly susceptible to electromagnetic interference (EMI) and capacitance, a micro-arc or momentary disconnect on a loose SDA pin will corrupt the entire 8-bit address frame, causing the master to register a phantom device or freeze the Wire.h library.
Premium Boards ($24–$30): Upgraded I2C Architecture
When you step up to premium platforms, you are paying for robust bus management, native level-shifting, and connector ecosystems that eliminate breadboard-induced capacitance.
Arduino Uno R4 Minima ($27.50)
The official Arduino Uno R4 Minima documentation reveals a massive architectural shift. Powered by the Renesas RA4M1 ARM Cortex-M4, the R4 operates at 5V on its digital pins, but the MCU natively runs on 3.3V logic. Arduino engineered dedicated bidirectional level shifters (typically BSS138 MOSFETs or dedicated ICs) between the MCU and the external I2C headers. This means the Arduino Uno I2C pins on the R4 are genuinely 5V tolerant and properly buffered, protecting the sensitive ARM core from voltage spikes when interfacing with legacy 5V I2C displays.
SparkFun RedBoard Plus ($24.95)
SparkFun takes a different premium approach by integrating the Qwiic Connect System directly onto the board. Alongside the traditional 5V A4/A5 header, the RedBoard Plus features a 4-pin JST-SH connector wired to a dedicated 3.3V I2C bus with guaranteed 2.2kΩ pull-ups. This allows you to plug in modern 3.3V sensors (like the SparkFun Qwiic BME280) without risking logic-level overvoltage damage, completely bypassing the need for external level shifters or breadboards.
Electrical Deep Dive: Comparison Matrix
To visualize the hardware differences, here is a technical comparison of the I2C implementation across three common board tiers available in 2026.
| Feature | Budget Clone (e.g., HiLetgo R3) | Official Arduino Uno R4 Minima | SparkFun RedBoard Plus |
|---|---|---|---|
| Street Price | $5.00 - $8.00 | $27.50 | $24.95 |
| MCU Architecture | 8-bit AVR (ATmega328P) | 32-bit ARM (Renesas RA4M1) | 8-bit AVR (ATmega328P) |
| Onboard Pull-Ups | Rarely included (Floating) | Yes (via level-shifter network) | Yes (4.7kΩ on 5V, 2.2kΩ on Qwiic) |
| Logic Level | 5V Native | 5V (Level-shifted from 3.3V MCU) | 5V Native / 3.3V (Qwiic) |
| Max Recommended Bus Capacitance | ~200pF (due to weak/no pull-ups) | 400pF (Standard I2C Spec) | 400pF (Standard I2C Spec) |
| Connector Quality | Stamped Tin (High contact resistance) | Drawn Phosphor-Bronze | Gold-Plated + Qwiic JST |
Troubleshooting I2C Bus Failures on a Budget
If you are locked into a budget clone for a high-volume deployment or a university project, you must actively manage the physical layer of the Arduino Uno I2C pins to achieve premium-level reliability. Follow this diagnostic framework:
- Calculate Bus Capacitance: Every wire, breadboard trace, and sensor module adds parasitic capacitance. Standard I2C limits this to 400pF. A standard breadboard row adds ~2pF, and 24 AWG jumper wire adds roughly 15pF per foot. If your wiring exceeds 30cm total length, you will experience RC rise-time degradation, turning your crisp square waves into shark-fin slopes.
- Inject External Pull-Ups: If you are using a clone, solder a 4.7kΩ resistor between SDA and 5V, and another between SCL and 5V near the master board. If you are pushing Fast Mode (400kHz), drop those resistors to 2.2kΩ to overcome the capacitance faster. For deeper insights on calculating exact resistor values based on bus capacitance, refer to SparkFun's comprehensive I2C tutorial.
- Verify with a Logic Analyzer: Do not rely solely on the
Wire.hI2C scanner sketch. Hook up a $15 USB logic analyzer (or a premium Saleae Logic Pro 8) to the SDA and SCL lines. If the HIGH state droops below 3.5V (the minimum VIH for a 5V ATmega328P), your pull-ups are too weak or your bus capacitance is too high. - Implement Software Timeouts: The standard Arduino
Wirelibrary can hang indefinitely if the SDA line is pulled LOW by a crashing slave device and never released. On premium boards, the R4's ARM architecture includes hardware I2C timeout interrupts. On budget clones, you must use alternative libraries likeWireExor implement a manual GPIO toggle to clock the SCL line 9 times to force a stuck slave to release the bus.
Expert Tip: Never route I2C traces near high-current DC motor wires or switching power supply inductors. The open-drain nature of the bus makes it incredibly vulnerable to inductive coupling, which can easily trigger false START or STOP conditions on the Arduino Uno I2C pins.
Expert Verdict: When to Save and When to Spend
If your project involves a single I2C sensor on a short jumper wire inside a controlled environment, a $6 budget clone is perfectly adequate—provided you remember to verify the presence of pull-up resistors on your sensor breakout board. The cost savings are undeniable for disposable prototypes or classroom kits.
However, if you are designing a multi-sensor environmental monitoring station, a rover with long umbilical I2C runs, or integrating modern 3.3V components, the premium boards are mandatory. The Arduino Uno R4 Minima's hardware buffering prevents 5V backfeed from destroying your ARM core, while the SparkFun RedBoard Plus's native Qwiic ecosystem physically eliminates the loose jumper wires that cause 90% of all I2C field failures. In professional or mission-critical DIY applications, the $20 premium pays for itself the moment you avoid a three-hour bus capacitance debugging session.