
The Engineering Reality of Reading Encoders on the Nano
Learning how to read an encoder with the Arduino Nano seems trivial in basic tutorials: connect the pins, read the digital states, and increment a counter. However, when you move from slow-turning UI knobs to high-RPM motor control, the ATmega328P microcontroller at the heart of the classic Arduino Nano quickly exposes its limitations. Missed steps, contact bounce, and interrupt latency can turn a precision motion system into an unpredictable mess.
This deep dive bypasses the beginner fluff. We will examine the exact hardware requirements, the mathematics of quadrature decoding, interrupt service routine (ISR) optimization, and the electrical filtering required to make your Nano read encoders flawlessly in noisy, real-world environments.
Hardware Selection: Mechanical vs. Optical vs. Magnetic
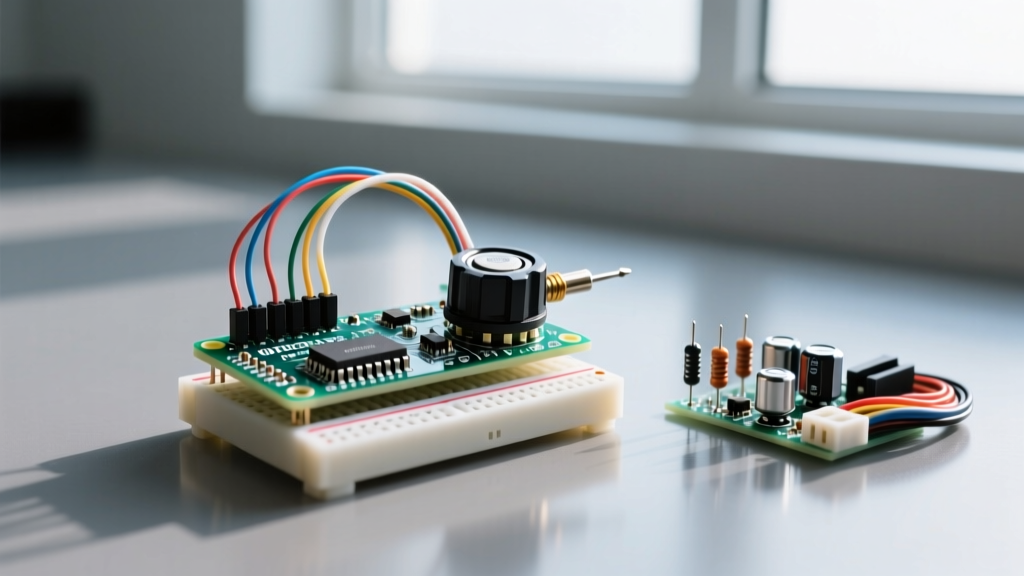
Before writing a single line of code, you must match the encoder to your application's RPM and precision requirements. The Arduino Nano's 16 MHz clock can process millions of instructions per second, but the physical encoder dictates the signal integrity.
| Encoder Type | Model Example | Resolution (PPR) | Max RPM | Bounce / Noise | Approx. Cost |
|---|---|---|---|---|---|
| Mechanical (Detent) | Alps EC11 | 20 - 30 | ~100 | High (Requires filtering) | $0.50 - $1.00 |
| Mechanical (Smooth) | Bourns PEC11R | 24 - 120 | ~300 | Medium | $1.20 - $2.50 |
| Capacitive / Optical | CUI Devices AMT103 | 2048 | 15,000+ | None (Clean digital) | $20.00 - $30.00 |
| Magnetic (Absolute) | AMS AS5048A | 14-bit (16384) | ~3,000 | None (SPI/I2C interface) | $12.00 - $18.00 |
Expert Insight: If you are building a user interface volume knob, the Alps EC11 is perfect. If you are building a CNC router or balancing robot using the Nano, you must use an optical or capacitive encoder like the CUI AMT series. Mechanical encoders will fail catastrophically at high speeds due to contact bounce.
Wiring and the Nano's Interrupt Limitation
The classic Arduino Nano (ATmega328P) has a strict hardware limitation: it only exposes two external hardware interrupt pins. These are mapped to Digital Pin 2 (INT0) and Digital Pin 3 (INT1).
The Pull-Up Resistor Problem
Most open-collector or mechanical encoders require pull-up resistors to define the HIGH state. While the Nano has internal pull-ups (activated via INPUT_PULLUP), they are typically around 30kΩ to 50kΩ. In environments with stepper motors or switching power supplies, these weak internal pull-ups act as antennas for Electromagnetic Interference (EMI), causing phantom encoder ticks.
Rule of Thumb: Always disable internal pull-ups and use external 4.7kΩ or 10kΩ resistors tied to the 5V rail for robust noise immunity.
Hardware Debouncing (RC Filtering)
If you are forced to use a mechanical encoder, software debouncing in an ISR is a bad practice because it consumes precious CPU cycles and complicates state tracking. Instead, use a hardware RC low-pass filter. Solder a 10nF ceramic capacitor between each signal pin (Phase A and Phase B) and GND. Combined with a 4.7kΩ pull-up resistor, this creates a time constant ($\tau = R \times C$) of roughly 47µs. This safely filters out microsecond-level contact bounce without blurring the legitimate edges of a fast-spinning shaft.
Quadrature Decoding and Gray Code
Incremental encoders output two square waves (Phase A and Phase B) offset by 90 electrical degrees. This is known as quadrature encoding. By reading the transitions of both phases, we can determine both the position and the direction of rotation.
The signals follow a Gray code sequence, meaning only one bit changes state at a time. The valid state transitions for a clockwise rotation are: 00 -> 01 -> 11 -> 10 -> 00. If you read a transition like 00 -> 11, you know noise or a missed interrupt has corrupted the signal.
Software Implementation: Polling vs. Hardware Interrupts
Beginners often use digitalRead() inside the loop() to poll encoder pins. This is a critical mistake. If your main loop takes 5ms to execute (perhaps updating an LCD or reading an I2C sensor), you will completely miss encoder pulses that occur during that window.
To reliably read an encoder, you must use hardware interrupts. According to the official Arduino interrupt documentation, attaching an ISR to the CHANGE edge of pins 2 and 3 ensures the microcontroller halts the main program to record the pulse the microsecond it happens.
The Optimized ISR Approach
While you can write a raw state-machine ISR, the gold standard in the Arduino ecosystem remains the Encoder Library by Paul Stoffregen. It utilizes highly optimized, chip-specific interrupt vectors that execute in under 2 microseconds.
Here is the professional implementation pattern for the Nano:
#include <Encoder.h>

// Initialize on the ONLY hardware interrupt pins available on Nano ATmega328P
Encoder myEnc(2, 3);

long oldPosition  = -999;

void setup() {
  Serial.begin(115200);
  // Do NOT use INPUT_PULLUP here if using external 4.7k resistors
  pinMode(2, INPUT);
  pinMode(3, INPUT);
}

void loop() {
  long newPosition = myEnc.read();

  // Only print when the state changes to avoid flooding the serial buffer
  if (newPosition != oldPosition) {
    oldPosition = newPosition;
    Serial.println(newPosition);
  }

  // Your main control logic (PID loops, motor driving) goes here
}
Pushing the Limits: RPM Calculations and Edge Cases
How fast can the Arduino Nano actually read an encoder before it crashes? Let's do the math.
Suppose you are using a CUI AMT103 configured for 2048 Pulses Per Revolution (PPR). With 4x quadrature decoding, that yields 8,192 counts per revolution.
- At 60 RPM (1 rev/sec): 8,192 interrupts per second. The Nano handles this effortlessly.
- At 3,000 RPM (50 rev/sec): 409,600 interrupts per second.
At 3,000 RPM, an interrupt fires every 2.44 microseconds. Since the ATmega328P running at 16 MHz executes one clock cycle every 62.5 nanoseconds, a 2.44µs window allows for roughly 39 clock cycles. If your ISR takes longer than 39 cycles to execute, the microcontroller will queue the next interrupt, and if the queue overflows, you will drop steps.
Solving the High-RPM Bottleneck
If your project requires tracking high-RPM motors with high-PPR encoders, the classic Nano is the wrong tool. You have two architectural choices:
- Downsample the Encoder: Use a hardware flip-flop or configure the encoder's DIP switches (if available) to output 1x or 2x resolution instead of 4x.
- Upgrade the Platform: Migrate to the Arduino Nano RP2040 Connect or Nano Every. The RP2040 features a Programmable I/O (PIO) state machine that can offload quadrature decoding entirely from the main CPU cores, handling millions of pulses per second with zero CPU overhead.
Troubleshooting Ghost Ticks and Drift
If your Nano registers movement while the encoder is perfectly still, you are experiencing EMI coupling. This is incredibly common when the Nano is mounted near stepper motor drivers (like the A4988 or TMC2209).
The Fix: Never run encoder signal wires parallel to stepper motor coil wires. Use twisted-pair cabling for the encoder signals, and if the run is longer than 12 inches, implement galvanic isolation using high-speed optocouplers (e.g., the 6N137) between the encoder and the Nano's digital pins.