
Why Upgrade? Understanding the Arduino Mega 2560 Specifications
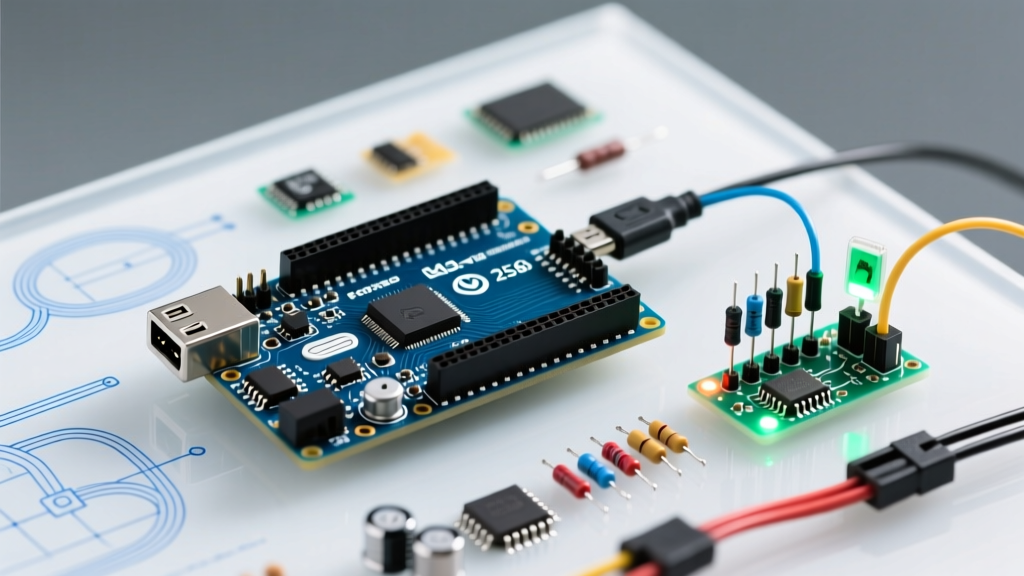
When your DIY electronics project outgrows the 14 digital pins and 2 KB SRAM of the standard Uno, it is time to scale up. The Arduino Mega 2560 is the undisputed heavyweight of the classic Arduino lineup, designed for complex robotics, 3D printers, and multi-sensor data logging. Before we wire up our first project, we need to deeply understand the Arduino Mega 2560 specifications to avoid common hardware traps that plague beginners transitioning from smaller boards.
According to the official Arduino documentation, the Mega 2560 is built around the Microchip ATmega2560 microcontroller. Unlike the Uno's ATmega328P, this chip provides massive memory overhead and extensive I/O capabilities, making it ideal for handling multiple serial devices simultaneously.
Core Arduino Mega 2560 Specifications Matrix
| Specification | Arduino Mega 2560 | Arduino Uno R3 (Comparison) |
|---|---|---|
| Microcontroller | ATmega2560 | ATmega328P |
| Flash Memory | 256 KB (8 KB used by bootloader) | 32 KB (0.5 KB used by bootloader) |
| SRAM | 8 KB | 2 KB |
| EEPROM | 4 KB | 1 KB |
| Digital I/O Pins | 54 (15 provide PWM output) | 14 (6 provide PWM output) |
| Analog Input Pins | 16 | 6 |
| Hardware Serial (UART) | 4 (Serial, Serial1, Serial2, Serial3) | 1 (Serial) |
| I2C Pins | 20 (SDA), 21 (SCL) | A4 (SDA), A5 (SCL) |
| SPI Pins | 50 (MISO), 51 (MOSI), 52 (SCK), 53 (SS) | 12 (MISO), 11 (MOSI), 13 (SCK), 10 (SS) |
Critical I2C Warning: The most common mistake when migrating from an Uno to a Mega is assuming I2C pins are on A4 and A5. On the Mega 2560, A4 and A5 are strictly analog inputs. You must use pins 20 (SDA) and 21 (SCL), or the dedicated SDA/SCL headers near the USB port. For more on the underlying silicon, refer to the Microchip ATmega2560 product page.
Hardware Requirements & 2026 Budgeting
To build our first project—a Multi-Zone Environmental Data Logger—you will need the following components. Pricing reflects the 2026 market for hobbyist electronics:
- Microcontroller: OEM Arduino Mega 2560 Rev3 (~$48.00) or a high-quality clone like the Elegoo Mega 2560 R3 (~$18.00). Note: Clones typically use the CH340G USB-Serial chip instead of the ATmega16U2, requiring a specific driver installation on Windows.
- Sensor: Adafruit BME280 I2C/SPI Temperature, Humidity, and Pressure Sensor (~$19.50).
- Storage: Micro SD Card Adapter Module with built-in 3.3V LDO and logic level shifters (~$4.00 for a 5-pack).
- Power: 9V 1A DC Power Supply with 5.5x2.1mm barrel jack (~$8.00).
- Miscellaneous: Half-size breadboard, 22 AWG solid core jumper wires, 10kΩ pull-up resistors (if using raw I2C sensors).
Step-by-Step Setup: IDE Configuration
Before wiring, ensure your development environment is correctly configured. We recommend using Arduino IDE 2.3.x for its superior serial plotter and auto-complete features.
- Install Board Definitions: Open the Boards Manager and ensure the
Arduino AVR Boardspackage is updated to the latest version. - Driver Installation (Clones Only): If using a board with a CH340 chip, download and install the official WCH CH340 drivers. OEM boards use native ATmega16U2 drivers which install automatically with the IDE.
- Board Selection: Go to Tools > Board and select
Arduino Mega or Mega 2560. Under Tools > Processor, ensureATmega2560 (Mega 2560)is selected. - Library Installation: Open the Library Manager and install the
Adafruit BME280 Libraryand its dependency, theAdafruit Unified Sensorlibrary.
First Project: Multi-Zone Environmental Data Logger
This project reads temperature, humidity, and barometric pressure from a BME280 sensor and logs the data with a timestamp to a Micro SD card. This utilizes the Mega's dedicated SPI bus for the SD card and I2C bus for the sensor, demonstrating the board's ability to handle multiple communication protocols simultaneously without pin conflicts.
Wiring Diagram & Pin Mapping
Follow this exact pinout. Do not use the ICSP header unless you are bypassing the digital pin routing.
- BME280 (I2C): VIN to 5V, GND to GND, SDA to Pin 20, SCL to Pin 21.
- SD Card Module (SPI): VCC to 5V, GND to GND, MISO to Pin 50, MOSI to Pin 51, SCK to Pin 52, CS to Pin 53.
The C++ Data Logging Sketch
Upload the following code. This script initializes both buses, creates a CSV file, and appends a new row every 5 seconds.
#include <Wire.h>
#include <SPI.h>
#include <SD.h>
#include <Adafruit_Sensor.h>
#include <Adafruit_BME280.h>

#define BME_SCK 13
#define BME_MISO 12
#define BME_MOSI 11
#define BME_CS 10
#define SEALEVELPRESSURE_HPA (1013.25)

Adafruit_BME280 bme; // I2C
const int chipSelect = 53; // Mega 2560 SPI CS pin

void setup() {
  Serial.begin(9600);
  while(!Serial); // Wait for serial monitor

  // Initialize BME280 on I2C (Pins 20/21)
  if (!bme.begin(0x76)) {
    Serial.println("Could not find a valid BME280 sensor, check wiring!");
    while (1);
  }

  // Initialize SD Card on SPI (Pins 50-53)
  if (!SD.begin(chipSelect)) {
    Serial.println("SD card initialization failed!");
    while (1);
  }
  Serial.println("SD card initialized.");

  // Create CSV Header
  File dataFile = SD.open("datalog.csv", FILE_WRITE);
  if (dataFile) {
    dataFile.println("Time_ms,Temp_C,Humidity_%,Pressure_hPa");
    dataFile.close();
  }
}

void loop() {
  unsigned long currentMillis = millis();
  float temp = bme.readTemperature();
  float hum = bme.readHumidity();
  float pres = bme.readPressure() / 100.0F;

  File dataFile = SD.open("datalog.csv", FILE_WRITE);
  if (dataFile) {
    dataFile.print(currentMillis);
    dataFile.print(",");
    dataFile.print(temp);
    dataFile.print(",");
    dataFile.print(hum);
    dataFile.print(",");
    dataFile.println(pres);
    dataFile.close();

    Serial.print("Logged: "); Serial.print(temp); Serial.println(" C");
  }
  delay(5000);
}
Real-World Edge Cases & Troubleshooting
Working with the Mega 2560 in the field introduces specific hardware quirks that tutorials often ignore. Here is how to solve them:
1. The 5V vs 3.3V Logic Level Trap
The ATmega2560 operates at 5V logic. However, standard Micro SD cards require 3.3V logic on their SPI lines. Sending 5V directly into an SD card's MISO/MOSI pins will degrade or destroy the card's controller over time. Solution: Always use an SD module that includes an onboard LDO (like the AMS1117-3.3) and a logic level shifter (like the 74LVC125A). The Adafruit BME280 breakout handles this internally via its onboard 3.3V regulator and level shifting, which is why it is highly recommended over raw, bare-bones sensor modules.
2. Voltage Regulator Thermal Throttling
If you power the Mega via the barrel jack with a 12V adapter and attempt to draw 800mA from the 5V pin to power a servo array or LED strip, the onboard NCP1117 linear regulator will overheat and trigger thermal shutdown. The voltage drop (12V - 5V = 7V) multiplied by the current (0.8A) results in 5.6 Watts of heat dissipation, which the small SMD heatsink cannot handle. Solution: For high-current 5V projects, use a 5.5V to 7V power supply, or bypass the onboard regulator entirely by feeding a regulated 5V source directly into the 5V pin (bypassing the USB and barrel jack).
3. I2C Bus Capacitance and Pull-Up Resistors
With 16 analog pins and long I2C traces, the Mega's I2C bus can suffer from high parasitic capacitance if you daisy-chain multiple sensors. If your BME280 returns NaN (Not a Number) or fails initialization, your I2C signal edges are too slow. Solution: Solder 4.7kΩ pull-up resistors between the SDA/SCL lines and the 5V rail. This provides the necessary current to pull the lines high quickly, ensuring clean square waves at the 100kHz or 400kHz I2C clock speeds.
Conclusion
Mastering the Arduino Mega 2560 specifications is about more than just memorizing pin counts; it is about understanding the electrical realities of the ATmega2560 silicon. By leveraging its dedicated hardware UARTs, expansive memory, and segregated SPI/I2C buses, you can build robust, multi-threaded data loggers that would simply crash a standard Uno. Keep your logic levels matched, respect the thermal limits of the onboard regulator, and your Mega 2560 will serve as the reliable brain of your most ambitious 2026 DIY projects.