
Introduction to Microcontroller Programming
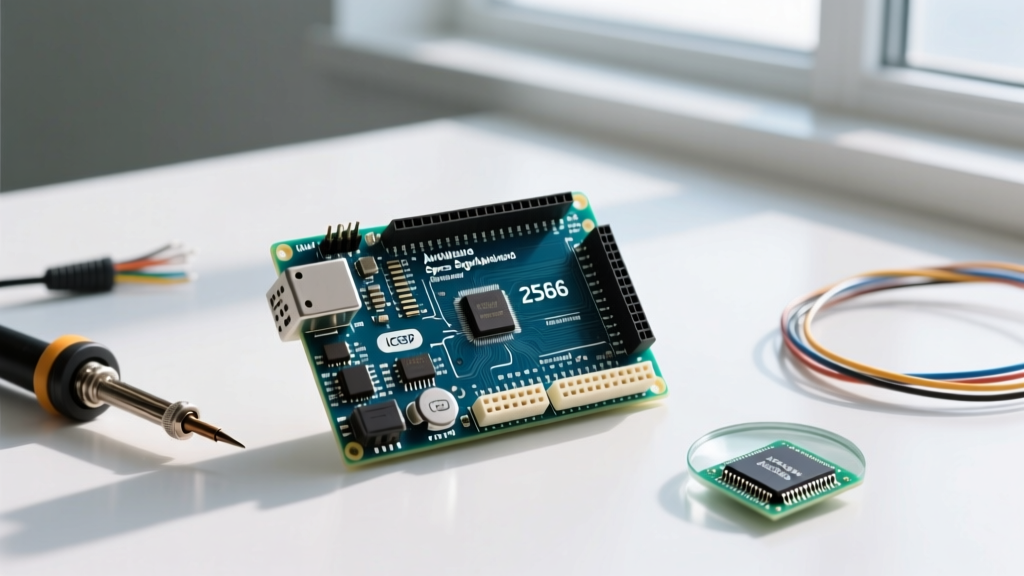
Learning how to program Arduino Uno is the gateway to modern electronics, robotics, and IoT prototyping. Whether you are automating a greenhouse, building a weather station, or simply blinking an LED, the Uno remains the most documented and supported development board in the maker community. As of 2026, the ecosystem has matured significantly, with the Arduino IDE 2.3.x offering modern features like autocomplete, live debugging, and a streamlined board manager.
In this comprehensive beginner guide, we will walk through the exact hardware requirements, software configuration, and the underlying C++ architecture required to successfully upload your first sketch. We will also cover the most common failure modes that trap beginners, ensuring your first programming session is a success.
Hardware Checklist: What You Actually Need
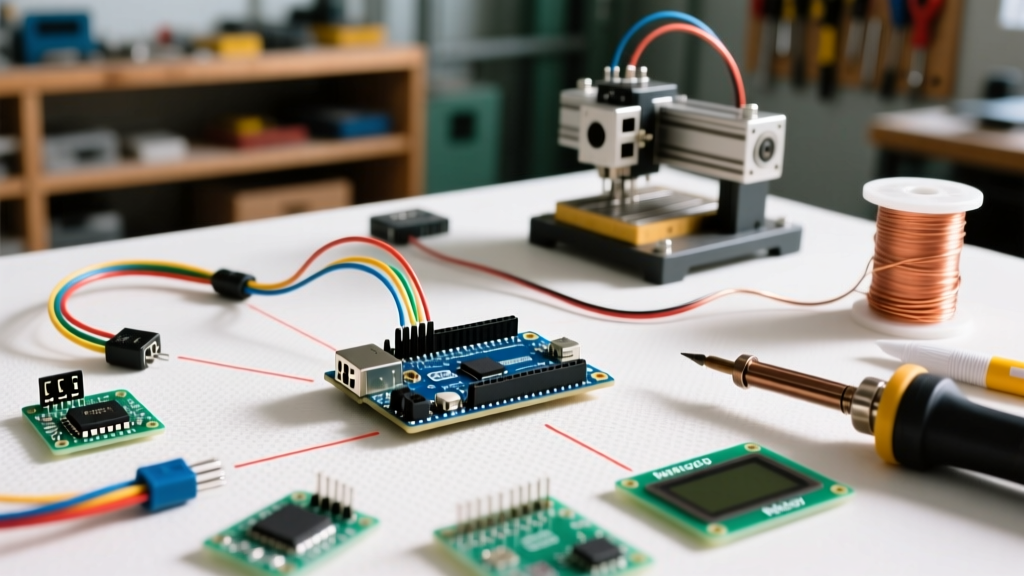
Before you write a single line of code, you must ensure your physical setup is correct. A surprisingly high number of beginner 'programming' errors are actually hardware or cabling issues.
| Component | Recommended Model / Spec | Estimated Price (2026) | Critical Notes |
|---|---|---|---|
| Development Board | Arduino Uno R3 or Uno R4 Minima | $27.50 (R3) / $20.00 (R4) | The R3 uses the classic ATmega328P; the R4 uses a 32-bit Renesas RA4M1. Both are excellent for beginners. |
| USB Cable | USB-A to USB-B (R3) or USB-C (R4) | $5.00 - $8.00 | Must be a data-sync cable. Charge-only cables will power the board but fail to program it. |
| Computer | Windows 10/11, macOS 12+, or Ubuntu 22.04+ | N/A | Ensure you have administrative rights to install USB drivers if using a clone board. |
The 'Clone' Board Caveat: If you purchased a budget Uno clone (often under $12 on Amazon or AliExpress), it likely uses the CH340G USB-to-Serial chip instead of the genuine ATmega16U2. You will need to download and install the CH340 driver from the manufacturer's site before your computer will recognize the COM port.
Step 1: Installing and Configuring the Arduino IDE
The Arduino Integrated Development Environment (IDE) is where you will write, compile, and upload your code. While the legacy 1.8.x IDE is still floating around older forums, you should exclusively use the Arduino IDE 2.x series for all new projects in 2026.
- Download the IDE: Navigate to the official Arduino Software Page and download the installer for your operating system.
- Install Core Packages: Upon first launch, the IDE will automatically download the 'Arduino AVR Boards' core package. This contains the compiler (AVR-GCC) and the upload tool (AVRDUDE) necessary to translate your C++ code into machine language the Uno understands.
- Connect the Board: Plug your Uno into your computer. The onboard 'ON' LED (usually green) should illuminate immediately, indicating the 5V voltage regulator is functioning.
- Select Board and Port: In the top-left corner of the IDE, click the Board Selector. Choose Arduino Uno from the list. If the port is greyed out, you have a cable issue, a driver issue, or a dead USB port.
Step 2: Anatomy of an Arduino Sketch
Arduino code is referred to as a 'sketch'. It is fundamentally C++, but wrapped in a simplified framework that abstracts away complex register-level hardware configurations. Every sketch must contain two primary functions: setup() and loop().
The Blink Example
We will use the universal 'Hello World' of hardware: blinking the built-in LED connected to digital pin 13.
Navigate to File > Examples > 01.Basics > Blink. The following code will populate your editor:
// the setup function runs once when you press reset or power the board
void setup() {
  // initialize digital pin LED_BUILTIN as an output.
  pinMode(LED_BUILTIN, OUTPUT);
}

// the loop function runs over and over again forever
void loop() {
  digitalWrite(LED_BUILTIN, HIGH);  // turn the LED on (HIGH is the voltage level)
  delay(1000);                      // wait for a second
  digitalWrite(LED_BUILTIN, LOW);   // turn the LED off by making the voltage LOW
  delay(1000);                      // wait for a second
}
Breaking Down the Syntax
LED_BUILTIN: This is a predefined constant mapped to pin 13 on the Uno. Using this constant ensures your code remains portable across different Arduino boards where the built-in LED might be on a different pin.pinMode(): Microcontroller pins can act as inputs (reading sensors) or outputs (powering LEDs). This command configures the internal hardware registers to set the pin as an OUTPUT.digitalWrite(): This sets the pin to either HIGH (5V on the Uno R3, 3.3V on some other platforms) or LOW (0V / Ground).delay(): This pauses the program execution for the specified number of milliseconds (1000ms = 1 second). Note thatdelay()is a 'blocking' function; the processor cannot do anything else while waiting.
Step 3: Compiling and Uploading
When you click the Upload button (the right-pointing arrow), a multi-step process occurs behind the scenes:
- Verification (Compilation): The IDE checks your syntax. If valid, the AVR-GCC compiler translates your C++ into an intermediate hex file (machine code).
- Reset Sequence: The IDE pulses the DTR (Data Terminal Ready) line over USB. This triggers the Uno's auto-reset circuit, rebooting the ATmega328P into its 'bootloader' mode.
- Flashing: The AVRDUDE tool pushes the hex file through the serial connection into the Uno's flash memory.
Once the console reads 'Done uploading', the board will automatically restart and execute your loop() function. The yellow LED labeled 'L' on the board should now be blinking at 1-second intervals.
Troubleshooting: Common Upload Errors
Hardware programming is rarely perfect on the first try. Consult this diagnostic matrix if your upload fails.
| Error Message | Root Cause | Actionable Solution |
|---|---|---|
avrdude: stk500_getsync() attempt 10 of 10: not in sync |
The IDE cannot communicate with the bootloader. Usually caused by selecting the wrong board, a bad cable, or a board stuck in a reset loop. | Verify Tools > Board. Try a different USB port. Ensure no wires are connected to pins 0 (RX) and 1 (TX) during upload. |
Serial port 'COM3' not found (or greyed out port) |
Missing USB-to-Serial drivers (common with CH340 clones) or the OS has suspended the USB port to save power. | Install the CH340 driver. On Windows, check Device Manager for 'Unknown Devices' with a yellow exclamation mark. |
Programmer is not responding |
The bootloader on the ATmega chip is corrupted or missing, often caused by a short circuit or incorrect ISP flashing. | Use a second Arduino as an ISP programmer to 'Burn Bootloader' via the Tools menu. |
Sketch too big; max size is 32256 bytes |
Your code, including imported libraries, exceeds the Uno's 32KB flash memory limit (minus 2KB reserved for the bootloader). | Optimize code, remove unused libraries, or upgrade to an Arduino Mega 2560 (256KB flash). |
Best Practices for Beginners
As you move beyond the Blink sketch and start wiring external components, adhere to these hardware safety rules to prevent permanently damaging your board:
- Never exceed pin current limits: The ATmega328P can safely source or sink a maximum of 20mA per I/O pin, with an absolute total limit of 200mA for the entire chip. Always use a current-limiting resistor (e.g., 220Ω or 330Ω) when wiring LEDs directly to digital pins.
- Wire while unpowered: Always disconnect the USB cable when moving jumper wires on a breadboard. A stray wire connecting 5V directly to GND will instantly trip the onboard polyfuse or, worse, destroy the voltage regulator.
- Use Serial Monitor for Debugging: Instead of guessing why a sensor isn't working, use
Serial.begin(9600);in your setup andSerial.println(value);in your loop to print live data to the IDE's Serial Monitor.
Next Steps: Expanding Your Uno Projects
Once you have successfully learned how to program Arduino Uno and mastered digital outputs, the next logical step is exploring digital and analog inputs. We recommend picking up a basic sensor kit (typically $15-$25) that includes potentiometers, photoresistors, and pushbuttons. For in-depth wiring diagrams and community support, the SparkFun Learn Portal remains an invaluable, up-to-date resource for expanding your microcontroller skill set.
By understanding the relationship between the IDE, the C++ syntax, and the physical hardware limitations, you transition from simply copying code to engineering robust, custom electronic systems.