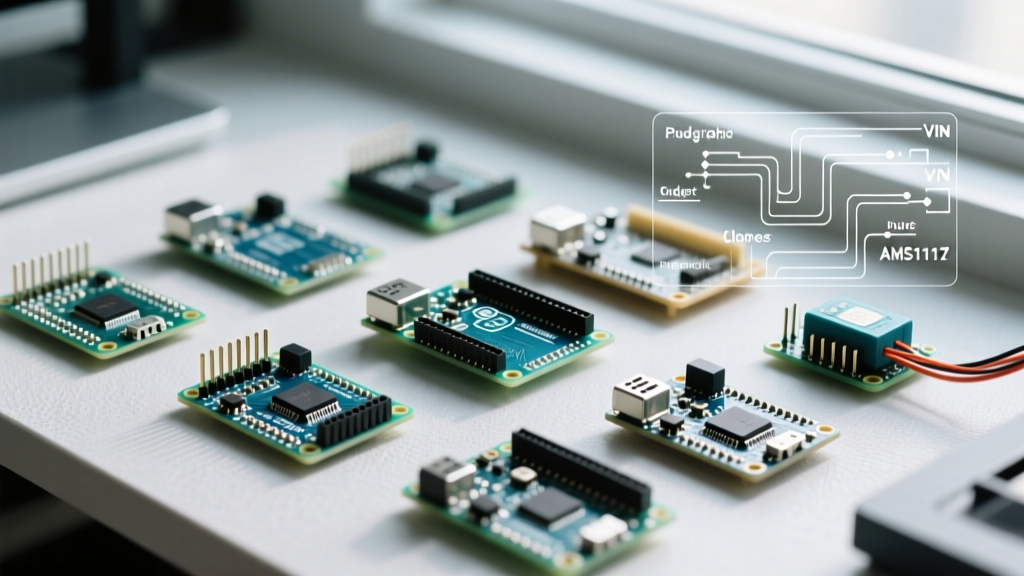

The Hidden Cost of Cheap Power: Understanding Arduino Nano Input Voltage
When prototyping a new embedded system, the arduino nano input voltage is often an afterthought—until a cheap clone board overheats, triggers a thermal shutdown, or releases the infamous "magic smoke." While the microcontroller itself (usually an ATmega328P) is robust, the power delivery network surrounding it varies wildly between a $3 generic clone and a $25 premium official board.
In 2026, the market is flooded with budget CH340G-based Nano clones. While they are perfectly adequate for blinking LEDs on a USB port, pushing them to their voltage limits in real-world, field-deployed projects reveals severe engineering compromises. This guide breaks down the exact voltage tolerances, thermal failure modes, and power architectures of budget versus premium Nano ecosystems, giving you the actionable data needed to design reliable hardware.
Anatomy of the Nano Power Rails
Before comparing board tiers, we must establish the three primary methods for delivering power to the Nano form factor. According to the official Arduino Nano hardware documentation, the board accepts power via:
- USB Mini-B / Type-C: Provides regulated 5V directly to the board's 5V rail, bypassing the onboard linear regulator.
- VIN Pin: Accepts unregulated DC voltage (recommended 7V to 12V), which is then stepped down to 5V by the onboard voltage regulator.
- 5V Pin: Allows you to inject a regulated 5V source directly into the board's 5V rail, bypassing the regulator entirely.
Budget vs. Premium: The Voltage Regulator Showdown
The core difference in handling the arduino nano input voltage via the VIN pin lies in the component selection and PCB layout of the voltage regulator.
The Budget Clone Architecture
Generic clones almost universally rely on the AMS1117-5.0 linear regulator in a SOT-223 surface-mount package. While the AMS1117 is a workhorse component, it is a linear regulator, meaning it dissipates excess voltage as heat. Furthermore, budget manufacturers use ultra-thin PCB copper pours (often 1oz or less) with minimal thermal vias beneath the SOT-223 tab. This severely limits the component's ability to shed heat into the environment.
The Premium Architecture
Premium boards—such as the official Arduino Nano, the Nano Every, or high-end third-party alternatives like the Pololu A-Star—utilize high-grade LDOs with lower dropout voltages and better thermal pads. More advanced premium boards in the Nano footprint (like the Nano RP2040 Connect) abandon linear regulators entirely in favor of switching buck converters, which step down voltage with 85-90% efficiency rather than burning the difference as heat. For a deep dive into how these components differ, the SparkFun Voltage Regulator Tutorial provides an excellent breakdown of linear versus switching topologies.
Specification & Tolerance Matrix
The following table contrasts the real-world power handling capabilities across different Nano-tier boards based on 2026 market offerings.
| Board Type | Regulator IC | Min VIN (Dropout) | Max Recommended VIN | Max Safe Current (at 9V VIN) | Avg. Price (2026) |
|---|---|---|---|---|---|
| Generic Clone (CH340) | AMS1117-5.0 (LDO) | 6.2V | 9V (12V absolute max) | ~150mA | $3.50 |
| Official Arduino Nano | High-Grade LDO | 6.0V | 12V | ~300mA | $24.00 |
| Arduino Nano Every | Optimized LDO | 6.5V | 12V | ~400mA | $12.50 |
| Premium RP2040 Nano | Switching Buck | 4.5V (via USB/VIN) | 18V | 1000mA+ | $15.00 - $22.00 |
Thermal Math: Why 12V Kills Budget Clones
To understand why budget clones fail at higher input voltages, we must look at the thermal dissipation equation for linear regulators:
Power Dissipated (Pd) = (VIN - VOUT) × Current (I)
Imagine you are powering a clone Nano via the VIN pin using a 12V wall adapter, and your project (a few sensors and an I2C OLED display) draws 200mA.
- Voltage Drop: 12V - 5V = 7V
- Power Dissipated: 7V × 0.2A = 1.4 Watts
The SOT-223 package has a junction-to-ambient thermal resistance of roughly 15°C/W on a standard PCB, but on a tiny 0.7" × 1.7" clone board with poor ground planes, effective thermal resistance can easily exceed 40°C/W.
Temperature Rise: 1.4W × 40°C/W = 56°C rise above ambient.
If your project sits inside an enclosed plastic project box at a 35°C ambient temperature, the regulator junction hits 91°C. While this is technically below the AMS1117's 125°C thermal shutdown threshold, it will cause severe brownouts, ADC noise, and drastically reduce the lifespan of the surrounding electrolytic capacitors. Push the current to 300mA, and the board will enter thermal shutdown, resetting your microcontroller randomly.
The 5V Pin Backfeeding Trap
A common "hack" in the budget maker community is to bypass the VIN pin entirely by wiring a 5V external power supply directly to the 5V pin. While this avoids the LDO thermal issue, it introduces a critical edge case:
- USB Conflict: If you plug in a USB cable to upload code while 5V is backfed into the 5V pin, the two 5V sources will fight each other. Official boards have a Schottky diode or auto-switching MOSFET to protect the USB port. Budget clones often omit this protection, potentially frying your computer's USB port.
- No Overvoltage Protection: The 5V rail on a clone has zero reverse polarity or overvoltage protection. A 5.5V spike from a cheap buck converter will directly stress the ATmega328P, which has an absolute maximum rating of 6V on VCC.
Pro-Maker Power Strategies for the Nano Form Factor
If your project requires deploying a Nano-style board in a 12V or 24V industrial/automotive environment, relying on the onboard regulator is a budget mistake. Here is the premium, professional approach to handling arduino nano input voltage in high-reliability systems.
Strategy 1: The External Buck Converter (Highly Recommended)
Instead of feeding 12V into the VIN pin, use an external switching buck converter module to step the voltage down to a clean 5.1V, and feed it directly into the 5V pin (ensuring USB is disconnected or using a cut USB cable for data only).
- Component: MP1584EN or LM2596 based modules.
- Cost: $1.50 to $3.00 per module.
- Wiring: Module VIN to 12V source. Module VOUT to Nano 5V pin. Module GND to Nano GND.
- Advantage: You can safely draw up to 1.5A of 5V current to power servos, LED strips, and relays without the Nano board ever warming up. For more on integrating these modules, refer to the Arduino Nano Every power guidelines, which apply similarly to managing high-current 5V rails.
Strategy 2: The 9V Sweet Spot
If you must use the onboard VIN pin of a budget clone to keep the BOM (Bill of Materials) low and avoid external modules, use a regulated 9V DC supply. A 9V input minimizes the voltage drop across the AMS1117 (4V drop instead of 7V), cutting thermal dissipation nearly in half compared to a 12V supply. Keep your total 5V rail current draw under 150mA to ensure the junction temperature remains safe inside an enclosure.
Final Verdict: When to Pay the Premium
The arduino nano input voltage specifications are not just suggestions; they are hard physical limits dictated by silicon thermodynamics.
Buy Budget Clones ($3 - $5) when: Your project is powered strictly via USB, or you are using an external buck converter to feed 5V directly to the 5V pin for low-stakes prototypes and indoor hobby projects.
Buy Premium Official/Advanced Boards ($12 - $25) when: You need to reliably use the VIN pin with 9V-12V battery packs, you require automotive-grade voltage spike tolerance, or your project will be enclosed in a sealed housing where ambient temperatures exceed 30°C. The extra $20 pays for proper PCB copper pours, protection diodes, and quality-assured LDOs that won't strand your hardware in thermal shutdown.