
The Paradigm Shift: Microcontroller vs. Microprocessor
When engineers and hobbyists evaluate the Arduino Uno vs Raspberry Pi debate, they are rarely comparing apples to apples. Instead, they are weighing a deterministic, bare-metal microcontroller unit (MCU) against a multi-threaded, Linux-based single-board computer (SBC). Migrating a project between these two platforms is not merely a matter of rewriting code; it requires a fundamental redesign of your hardware architecture, power management, and timing expectations.
Whether you are scaling up from an Uno to a Pi to integrate machine learning and computer vision, or scaling down from a Pi to an Uno to achieve ultra-low power consumption and hard real-time control, this 2026 migration guide provides the exact technical blueprints you need to avoid catastrophic hardware failures and software bottlenecks.
Core Migration Rule: The Arduino Uno executes instructions sequentially with microsecond precision on bare metal. The Raspberry Pi runs a preemptive multitasking OS (Linux) where GPIO operations are subject to kernel scheduling latency, often resulting in millisecond-level jitter.
Scenario A: Migrating from Arduino Uno to Raspberry Pi (Scaling Up)
You have maxed out the ATmega328P’s 32KB flash memory, or your project now requires an MQTT broker, a local SQLite database, and OpenCV image processing. It is time to move to a Raspberry Pi 5 or Pi Zero 2 W. However, direct hardware porting will destroy your Pi.
The 5V to 3.3V Logic Trap
The classic Arduino Uno R3 operates at 5V logic. The Raspberry Pi’s Broadcom SoC GPIO pins are strictly 3.3V and are not 5V-tolerant. Feeding a 5V sensor output or a 5V I2C bus directly into a Pi GPIO pin will permanently fry the SoC.
- Unidirectional Signals (e.g., Ultrasonic Sensors): Use a simple resistor voltage divider (e.g., 2kΩ and 3.3kΩ) or a dedicated logic level shifter IC like the Texas Instruments TXS0108E.
- Bidirectional Buses (I2C/SPI): You must use a MOSFET-based bidirectional level shifter, such as the NXP PCA9306 or breakout boards utilizing BSS138 MOSFETs. For a deep dive into the physics of MOSFET level translation, refer to the SparkFun Logic Levels Tutorial.
Handling the Missing ADC (Analog-to-Digital Converter)
The Uno features a native 6-channel, 10-bit ADC. The Raspberry Pi has zero native analog inputs. If your migration involves reading potentiometers, thermistors, or analog soil moisture sensors, you must integrate an external ADC IC. The Microchip MCP3008 (10-bit, 8-channel via SPI) or the ADS1115 (16-bit, 4-channel via I2C) are the industry standards for Pi analog migration.
Scenario B: Migrating from Raspberry Pi to Arduino Uno (Edge Optimization)
Conversely, you may be migrating from a Pi to an Uno (or the newer Uno R4 WiFi) because your deployment environment demands instant boot times, strict real-time PID control loops, or operation on a single 18650 Li-ion battery for months.
Overcoming OS Latency and Boot Times
A Raspberry Pi takes 15 to 30 seconds to boot into a usable Linux state. An Arduino Uno achieves hardware-ready execution in under 2 milliseconds. When migrating motor control or safety-critical interlocks to the Uno, you must strip away Python scripts and systemd services, replacing them with C++ interrupt service routines (ISRs).
Memory and State Management
On a Pi, you are accustomed to megabytes of RAM and garbage-collected languages like Python. The classic Uno R3 has only 2KB of SRAM. The newer Uno R4 Minima bumps this to 32KB. When migrating code:
- Eliminate Dynamic Allocation: Avoid
malloc()or theStringobject in C++. Use fixed-size character arrays and memory pools to prevent heap fragmentation. - Offload Constants: Move large lookup tables and static strings into flash memory using the
PROGMEMdirective to preserve precious SRAM.
Hardware & Peripheral Migration Matrix
Before rewiring your breadboard, consult this matrix to understand how peripheral behaviors change between the platforms.
| Feature | Arduino Uno (R3 / R4) | Raspberry Pi (4 / 5) | Migration Action Required |
|---|---|---|---|
| Hardware PWM | Native on specific pins (e.g., 5, 6, 9) | Only GPIO 12/13 (Pi 4) or GPIO 12/13/18/19 (Pi 5) | Rewire PWM-dependent servos/LEDs to specific Pi pins or use PCA9685 I2C driver. |
| I2C Speed | 100kHz / 400kHz (Hardware) | Configurable, but often defaults to 100kHz | Edit /boot/firmware/config.txt to set dtparam=i2c_baudrate=400000. |
| Interrupts | Hardware ISRs (Microsecond latency) | Software via RPi.GPIO (Millisecond jitter) |
Do not use Pi for high-speed rotary encoders; offload to an MCU. |
| Serial (UART) | Hardware Serial (USB & Pins 0/1) | Hardware UART tied to Bluetooth (often needs disabling) | Disable serial console in raspi-config to free up the primary UART. |
Power Consumption and 2026 Cost Realities
Power draw is often the silent killer of migrated projects. A Raspberry Pi 5 idling at 2.4GHz draws roughly 2.5W to 3.5W (approx. 500mA - 700mA at 5V). Under load, this spikes past 12W. Running a Pi on a standard 20,000mAh USB power bank will yield barely 12 hours of runtime.
The Arduino Uno R3 draws about 45mA idle. The Uno R4 WiFi, utilizing the Renesas RA4M1 and ESP32-S3, can be put into deep sleep modes drawing under 10µA, allowing multi-year deployments on standard Li-SOCl2 primary cells.
Component Pricing (2026 Market Averages)
- Arduino Uno R3 (Official): ~$27.00 (Beware of $6 clones with flawed CH340 USB-UART chips that drop serial packets).
- Arduino Uno R4 WiFi: ~$45.00 (Includes native battery charging circuitry and SWD debug header).
- Raspberry Pi 5 (4GB): ~$60.00 (Requires an active cooler and a 27W USB-C PD power supply to prevent brownout throttling).
- Raspberry Pi Zero 2 W: ~$15.00 (The ideal middle-ground for headless IoT, though RAM is limited to 512MB).
The Hybrid Architecture: Stop Choosing, Start Bridging
For complex robotics, automated greenhouse systems, or CNC routers, the most robust engineering decision is to abandon the Arduino Uno vs Raspberry Pi binary choice entirely. Instead, implement a hybrid supervisor-worker architecture.
Use the Raspberry Pi as the "Supervisor" handling high-level logic: Wi-Fi routing, cloud API syncing, local web servers, and path planning. Use the Arduino Uno as the "Worker" node handling the dirty, time-critical hardware interfacing: reading encoders, firing solenoids, and stabilizing PID motor loops.
Implementing the Bridge
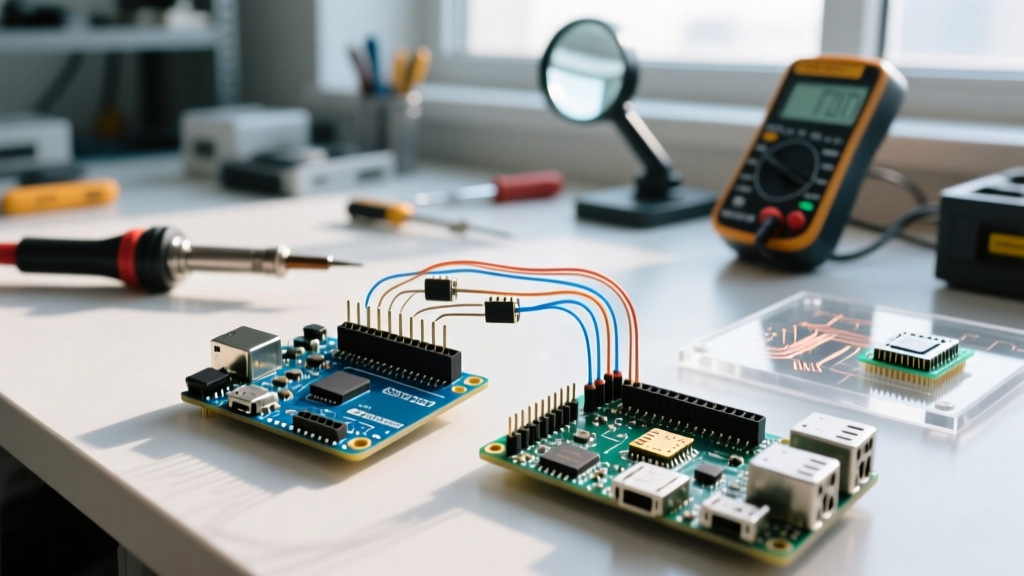
Connect the two via a hardware UART serial link or an isolated I2C bus. The Pi sends high-level JSON or binary commands (e.g., {"motor_1": 1500, "valve": true}) over serial. The Uno parses the payload and executes the hardware toggling within its deterministic loop(). This guarantees that if the Pi’s Linux kernel hangs during a background apt-update, the Uno’s watchdog timer and local logic keep the physical hardware in a safe state.
Final Migration Verdict
Migrating between these platforms requires respecting their fundamental silicon natures. If your project demands deterministic timing, analog sensing, and battery efficiency, the Arduino Uno remains the undisputed king of the edge. If your requirements pivot toward heavy computation, multi-threading, and native IP networking, the Raspberry Pi is mandatory. By utilizing proper logic level shifting, external ADCs, and hybrid serial bridging, you can seamlessly transition your codebase and hardware without sacrificing reliability.
For official pinout diagrams and advanced peripheral configurations during your migration, always consult the Arduino Official Documentation and the Raspberry Pi Hardware Guides.