
The 2026 Reality: Where Does the Uno R3 Stand?
In the rapidly evolving microcontroller landscape of 2026, the Arduino Uno R4 WiFi and Minima variants have largely captured the premium maker market, while ESP32-S3 boards dominate IoT and machine learning applications. Yet, the classic ATmega328P-based Arduino Uno R3 remains a staple on workbenches worldwide. Why? Because for a vast category of Arduino Uno R3 projects, the board's simplicity, massive legacy codebase, and the availability of $14 clone alternatives make it irreplaceable.
However, treating the Uno R3 as a universal solution is a critical engineering mistake. This suitability analysis dissects the hardware constraints of the Uno R3, providing a rigorous framework to determine whether your next project will thrive on this legacy board or fail due to silicon limitations.
Hardware Constraints Dictating Project Suitability
Before selecting the Uno R3 for a build, you must understand the hard physical limits of the ATmega328P microcontroller and the supporting PCB architecture. According to the official Arduino Uno Rev3 documentation, the board operates at 16 MHz with 32KB of Flash memory, 1KB of EEPROM, and a highly restrictive 2KB of SRAM.
The 2KB SRAM Bottleneck and Heap Fragmentation
The most common point of failure in complex Arduino Uno R3 projects is SRAM exhaustion. Unlike modern ARM Cortex-M0+ boards that boast 32KB+ of SRAM, the Uno R3 forces you to manage memory meticulously. The primary culprit is the Arduino String class. When you concatenate Strings dynamically, the microcontroller allocates and deallocates memory on the heap. Over hours of operation, this causes heap fragmentation, leaving the 2KB SRAM full of unusable 'holes' until the board crashes or resets.
Expert Directive: Never use theStringobject for continuous data logging or serial parsing on the Uno R3. Use fixed-lengthchararrays and functions likesnprintf()orstrtok(). For a deep dive into AVR memory management, consult the Arduino Memory Guide.
Thermal Limits of the Onboard Voltage Regulator
The official Uno R3 utilizes an NCP1117ST50T3G linear voltage regulator in a SOT-223 package to step down the barrel jack input (7-12V recommended) to 5V. Linear regulators dissipate excess voltage as heat. The power dissipation formula is P = (Vin - 5V) × I.
If you power your Uno R3 with a 12V wall adapter and draw just 250mA from the 5V pin to power a sensor array and an LCD backlight, the regulator must dissipate (12V - 5V) × 0.25A = 1.75 Watts. The SOT-223 package on the Uno PCB lacks a dedicated heatsink and has a junction-to-ambient thermal resistance of roughly 100°C/W. This results in a temperature rise of 175°C above ambient, instantly triggering the regulator's internal thermal shutdown at ~160°C. Rule of thumb: If your project draws more than 150mA from the 5V pin, power the board via the 5V USB pin or an external buck converter, bypassing the onboard LDO entirely.
Project Suitability Matrix
Use the following matrix to evaluate whether your project concept aligns with the Uno R3's silicon reality.
| Project Category | Suitability | Technical Justification & Edge Cases |
|---|---|---|
| Basic Environmental Logging | Excellent | I2C sensors (BME280, SHT31) require minimal SRAM. 16MHz clock is more than adequate for 1-minute polling intervals. |
| LED Matrix / Multiplexing | Excellent | Driving MAX7219 chips offloads multiplexing logic to dedicated silicon, preserving Uno R3 CPU cycles and memory. |
| High-Fidelity Audio DSP | Poor | 10-bit ADC maxes out at ~77kHz sampling (with accuracy loss). Lacks hardware FPU and DMA for real-time audio buffers. |
| Computer Vision / ML | Impossible | Insufficient RAM for frame buffers; lacks the vector instructions required for TensorFlow Lite Micro inference. |
| Battery-Powered Deep Sleep | Marginal | ATmega328P power-down mode draws ~0.1mA, but the onboard USB-to-serial chip (ATmega16U2) and LDO add parasitic drain. ESP32 is vastly superior here. |
High-Success Arduino Uno R3 Projects
When matched to its strengths, the Uno R3 is a powerhouse. Here are two highly optimized project architectures that leverage the board's specific I/O and timing capabilities.
1. Industrial-Style I2C Data Logger with SD Card
Logging temperature, humidity, and barometric pressure to a microSD card is a classic use case. To ensure 99.9% uptime, implement the following hardware and software optimizations:
- Sensor Selection: Use the Bosch BME280 (I2C address 0x76 or 0x77). It draws merely 3.6 µA in standby mode.
- Bus Capacitance Management: The I2C specification limits bus capacitance to 400pF. If you are running wires longer than 30cm to your sensor, the wire capacitance will cause ACK failures. Drop the standard 4.7kΩ pull-up resistors to 2.2kΩ to sharpen the signal rise times, or use a PCA9600 I2C bus extender for runs over 1 meter.
- SD Card Interface: Use a dedicated 5V-to-3.3V level shifter (like the TXS0108E) for the SPI lines. Feeding 5V logic directly into a microSD card's 3.3V pins will degrade the flash memory cells over time, leading to silent data corruption.
2. Precision Stepper Motor Controller (CNC Plotter)
The Uno R3's AccelStepper library ecosystem is unmatched for basic motion control. By utilizing the ATmega328P's hardware timers (Timer1 and Timer2), you can generate step pulses with microsecond accuracy without blocking the main loop.
- Driver Pairing: Pair the Uno R3 with TMC2209 UART stepper drivers. Unlike older A4988 drivers, the TMC2209 allows you to configure microstepping and current limits via the Uno's serial pins, eliminating the need to manually tune physical potentiometers.
- Power Architecture: Power the TMC2209 VMOT pin with a 24V 10A switching power supply. Keep the 24V completely isolated from the Uno R3's VIN pin; power the Uno via a separate 5V USB connection to prevent ground loops and back-EMF spikes from frying the microcontroller.
When to Abandon the Uno R3: Migration Triggers
Recognizing when a project has outgrown the Uno R3 is a hallmark of experienced embedded systems design. You must migrate to a more capable platform (such as the ESP32-S3, Raspberry Pi Pico, or Teensy 4.1) if your project encounters any of the following triggers:
- The Floating-Point Math Wall: The ATmega328P lacks a Hardware Floating Point Unit (FPU). Calculating complex kinematics, PID loops with high-resolution floats, or GPS coordinate distances (Haversine formula) requires software emulation, which consumes hundreds of CPU cycles per operation. If your control loop frequency drops below your target due to math overhead, migrate to an ARM Cortex-M board.
- The Concurrency Requirement: If your project requires simultaneous high-speed WiFi/Bluetooth telemetry while reading analog sensors, the single-threaded nature of the Uno R3 will bottleneck. The ESP32's dual-core architecture and FreeRTOS integration handle these parallel tasks natively.
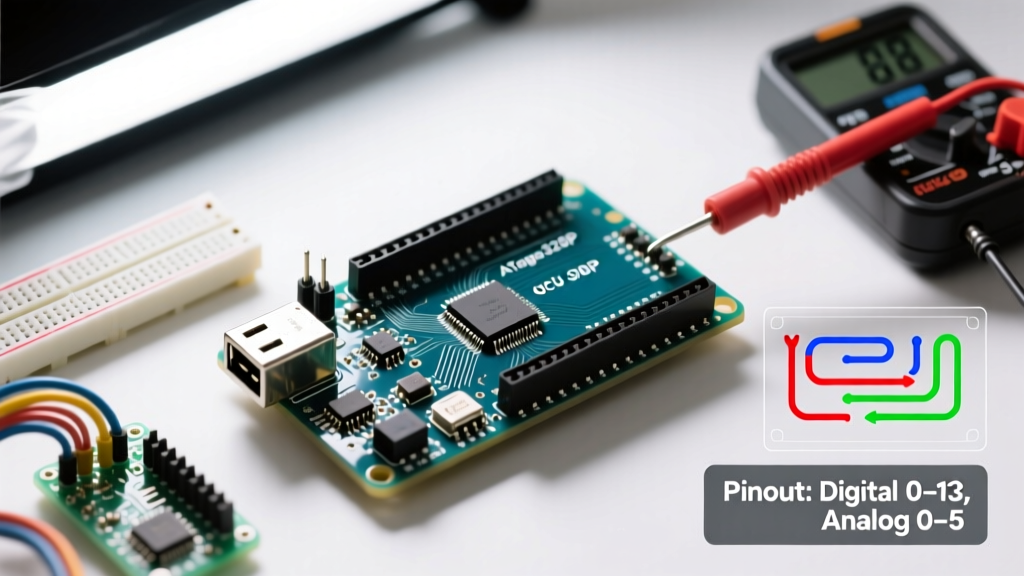
- Pin Exhaustion: The Uno R3 offers 14 digital I/O and 6 analog inputs. While I2C multiplexers (TCA9548A) and shift registers (74HC595) can expand this, doing so adds code complexity and latency. If you need more than 20 direct-access I/O pins, upgrade to an Arduino Mega 2560 or a custom PCB.
Expert Troubleshooting: Common Edge Cases & Failures
Even in suitable projects, hardware edge cases can derail an Arduino Uno R3 build. Keep these failure modes in mind during your prototyping phase:
ADC Noise and Inaccurate Analog Readings
The Uno R3's 10-bit Analog-to-Digital Converter (ADC) references the 5V USB or regulator line by default. If your USB power supply has high ripple (common with cheap phone chargers), your analogRead() values will fluctuate wildly. Fix: Use the 3.3V pin as your ADC reference by calling analogReference(EXTERNAL) and physically jumpering the 3.3V pin to the AREF pin. This provides a much cleaner, low-noise reference voltage, stabilizing sensor readings from potentiometers and light-dependent resistors.
The 'Ghost Reset' Phenomenon
If your Uno R3 randomly resets when a relay clicks or a motor starts, you are experiencing voltage brownouts. High-inductive loads pull massive inrush currents, causing the 5V rail to dip below the ATmega328P's brown-out detection (BOD) threshold (typically 2.7V or 4.3V depending on fuse settings). Fix: Add a 1000µF electrolytic capacitor directly across the 5V and GND pins on the Uno header to act as a local energy reservoir, and ensure opto-isolators are used between the Uno's I/O pins and any relay driver modules.
By respecting the ATmega328P silicon specifications and designing around its physical realities, the Arduino Uno R3 remains an incredibly reliable, cost-effective platform for a vast array of embedded projects in 2026 and beyond.