
Why Choose MicroPython for Raspberry Pi Pico?
When the Raspberry Pi Foundation released the Pico with its custom RP2040 silicon, they disrupted the microcontroller market. Featuring a dual-core ARM Cortex-M0+ processor clocked at 133MHz, 264KB of SRAM, and 2MB of onboard QSPI flash, the Pico offers immense computational headroom. While the C/C++ SDK provides bare-metal performance, MicroPython for Raspberry Pi Pico has emerged as the undisputed champion for beginners, hobbyists, and rapid prototypers.
MicroPython abstracts the complex memory management and register configurations of C++, allowing you to interact with hardware using intuitive, high-level Python syntax. You can read a temperature sensor, toggle GPIO pins, and configure I2C buses in minutes rather than hours. Furthermore, the REPL (Read-Eval-Print Loop) environment allows for real-time code execution without the tedious compile-flash-test cycle required by traditional embedded C workflows.
Hardware Requirements and Board Variants
Before writing your first script, you need to select the right board. The Pico ecosystem has expanded significantly since the original launch. Here is a breakdown of the primary variants you will encounter:
- Raspberry Pi Pico (Original): The baseline model. Priced around $4, it features the RP2040, 2MB flash, and a micro-USB port. Ideal for pure hardware control and offline projects.
- Raspberry Pi Pico W: Priced around $6, this variant adds an Infineon CYW43439 2.4GHz 802.11n wireless LAN and Bluetooth 5.2 chip. Crucial Note: The wireless chip is wired to the RP2040 via SPI, and its GPIO pins are handled differently in MicroPython than standard board pins.
- Raspberry Pi Pico H / WH: Released in 2023, these versions come with pre-soldered 0.1-inch pin headers and a JTAG debug connector, saving beginners the frustration of soldering 40 pins manually.
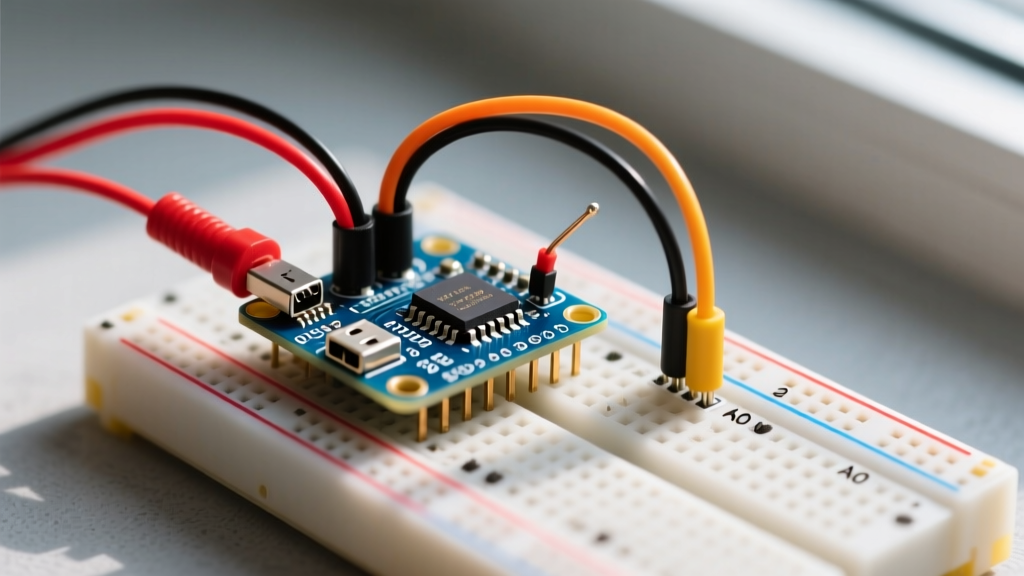
For this guide, we recommend starting with the Pico H if you want to avoid soldering, or the Pico W if you plan to integrate Wi-Fi IoT features later. You will also need a high-quality data-capable micro-USB cable (many cheap cables are charge-only and will cause flashing failures) and a standard breadboard.
Step-by-Step: Flashing the MicroPython Firmware
The RP2040 features a hardcoded USB mass-storage bootloader in ROM. This means you do not need specialized hardware programmers like J-Link or ST-Link to flash firmware.
- Download the latest stable MicroPython UF2 file for the RP2040 from the official MicroPython download page. As of late 2023/2024, versions like
v1.22.2orv1.23.0are highly stable. - Press and hold the white BOOTSEL button on the center of the Pico board.
- While holding the button, connect the Pico to your computer via the micro-USB cable.
- Release the BOOTSEL button. Your computer will mount the Pico as a removable USB drive named
RPI-RP2. - Drag and drop the downloaded
.uf2file onto theRPI-RP2drive. The drive will immediately unmount, and the Pico will reboot into the MicroPython interpreter.
Configuring Thonny IDE for Your First Script
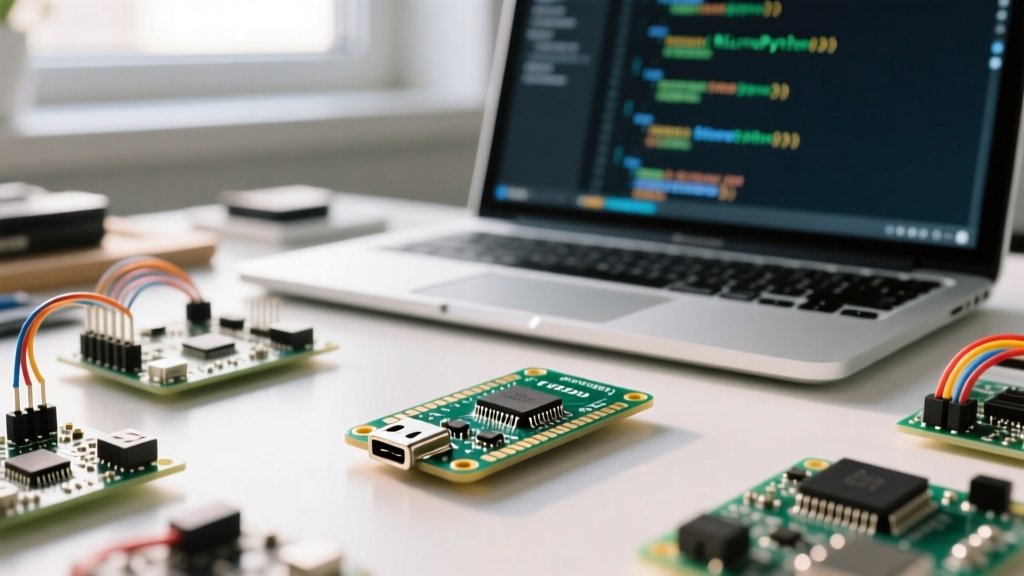
While you can use PuTTY or screen to access the serial REPL, the Thonny IDE is the officially recommended development environment for MicroPython. It includes a built-in serial monitor, file manager, and GPIO-aware debugger.
- Download and install Thonny for your operating system (Windows, macOS, or Linux).
- Open Thonny and navigate to Tools > Options > Interpreter.
- Set the interpreter to MicroPython (Raspberry Pi Pico).
- Ensure your Pico's COM port (Windows) or
/dev/ttyACM0(Linux) is selected in the dropdown menu. - Click OK. You should see the MicroPython version and the REPL prompt (
>>>) appear in the Shell window at the bottom.
The "Hello World" of Hardware: Blinking the Onboard LED
Let's write a script to blink the onboard LED. On the standard Pico, the LED is connected to GPIO 25. On the Pico W, it is connected to the wireless chip's WL_GPIO0 pin, which requires a slightly different import.
For the Standard Pico / Pico H:
from machine import Pin
import utime

led = Pin(25, Pin.OUT)

while True:
    led.toggle()
    utime.sleep(0.5)
For the Pico W:
from machine import Pin
import utime

led = Pin('LED', Pin.OUT)

while True:
    led.toggle()
    utime.sleep(0.5)
Expert Tip: Notice the use ofPin('LED', Pin.OUT)for the Pico W. The Raspberry Pi Foundation introduced the string alias'LED'in newer MicroPython builds to abstract the hardware differences between the standard Pico and the Pico W, making your code more portable.
Understanding the Pico Pinout and GPIO Mapping
One of the most common beginner mistakes is confusing physical pin numbers with GPIO numbers. When you instantiate a pin in MicroPython using machine.Pin(15), you are referencing the internal GPIO number, not the physical plastic pin location on the board.
The RP2040 exposes 26 multi-function GPIO pins (GP0 to GP28). These can be dynamically mapped to internal peripherals like UART, I2C, and SPI. According to the MicroPython RP2 Quick Reference, here are the default peripheral mappings you should memorize:
| Peripheral | Default GPIO Pins | MicroPython Object | Common Use Case |
|---|---|---|---|
| I2C0 | GP4 (SDA), GP5 (SCL) | I2C(0, sda=Pin(4), scl=Pin(5)) |
OLED Displays, BME280 Sensors |
| I2C1 | GP6 (SDA), GP7 (SCL) | I2C(1, sda=Pin(6), scl=Pin(7)) |
Secondary Sensors, RTC Modules |
| SPI0 | GP16 (RX), GP17 (CSn), GP18 (SCK), GP19 (TX) | SPI(0, baudrate=1000000) |
SD Card Modules, TFT Screens |
| UART0 | GP0 (TX), GP1 (RX) | UART(0, baudrate=115200) |
GPS Modules, Serial Debugging |
For deep dives into hardware registers and advanced PIO (Programmable I/O) state machines, consult the Raspberry Pi Pico Python SDK Official Guide.
Filesystem Management and Auto-Execution
Unlike Arduino boards where code is compiled into a binary and flashed to memory, MicroPython operates on a lightweight filesystem (usually LittleFS or FAT) stored in the 2MB flash chip. When you write code in Thonny's top window and click "Save", you must choose between saving to your local computer or the MicroPython device.
- main.py: If you save your script as
main.pydirectly onto the Pico's filesystem, the board will automatically execute this script every time it is powered on or reset. This is how you deploy standalone projects. - boot.py: This file runs before
main.py. It is typically reserved for low-level hardware configurations, such as configuring USB as a mass storage device or setting up network interfaces before the main application starts.
Common Beginner Pitfalls and Troubleshooting
Working with embedded Python introduces unique failure modes that desktop Python developers rarely encounter. Below is a troubleshooting matrix for the most frequent issues:
| Error / Symptom | Root Cause | Solution |
|---|---|---|
OSError: [Errno 2] ENOENT |
Attempting to open or import a file that doesn't exist on the Pico's internal filesystem. | Use the Thonny File Manager (View > Files) to verify the file was actually saved to the Pico, not just your local PC. |
| Thonny Shell says "Backend not ready" | The serial port is locked by another application, or the Pico is stuck in a boot loop. | Close other serial monitors (like PuTTY). Click the red "Stop/Restart" button in Thonny, or physically unplug and replug the Pico. |
MemoryError: memory allocation failed |
Use the gc.collect() garbage collection function to free up RAM. For large assets, read directly from flash storage instead of loading entirely into memory. |
|
| Pico W Wi-Fi fails to connect | Using standard network.WLAN without importing the specific Pico W wireless module, or power supply brownouts. |
Ensure you are using import network and network.WLAN(network.STA_IF). Power the Pico via a high-quality 5V/2A USB adapter. |
Handling Interrupts (IRQs) Safely
When moving beyond simple polling loops, you will need to use hardware interrupts. However, MicroPython's interrupt service routines (ISRs) are strict. You cannot perform blocking operations like print() or utime.sleep() inside an ISR. Furthermore, global variables modified inside an ISR must be declared as global, and for integer counters, you should use the micropython.schedule() function to defer heavy processing to the main loop to prevent memory corruption.
Next Steps: Expanding Your Pico Ecosystem
Once you have mastered basic GPIO toggling and I2C sensor reading, the true power of the RP2040 unlocks. Explore the PIO (Programmable I/O) subsystem, which allows you to write custom hardware protocols (like WS2812B Neopixel LED drivers or custom VGA outputs) using MicroPython's rp2 module. The combination of MicroPython's ease of use and the RP2040's raw hardware flexibility makes this board an unbeatable platform for both learning and professional prototyping.