
The Anatomy of the Nano Loop: Bare-Metal Foundations
The Arduino Nano (classic V3 based on the ATmega328P) operates on a bare-metal super-loop architecture. Under the hood of the Arduino AVR core, the hidden main.cpp file initializes hardware timers, calls your setup() function once, and enters an infinite for(;;) block that repeatedly invokes your loop() function. According to the official Arduino language reference, this structure is designed for absolute simplicity. However, this simplicity harbors hidden execution traps that become fatal when migrating to RTOS-based platforms like the ESP32 or Raspberry Pi Pico.
When engineers write loops in Arduino Nano projects, they frequently rely on blocking functions like delay(). On a 16 MHz Nano, a delay(1000) halts the CPU for exactly 1,000,000 microseconds. During this time, the microcontroller cannot process incoming serial data, read pin interrupts, or update displays. While a $3.50 Nano clone might handle a simple blinking LED with blocking delays just fine, migrating this exact codebase to an ESP32-S3 ($5.50) or RP2040 ($4.00) will immediately trigger Task Watchdog Timer (TWDT) panics and dual-core lockups.
The Migration Bottleneck: Blocking vs. Non-Blocking Loops
The primary hurdle in platform migration is transitioning from a single-threaded blocking loop to a multi-tasking event-driven architecture. The ATmega328P features only a 64-byte hardware RX serial buffer. If your Nano loop blocks for more than a few milliseconds at high baud rates, the buffer overflows, and incoming telemetry data is permanently lost. Advanced platforms running FreeRTOS require loops to yield control back to the scheduler; failing to do so starves the Wi-Fi stack or USB controller of CPU cycles.
Platform Loop Execution Metrics
| Platform | MCU Core | Clock Speed | Loop Overhead | Native RTOS | Migration Risk |
|---|---|---|---|---|---|
| Arduino Nano V3 | AVR ATmega328P | 16 MHz | ~3.2 µs | No (Bare-metal) | Low (Single Thread) |
| Arduino Nano Every | megaAVR ATmega4809 | 20 MHz | ~2.8 µs | No | Low |
| ESP32-S3 DevKit | Xtensa LX7 (Dual) | 240 MHz | ~1.1 µs | Yes (FreeRTOS) | High (TWDT Panics) |
| Raspberry Pi Pico | Cortex-M0+ (Dual) | 133 MHz | ~1.5 µs | Yes (FreeRTOS/PIO) | Medium (Core Starvation) |
Refactoring Nano Loops for RTOS Migration
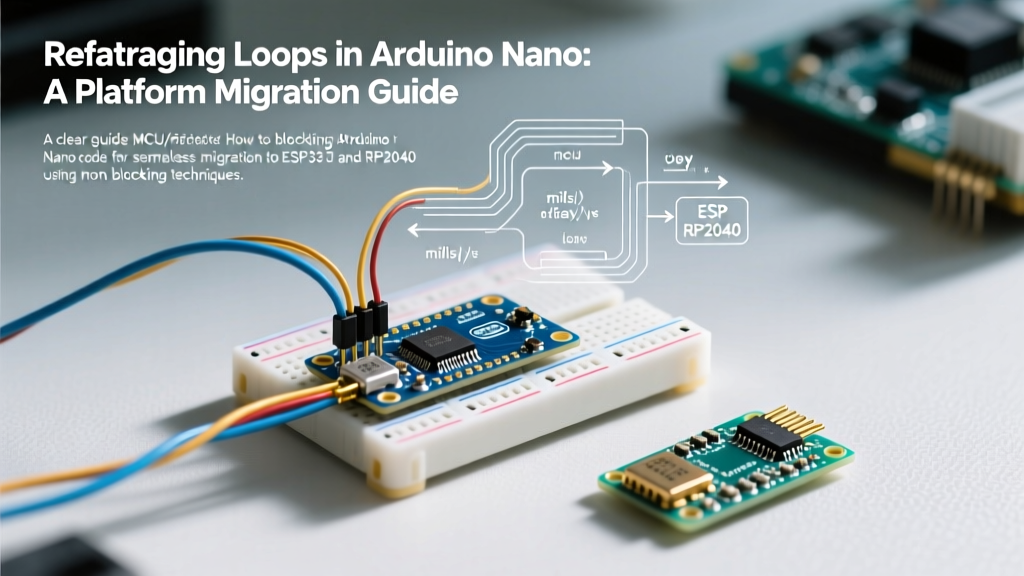
To prepare your Nano code for migration, you must eradicate blocking delays and replace them with non-blocking state machines utilizing millis(). This pattern, often called 'blink-without-delay', is the foundational skill for scaling up to ESP32 and Pico environments.
Step 1: Identify the Blocking Edge Cases
Search your Nano codebase for delay(), while(!Serial.available()), and synchronous I2C reads. A notorious edge case on the Nano is the Wire.requestFrom() function. If an I2C sensor is disconnected and the SDA line is pulled low by a rogue peripheral, the ATmega328P hardware I2C module will hang indefinitely. On the Nano, this silently freezes the loop. On the ESP32, this triggers a Task Watchdog reset and a core dump.
Step 2: Implement the Millis() State Machine
Instead of pausing the CPU, track the elapsed time. This allows the loop() to execute thousands of times per second, keeping serial buffers clear and allowing background tasks to run.
// Non-Blocking Migration Pattern
unsigned long previousMillis = 0;
const long interval = 1000;
int sensorState = LOW;

void loop() {
  unsigned long currentMillis = millis();

  // Yield control immediately if interval hasn't passed
  if (currentMillis - previousMillis >= interval) {
    previousMillis = currentMillis;
    sensorState = !sensorState;
    digitalWrite(LED_BUILTIN, sensorState);
  }

  // Background tasks (Serial processing, button debouncing)
  handleSerialInput();
  readButtons();
}
Memory Constraints and Stack Overflows in Nano Loops
When migrating loops from the Nano to higher-tier boards, developers often ignore the Nano's severe SRAM limitations. The ATmega328P possesses a mere 2KB of SRAM. The Microchip ATmega328P datasheet confirms that the hardware stack shares this 2KB space with global variables and the heap.
If your Nano loop() declares large local arrays (e.g., char buffer[512];) or uses deep recursive function calls, you risk a stack overflow. On the Nano, a stack overflow silently corrupts memory, leading to erratic pin toggling or random reboots. When migrating this same loop to an ESP32 (which allocates a strict 8KB stack per FreeRTOS task by default), the exact same code will trigger a Stack canary watchpoint triggered panic. Always use static variables or global buffers for large data structures within your loops to preserve the limited stack space.
Mapping Nano Loops to ESP32 and Pico Architectures
Once your Nano loop is fully non-blocking, the final migration step is architectural mapping. A single, monolithic Nano loop() must be fractured into discrete tasks when moving to advanced platforms.
- The Sensor Task: Migrate all
millis()-based sensor polling from the Nano loop into a dedicated FreeRTOS task with a high priority and a strict tick rate. - The Comms Task: Move all
Serialand Wi-Fi transmission logic into a separate task. On the ESP32, Wi-Fi operations should never share the same loop cycle as precision sensor reads, as RF calibration routines can introduce microsecond-level jitter. - The UI/Display Task: Assign display refresh rates to the lowest priority task. Human eyes cannot perceive sub-millisecond updates, making this the safest place to yield CPU time.
For Raspberry Pi Pico migrations, leverage the Programmable I/O (PIO) state machines. Instead of using the main loop() to bit-bang WS2812B LEDs or read quadrature encoders (a common Nano practice), offload these timing-critical loops entirely to the PIO hardware blocks, freeing the Cortex-M0+ cores for high-level logic.
Hardware Watchdogs: The Ultimate Loop Safeguard
In industrial or remote deployments, loops can hang due to electromagnetic interference (EMI) or peripheral failures. The Arduino Nano's ATmega328P includes a hardware Watchdog Timer (WDT) capable of resetting the MCU if the loop fails to clear the timer within a window ranging from 16ms to 8 seconds. Surprisingly, the WDT is disabled by default in the standard Arduino bootloader.
When migrating to the ESP32, the Espressif FreeRTOS documentation details the Task Watchdog Timer (TWDT), which monitors the idle tasks. If your migrated loop contains a while(1) block without a vTaskDelay() or yield() call, the TWDT will assume the core has locked up and will forcefully reboot the system. Always insert yield() at the bottom of any intensive for or while loops within your migrated code to feed the watchdog and maintain RTOS stability.
Migration Checklist for Nano Loop Code
- Audit Delays: Find and replace all
delay()calls withmillis()state machines. - Timeout Protection: Wrap all
while()loops waiting for serial or I2C data with a strict timeout counter to prevent infinite hangs. - Variable Scoping: Move large local arrays out of the
loop()scope and declare them globally or asstaticto prevent stack corruption. - Yield Injection: Add
yield()ordelay(1)inside heavy computational loops to prepare for RTOS context switching. - Buffer Sizing: Increase serial buffer sizes in your new platform's core configuration, as the faster clock speeds will ingest data much faster than the Nano's 64-byte limit.
By treating the Arduino Nano not as a final destination, but as a prototyping stepping stone, you can write clean, non-blocking loops that scale effortlessly from a $3 bare-metal AVR to a $10 dual-core RTOS powerhouse.