
The Core Dilemma: Simplicity vs. Brute Force
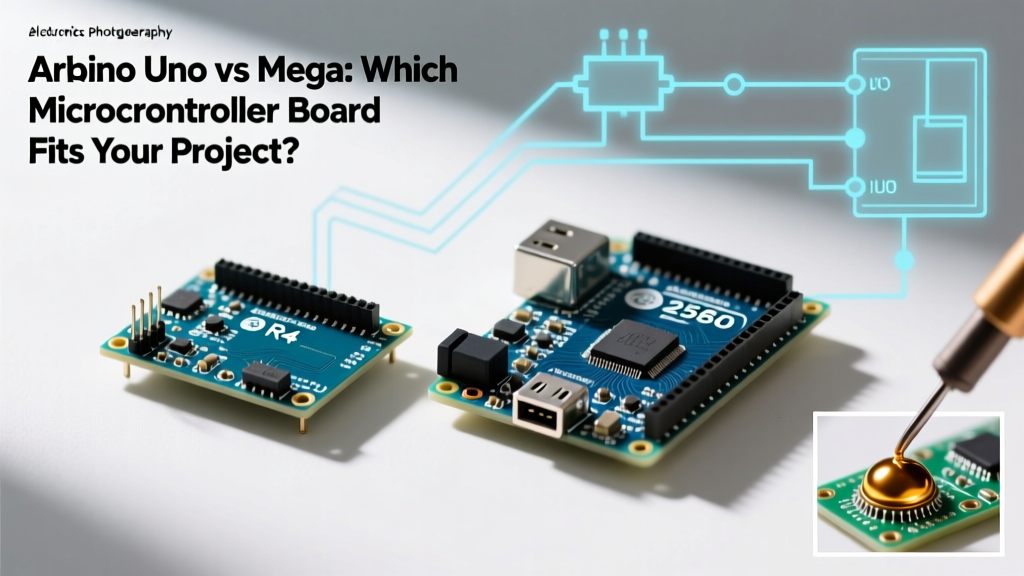
When planning a new embedded systems project, the debate of Arduino Uno vs Mega is a rite of passage for makers, engineers, and students. For years, the choice was straightforward: pick the Uno for simple sensors and the Mega when you ran out of pins. However, as we navigate the hardware landscape in 2026, the introduction of the 32-bit Arduino Uno R4 series has fundamentally disrupted this binary choice. The Uno is no longer just a basic 8-bit starter board; it is now a math-capable powerhouse. Meanwhile, the Arduino Mega 2560 Rev3 remains the undisputed heavyweight champion of raw I/O density and legacy shield compatibility.
This comprehensive board review and comparison cuts through the marketing fluff. We will examine exact silicon specifications, physical footprint edge cases, thermal limitations, and real-world failure modes to help you select the exact right microcontroller for your build.
Head-to-Head Specifications Matrix
Before diving into practical applications, let us look at the raw silicon. Note that we are comparing the modern Arduino Uno R4 Minima against the classic Arduino Mega 2560 Rev3, as the older Uno R3 is largely phased out of official production.
| Feature | Arduino Uno R4 Minima | Arduino Mega 2560 Rev3 |
|---|---|---|
| Microcontroller | Renesas RA4M1 (ARM Cortex-M4) | ATmega2560 (8-bit AVR) |
| Clock Speed | 48 MHz | 16 MHz |
| Flash Memory | 256 KB | 256 KB |
| SRAM | 32 KB | 8 KB |
| Digital I/O Pins | 14 | 54 |
| PWM Pins | 6 | 15 |
| Analog Input Pins | 6 (14-bit ADC) | 16 (10-bit ADC) |
| USB Interface | Native USB-C | ATmega16U2 (USB-B) |
| Official Price (Approx.) | $20.00 | $48.00 |
The I/O Density Dilemma and Shield Compatibility Traps
The most obvious difference in the Arduino Uno vs Mega debate is physical size and pin count. The Mega offers 54 digital I/O pins and 16 analog inputs, making it the default choice for complex routing like 3D printers (via RAMPS 1.4 shields), CNC routers, and massive LED matrices. However, this physical footprint introduces a notorious edge case that catches many intermediate makers off guard: Shield I2C Routing.
The I2C Pinout Trap
On the classic Uno R3, the I2C bus (SDA and SCL) was mapped to analog pins A4 and A5. Many legacy shields hardwired these connections directly into the board. When the Uno R3 was revised, dedicated SDA/SCL pins were added next to the AREF pin, but A4/A5 remained internally bridged to them. The Arduino Mega 2560, however, maps I2C to Digital Pins 20 (SDA) and 21 (SCL). Pins A4 and A5 on the Mega are strictly analog inputs; they do not have hardware I2C pull-ups or routing.
Pro-Tip: If you are using an older, hardcoded I2C shield (like early versions of certain LCD or RTC modules) on a Mega 2560, it will silently fail to initialize. You must either run jumper wires from the shield's A4/A5 headers to the Mega's Digital 20/21 pins, or use a modern shield that routes I2C through the dedicated SDA/SCL header block near the USB port.
Processing Power: Cortex-M4 FPU vs. 8-Bit AVR
Historically, the Mega won the memory war. The original Uno R3 had only 32KB of Flash and 2KB of SRAM, forcing developers to upgrade to the Mega's 256KB Flash and 8KB SRAM for anything involving large lookup tables or graphical displays. Today, the Uno R4 Minima matches the Mega's 256KB Flash and vastly exceeds its SRAM with 32KB.
Floating Point Math and Sensor Fusion
Where the Uno R4 completely obliterates the Mega is in computational mathematics. The Renesas RA4M1 chip on the Uno R4 features a hardware Floating Point Unit (FPU). If your project involves sensor fusion—such as combining accelerometer and gyroscope data from an MPU6050 using a Kalman filter or Madgwick algorithm—the Uno R4 will execute these floating-point calculations in microseconds. The Mega 2560's 8-bit ATmega2560 lacks an FPU, meaning it must emulate floating-point math in software. This can cause loop times to stretch from 50 microseconds to over 2 milliseconds, leading to severe drift and instability in balancing robots or drone flight controllers.
For math-heavy, high-speed control loops, the Uno R4 is the superior choice. For projects that simply need to read 40 digital limit switches and trigger relays, the Mega's 8-bit architecture is more than sufficient and easier to debug.
Power Consumption and Thermal Throttling
Power delivery is a critical, often overlooked factor in board selection. Both boards utilize a linear voltage regulator to step down external power (from the barrel jack or VIN pin) to 5V. This linear regulation is inherently inefficient and generates heat.
- Arduino Mega 2560: The board's baseline idle current draw is roughly 80mA. If you power the Mega via the barrel jack at 12V, the voltage regulator must dissipate the 7V difference. Using Joule's law ($P = V \times I$), the regulator burns $(12V - 5V) \times 0.08A = 0.56W$ of heat. If you connect multiple servos or sensors drawing an extra 200mA from the 5V pin, the regulator will exceed 1.5W, triggering thermal shutdown and causing the board to randomly reboot.
- Arduino Uno R4 Minima: The 32-bit architecture and modern voltage regulation result in a lower idle draw of approximately 45mA. It runs significantly cooler under load, though you should still avoid drawing more than 300mA total from the 5V rail when powered by a 9V+ source.
For deeper technical schematics and regulator limits, consult the official Arduino Mega 2560 Documentation and the Arduino Uno R4 Minima Hardware Guide.
The Clone Market Realities: CH340G vs. ATmega16U2
In 2026, the maker market is heavily driven by third-party clones from brands like Elegoo, HiLetgo, and MakerHawk. While official boards use high-quality USB-UART bridge chips, clones often cut costs here.
Official Mega 2560 boards use the ATmega16U2 programmed as a USB-to-Serial converter. Most high-quality clones use the WCH CH340G chip. The CH340G is highly reliable and supports baud rates up to 2Mbps, but it requires manual driver installation on older Windows and macOS systems. If you are deploying a fleet of Mega clones in a classroom or a commercial prototype, factor in the IT overhead of managing CH340 drivers across different operating systems. For a seamless plug-and-play experience, the native USB-C implementation on the official Uno R4 is vastly superior.
If you are troubleshooting clone connectivity issues, SparkFun's CH340 Driver Installation Guide is the industry-standard resource for resolving serial port mapping errors.
Final Decision Framework: Which Should You Buy?
Do not default to the Mega simply because 'more pins equal better.' Over-engineering a project with a Mega 2560 when an Uno R4 would suffice leads to bulky enclosures, higher power consumption, and slower math processing.
Choose the Arduino Mega 2560 When:
- You are building a 3D Printer or CNC Machine utilizing a RAMPS 1.4 or similar shield that requires dozens of stepper motor drivers and endstop inputs.
- Your project involves massive addressable LED arrays (like WS2812B matrices) requiring multiple parallel data output pins to maintain high refresh rates without flickering.
- You need to interface with multiple legacy hardware serial devices (the Mega has four hardware UARTs: Serial, Serial1, Serial2, and Serial3, whereas the Uno R4 has fewer easily accessible hardware UART breakpoints).
Choose the Arduino Uno R4 When:
- You are designing battery-powered robotics where the lower baseline current draw and 3.3V/5V tolerant logic of the RA4M1 chip extend operational life.
- Your code relies on DSP (Digital Signal Processing), PID tuning, or IMU sensor fusion requiring rapid floating-point calculations via the hardware FPU.
- You want a compact, standard footprint that fits perfectly into off-the-shelf waterproof project enclosures without the Mega's overhanging secondary headers.
Ultimately, the Arduino Uno vs Mega decision comes down to identifying your project's primary bottleneck. If your bottleneck is physical I/O routing, the Mega remains the undisputed king. If your bottleneck is computation speed, memory buffering, or modern connectivity, the Uno R4 is the definitive upgrade path for modern electronics design.