
The Evolution of the Arduino Uno Breadboard Workflow
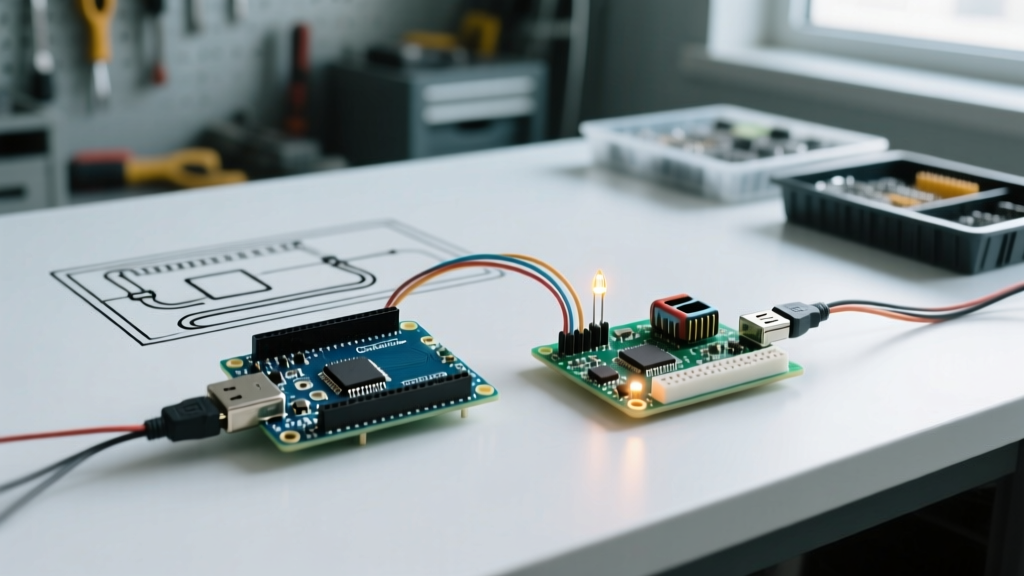
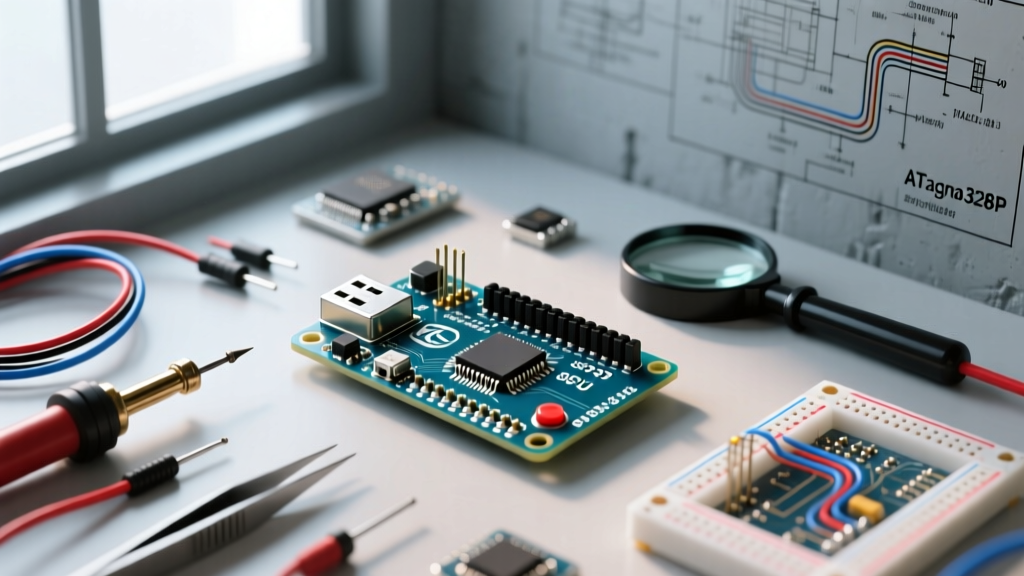
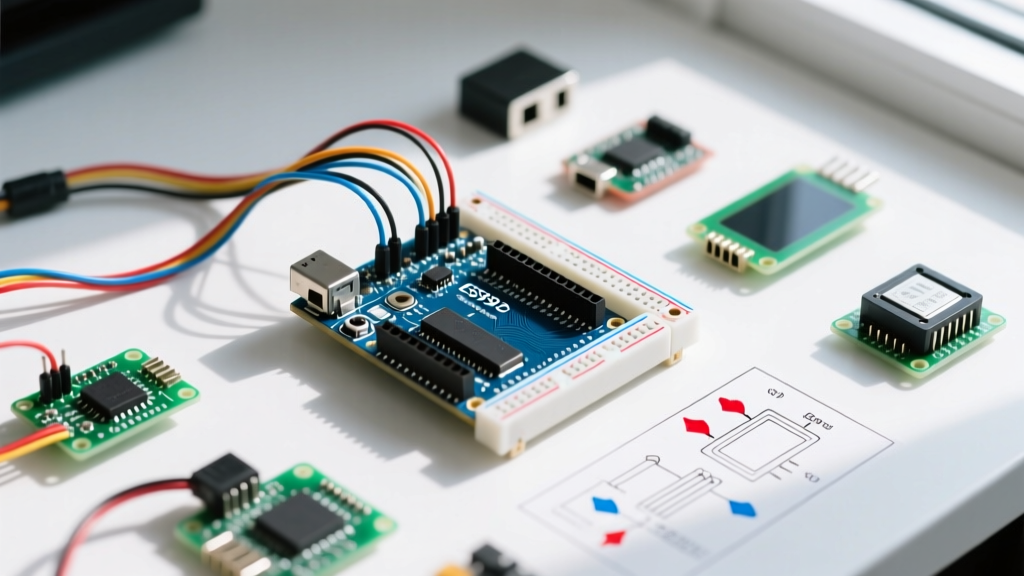
Transitioning from a fully assembled development board to physical circuit building is a defining milestone for any maker. When discussing the arduino uno breadboard ecosystem, engineers and hobbyists are generally referring to one of two distinct paradigms: mounting a breadboard shield directly onto the Uno's headers, or using the Uno as an In-System Programmer (ISP) to flash a standalone ATmega328P chip seated on a standard 830-point solderless breadboard. In 2026, with the widespread adoption of the Arduino Uno R4 Minima and WiFi variants alongside the classic R3, leveraging community-driven libraries and hardware support is critical for overcoming the physical limitations of solderless prototyping.
The open-source community has spent over a decade refining software workarounds for the hardware quirks inherent to breadboards—such as parasitic capacitance, contact bounce, and power rail sag. This guide explores how to maximize your prototyping success by pairing the right hardware configuration with battle-tested community libraries.
Comparing the Two Arduino Uno Breadboard Paradigms
Before diving into software libraries, it is essential to select the correct hardware topology for your project. The community generally supports two primary approaches, each with distinct cost profiles and use cases.
| Feature | Uno + Breadboard Shield | Standalone ATmega328P on Breadboard |
|---|---|---|
| Primary Hardware | Arduino Uno R4 Minima ($22) + Prototyping Shield ($8) | Uno R3 as ISP + ATmega328P-PU DIP-28 ($5.50) + 830-pt Breadboard ($7) |
| Best For | Rapid sensor testing, I2C/SPI module integration, temporary logic verification. | Permanent project migration, low-power standalone nodes, reducing BOM cost. |
| Power Delivery | Limited by Uno's onboard 5V regulator (typically 500mA max). | Flexible; can use dedicated breadboard power supplies or buck converters. |
| Community Library Focus | Pin-mapping wrappers, shield-specific GPIO expanders. | Bootloader management, software-based I2C/SPI, low-power sleep modes. |
Top Community Libraries for Breadboard Prototyping
When wiring components on a breadboard, physical constraints often force you to use suboptimal pins or deal with noisy signals. The Arduino community has developed specific libraries to bypass these hardware-level friction points. According to the official Arduino Library Guide, integrating these community-maintained packages via the Library Manager is the first step toward robust prototyping.
1. Bounce2 (Version 2.71+)
Solderless breadboards are notorious for mechanical switch bounce and intermittent contact resistance. When a tactile switch is pressed, the metal contacts can oscillate for milliseconds, sending dozens of false triggers to the microcontroller. The Bounce2 library provides highly optimized software debouncing without relying on blocking delay() functions.
- Pro-Tip: Set the debounce interval to
15milliseconds for standard 6x6mm tactile switches on a breadboard, but increase it to30milliseconds if you are using longer jumper wires (over 15cm), which can introduce additional RC delay and signal ringing.
2. SoftwareWire (I2C Bit-Banging)
The classic Uno R3 and the newer R4 both have dedicated hardware I2C pins (A4/A5 on R3, or specific header pins on R4). However, on a crowded breadboard shield, these pins are often blocked by bulky modules like the HC-SR04 ultrasonic sensor or standard 1602 LCDs. The SoftwareWire library allows you to create an I2C bus on any digital GPIO pins.
- Edge Case Fix: Breadboard jumper wires introduce parasitic capacitance (roughly 2-5pF per cm). This capacitance slows down the voltage rise time of the I2C SDA line, causing communication failures at the standard 400kHz Fast Mode. SoftwareWire allows you to throttle the bus speed down to 50kHz or 100kHz via software, completely bypassing the need to solder physical pull-up resistors for short-distance breadboard runs.
3. FastLED (Version 3.9+)
Driving WS2812B addressable LEDs directly from a breadboard power rail is a common failure point. The FastLED library includes built-in dithering and timing corrections that account for the slight clock drift found in standalone ATmega328P chips running on breadboards with cheap ceramic resonators instead of precision quartz crystals.
Real-World Failure Modes & Community Fixes
Even with the best libraries, physics dictates that solderless connections will introduce anomalies. Here are the most common failure modes documented on the Arduino forums and their community-sourced solutions.
The Servo Brownout Reset
The Symptom: You connect a standard SG90 micro servo to the 5V breadboard rail powered by the Uno. When the servo moves, the Arduino abruptly resets, and the serial monitor disconnects.
The Cause: A servo can draw up to 700mA during stall or startup. The Uno's onboard linear voltage regulator cannot supply this current, causing the 5V rail to sag below the ATmega328P's brownout detection threshold (typically 4.3V), triggering a hardware reset.
The Fix: Never power inductive loads from the Uno's 5V pin on a breadboard. Use a dedicated LM2596 buck converter module ($3) plugged into the breadboard's outer power rails. Connect the buck converter's ground to the Uno's ground, but keep the 5V power rails isolated.
Standalone ATmega328P Missing Decoupling
When migrating from an Uno board to a bare ATmega328P-PU chip on a breadboard, beginners often forget decoupling capacitors. The Adafruit ArduinoISP Tutorial heavily emphasizes that without proper decoupling, the microcontroller will behave erratically when switching GPIO pins.
Community Hardware Rule of Thumb: You must place a 100nF (0.1µF) ceramic decoupling capacitor as physically close to the VCC and GND pins of the DIP-28 chip as possible. On a standard breadboard, this means placing the capacitor directly across the center trench, bridging pin 7 (VCC) and pin 8 (GND), as well as pin 20 (AVCC) and pin 22 (GND). Skipping this will result in random ADC noise and spontaneous I2C lockups.
Navigating Community Forums for Pinout Mapping
One of the greatest assets of the arduino uno breadboard ecosystem is the sheer volume of crowdourced pinout mappings. When using a breadboard shield, the silkscreen on the PCB often obscures the underlying Uno pin numbers, especially when stacking multiple shields.
Instead of guessing, leverage the SparkFun Breadboard and Prototyping Guides and the official Arduino Forum's 'Hardware' sub-section. When searching for library compatibility, always specify your exact board revision (e.g., 'Uno R4 Minima' vs 'Uno R3'). The R4 utilizes a Renesas RA4M1 ARM Cortex-M4 processor, which changes how hardware timers and interrupts are handled in libraries like Servo.h or tone() compared to the AVR-based R3. Community forks of popular libraries often include an #ifdef ARDUINO_UNOR4_MINIMA macro to handle these architecture shifts seamlessly.
Summary: Best Practices for 2026 Prototyping
- Match the Library to the Topology: Use
SoftwareWirewhen your breadboard shield blocks hardware I2C pins, and useBounce2to mask the mechanical noise of breadboard tactile switches. - Respect Power Boundaries: Treat the Uno's 5V pin as a logic reference, not a power supply for motors, servos, or high-draw LED matrices on your breadboard.
- Decouple Everything: Whether using a shield or a standalone DIP chip, 100nF ceramic capacitors are non-negotiable for stable logic levels.
- Verify Architecture: Ensure the community libraries you install via the IDE explicitly support your specific Uno generation (AVR vs. ARM Cortex-M4) to avoid silent compilation failures.
By understanding the physical limitations of solderless connections and leveraging the vast repository of community-maintained software, you can transform the humble arduino uno breadboard setup from a fragile prototype into a reliable testing environment for complex embedded systems.