
Decoding the Nomenclature: What Exactly Are You Holding?
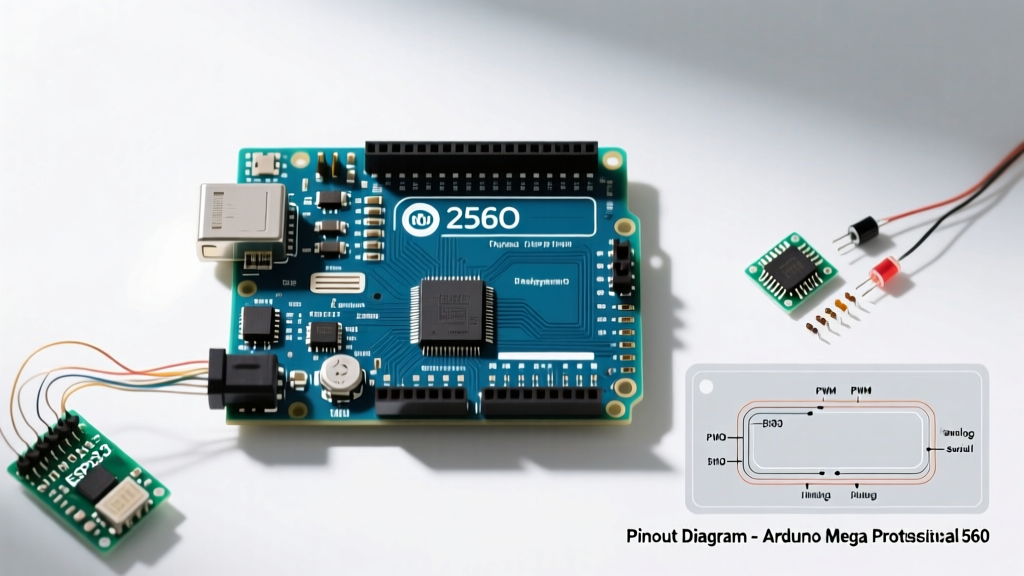
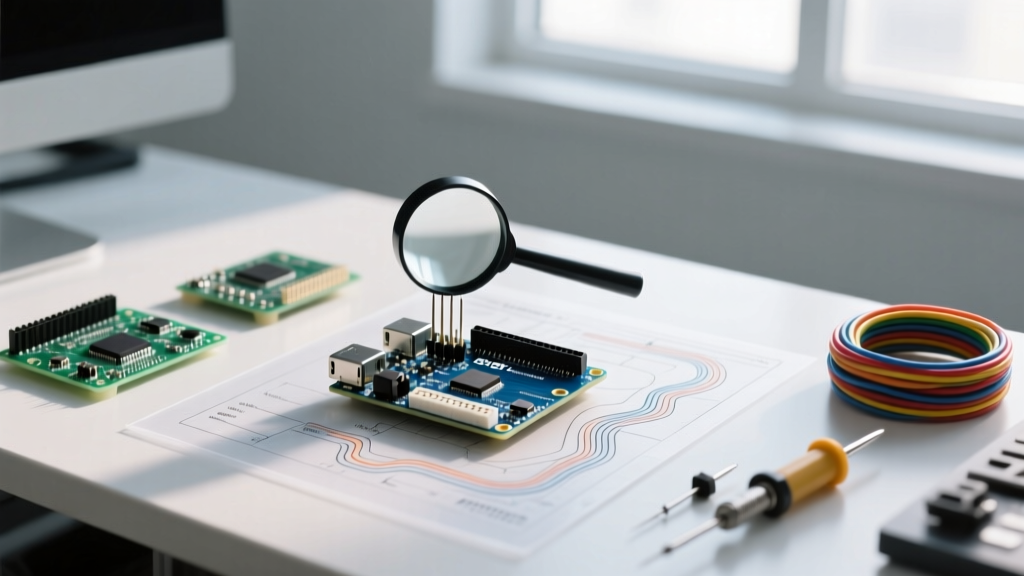
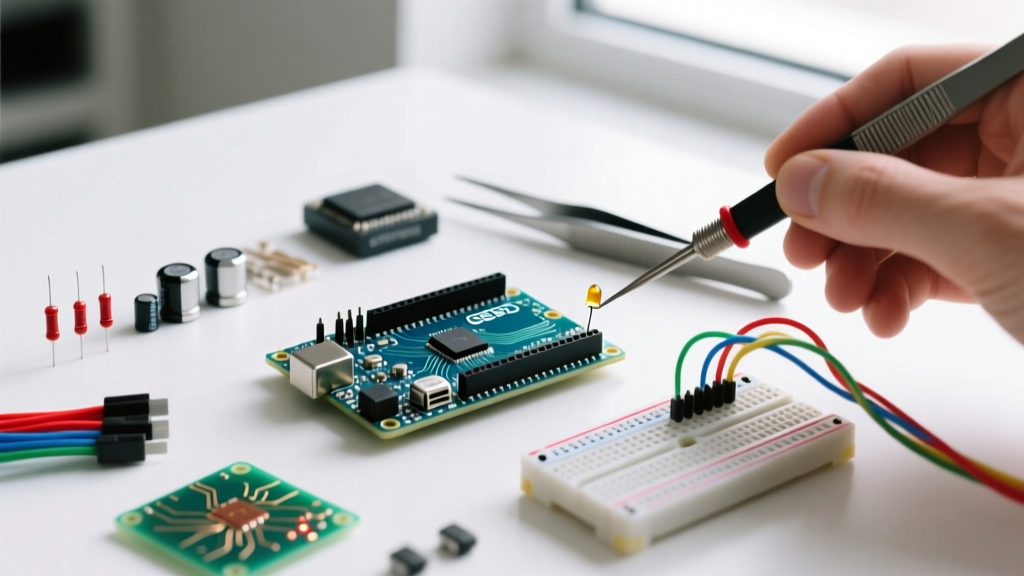
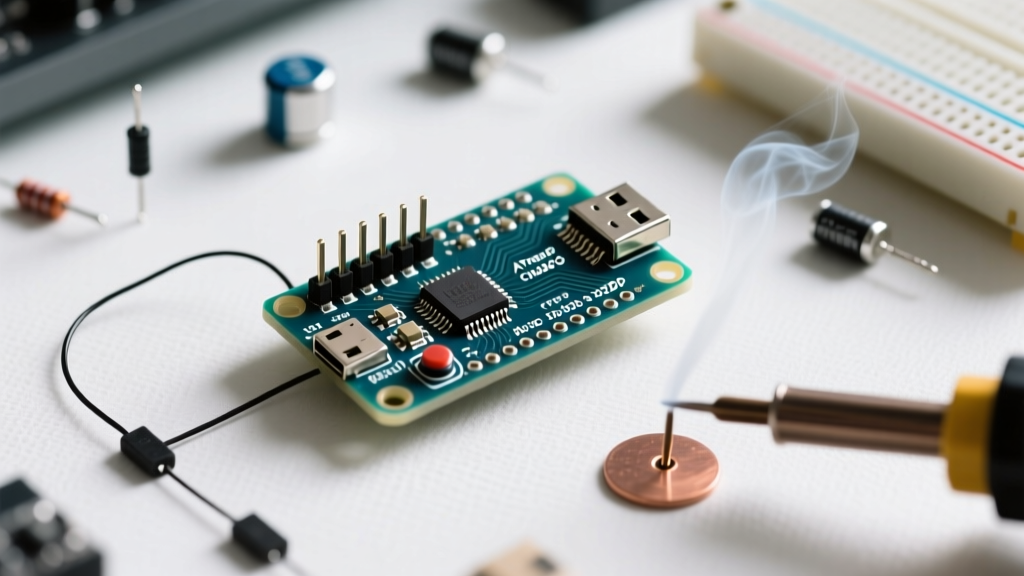
When you purchase an Arduino Nano V3.0 ATmega328P CH340G, you are acquiring the most ubiquitous, budget-friendly microcontroller development board in the DIY electronics ecosystem. But what does that long string of alphanumeric characters actually mean? Understanding the hardware anatomy is the first step to mastering this platform.
- Arduino Nano V3.0: This refers to the physical form factor and pinout standard originally designed by Gravitech and later adopted as the standard 'Nano' footprint. It measures a breadboard-friendly 0.73 x 1.70 inches.
- ATmega328P: The brain of the operation. This 8-bit AVR microcontroller by Microchip Technology operates at 16MHz and features 32KB of ISP Flash memory, 2KB of SRAM, and 1KB of EEPROM.
- CH340G: The USB-to-Serial converter chip. While official Arduino boards use the FTDI FT232RL or the 16U2, budget manufacturers use the CH340G manufactured by Nanjing Qinheng Microelectronics (WCH) to keep costs under $5.00 per unit.
Official Nano vs. CH340G Clone: Hardware Differences
While the code you write will run identically on both, the underlying hardware has distinct differences that affect setup and longevity. Below is a technical comparison of the official board versus the V3.0 CH340G variant commonly found on Amazon and AliExpress in 2026.
| Feature | Official Arduino Nano (Every) | Nano V3.0 ATmega328P CH340G |
|---|---|---|
| USB-to-Serial IC | FTDI FT232RL or 16U2 | WCH CH340G (requires external 12MHz crystal) |
| Typical Retail Price | $24.50 - $27.00 | $3.50 - $5.50 (often sold in multipacks) |
| USB Connector | USB-C (Modern revisions) | Mini-USB Type-B (Classic V3.0) |
| Bootloader | Optiboot (Standard) | Optiboot or 'Old Bootloader' (Varies by batch) |
| Voltage Regulator | High-efficiency switching | Linear LDO (e.g., AMS1117-5.0) |
The CH340G Driver Hurdle (And How to Fix It)
The number one point of failure for beginners setting up the Arduino Nano V3.0 ATmega328P CH340G is the 'Port' menu being grayed out in the Arduino IDE. Unlike official boards, the CH340G requires a specific driver to translate USB signals into UART serial data.
Expert Insight: Always check the silicon chip on your board. If it says 'CH340C', it does not require an external crystal. If it says 'CH340G', you will see a small silver 12MHz crystal oscillator next to it. Both use the same driver package, but the hardware implementation differs slightly.
Step-by-Step Driver Installation
To get your PC to recognize the board, you need the official WCH driver. You can find comprehensive installation instructions via the SparkFun CH340 Driver Hookup Guide, but here is the rapid-start workflow for modern operating systems:
- Download the Driver: Visit the official WCH CH340 product page and download the latest ZIP archive for your OS (Windows, macOS, or Linux).
- Windows 10/11 Users: Extract the ZIP and run CH341SER.EXE as Administrator. Click 'INSTALL'. You should see a 'Driver install success' prompt. Plug in your Nano; it will appear in Device Manager under 'Ports (COM & LPT)' as USB-SERIAL CH340 (COM3) (your COM number will vary).
- macOS Sonoma/Sequoia Users: Install the CH34x_Install_V1.8.pkg. Crucially, modern macOS versions block third-party kernel extensions by default. You must navigate to System Settings > Privacy & Security, scroll to the Security section, and click 'Allow' for the software from 'WCH'. Reboot your Mac afterward.
- Linux Users: The CH340 driver is natively built into the Linux kernel (ch341-uart). Simply plug the board in and check /dev/ttyUSB0.
Essential Pinout & Power Specifications
Before wiring sensors, you must understand the electrical limits of the Nano V3.0. Pushing the wrong voltage into these pins will instantly fry the ATmega328P or the onboard LDO regulator.
- Logic Level: 5V. Unlike the ESP32 or Raspberry Pi Pico, the ATmega328P on this board is not 3.3V tolerant on its I/O pins. Connecting a 5V output to a 3.3V sensor without a logic level converter will destroy the sensor.
- Vin Pin: Accepts 7V to 12V (recommended). This feeds the onboard AMS1117-5.0 linear regulator. Warning: Because it is a linear regulator, pushing 12V while drawing 100mA will generate significant heat. Keep Vin under 9V if drawing high current.
- 5V Pin: Outputs 5V when powered via USB, or acts as an input to bypass the regulator. Do not feed 5V into this pin while simultaneously plugging in the USB cable; back-feeding can damage your PC's USB port.
- I/O Limits: Each digital pin can source/sink up to 40mA (absolute maximum), but 20mA is the recommended safe operating limit. The total current across all VCC/GND pins should not exceed 200mA.
Your First Project: Wiring an I2C OLED Display
Let's move past the basic 'Blink' sketch. A highly practical first project for the Nano is wiring a 0.96-inch SSD1306 I2C OLED display to create a live sensor dashboard. I2C only requires four wires, making it perfect for the Nano's compact footprint.
Wiring Matrix
| OLED Pin (SSD1306) | Nano V3.0 Pin | Function |
|---|---|---|
| VCC | 5V | Power Input (3.3V-5V tolerant on most modules) |
| GND | GND | Common Ground |
| SCL | A5 | I2C Clock Line |
| SDA | A4 | I2C Data Line |
Once wired, open the Arduino IDE 2.x, navigate to the Library Manager, and install the Adafruit SSD1306 and Adafruit GFX libraries. Open the 'ssd1306_128x64_i2c' example sketch, change the I2C address to 0x3C (standard for most budget displays), and upload.
Troubleshooting: The 'stk500_getsync' Error
If you are uploading code to the Arduino Nano V3.0 ATmega328P CH340G and encounter the dreaded avrdude: stk500_getsync() attempt 1 of 10: not in sync: resp=0x00 error, do not panic. This is a communication failure between the IDE and the bootloader, usually caused by one of three specific issues.
1. The Bootloader Mismatch
Many budget clones manufactured prior to 2024 ship with the legacy 2KB bootloader instead of the modern 512-byte Optiboot. If the IDE expects Optiboot but finds the legacy bootloader, the upload times out.
The Fix: In the Arduino IDE, go to Tools > Processor and change the selection from 'ATmega328P' to 'ATmega328P (Old Bootloader)'. This resolves 80% of sync errors on clone boards.
2. The Charge-Only USB Cable Trap
The CH340G requires data lines (D+ and D-) to communicate. Many Mini-USB cables included with cheap electronics or found in desk drawers are 'charge-only', lacking the internal data wires.
The Fix: If the TX/RX LEDs on the Nano do not flicker when you hit 'Upload', swap the cable. Test the cable on a smartphone or external hard drive to verify data transfer capabilities.
3. Port Conflict or Ghost COM Ports
Windows sometimes assigns a new COM port every time you plug the Nano into a different physical USB hub, leaving 'ghost' ports that confuse the IDE.
The Fix: Open Windows Device Manager, click 'View > Show hidden devices', and uninstall all grayed-out 'USB-SERIAL CH340' instances. Unplug the Nano, reboot your PC, and plug it directly into a motherboard-backed USB port.
Frequently Asked Questions
Can I use the Arduino Nano V3.0 CH340G for battery-powered projects?
Yes, but it is not optimized for deep sleep out-of-the-box. The ATmega328P can draw microamps in sleep mode, but the onboard CH340G chip, power LEDs, and 5V LDO regulator will continuously draw 10mA to 15mA of quiescent current. For true low-power battery projects, you must desolder the power LED and bypass the onboard regulator, or switch to a bare ATmega328P on a custom PCB.
Is the CH340G chip reliable for industrial applications?
The CH340G is highly reliable for prototyping, education, and consumer DIY projects. However, for certified industrial or medical environments, the official Arduino Nano documentation recommends using boards with FTDI chips or native USB microcontrollers due to stricter EMI/EMC compliance and long-term supply chain guarantees.
Why does my Nano get hot when powered via the Vin pin?
The Nano V3.0 uses a linear voltage regulator (LDO) to drop the Vin voltage down to 5V. Linear regulators dissipate excess voltage as heat. If you supply 12V to Vin and draw 50mA for a sensor, the regulator must burn off (12V - 5V) * 0.05A = 0.35 Watts of heat. Without a heatsink, the SMD regulator will become too hot to touch and may trigger its internal thermal shutdown. Always use the lowest possible voltage on Vin (7V) or power via the 5V USB line.