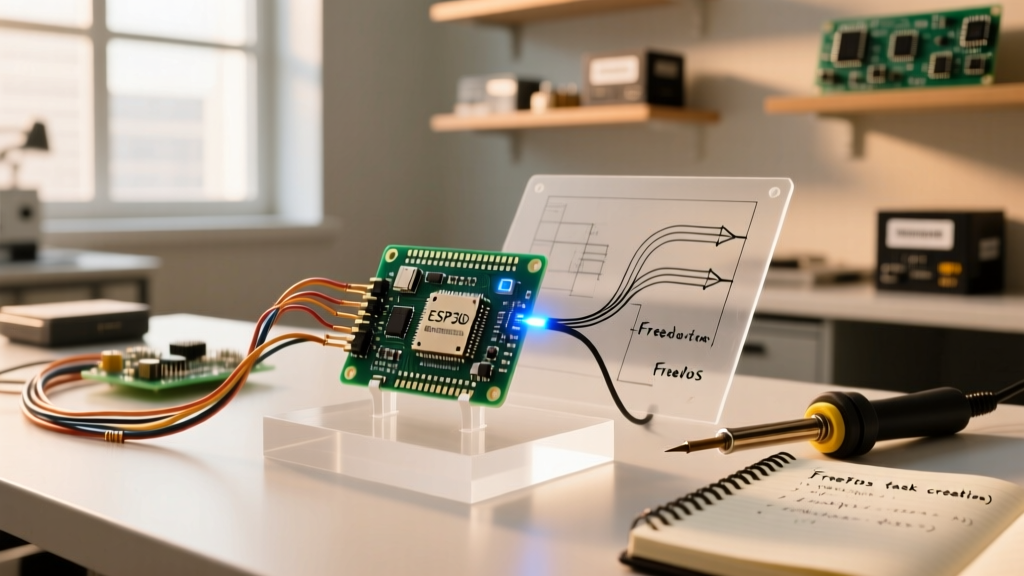

The Short Answer: Yes, Arduino on ESP32 Uses FreeRTOS
If you have ever wondered, is the ESP32 running FreeRTOS in Arduino? the answer is an absolute yes. Unlike the single-core, bare-metal environment of the Arduino Uno or Nano, the ESP32 Arduino core is actually a sophisticated abstraction layer built directly on top of FreeRTOS and the Espressif IoT Development Framework (ESP-IDF). When you write a standard setup() and loop() sketch for the ESP32, the Arduino core automatically wraps your code into a FreeRTOS task named loopTask.
As of 2026, with the widespread adoption of the ESP32 Arduino Core v3.x (which leverages ESP-IDF v5.1+ under the hood), the RTOS handles Wi-Fi stacks, Bluetooth LE operations, and background memory management seamlessly. Understanding this architecture is the key to unlocking the ESP32’s true dual-core potential. In this guide, we will explore how the RTOS operates behind the scenes and walk through a setup tutorial for your first dual-core delegated project.
Understanding the ESP32 Dual-Core Architecture
The standard ESP32-WROOM-32E module features a dual-core Xtensa LX6 microcontroller. By default, the Arduino core assigns specific responsibilities to each core to prevent network stack collisions and ensure real-time responsiveness.
| Core | Default RTOS Role | Common Arduino Tasks | Priority Level |
|---|---|---|---|
| Core 0 (Protocol CPU) | Handles Wi-Fi, Bluetooth, and TCP/IP stacks. | Background network events, OTA updates. | High (System managed) |
| Core 1 (Application CPU) | Executes user application code. | setup(), loop(), sensor reading. |
Priority 1 (User modifiable) |
Because the loopTask runs on Core 1, your standard Arduino code will never interrupt the critical Wi-Fi and Bluetooth operations occurring on Core 0. However, if you want to run heavy computational tasks (like audio processing or fast Fourier transforms) without blocking your sensor readings, you can manually spawn new FreeRTOS tasks and pin them to specific cores.
Hardware and Environment Prerequisites (2026 Standard)
Before writing multi-threaded code, ensure your development environment is configured for the latest ESP32 architecture. You will need:
- Microcontroller: An ESP32-WROOM-32E DevKit V1 board. (Avoid older 32D variants; the 'E' variant offers improved RF performance and is currently priced around $4.50 to $6.50 USD from reputable distributors).
- IDE: Arduino IDE 2.3.x or VS Code with PlatformIO.
- Board Package: Espressif Systems ESP32 Board Core v3.0.x or higher via the Boards Manager.
- Peripherals: 2x 330Ω resistors, 2x standard 5mm LEDs, and a breadboard.
Pro-Tip for 2026: When installing the ESP32 board package, ensure you are pulling from the official Espressif GitHub repository. Third-party forks often lack the updated FreeRTOS memory allocation patches required for stable dual-core operation on newer silicon revisions (v3.0+).
Your First Project: Delegating Tasks to Core 0 and Core 1
For our first FreeRTOS project, we will bypass the standard loop() function entirely. Instead, we will create two distinct tasks: one that blinks an LED rapidly on Core 1, and another that handles serial telemetry and a secondary LED on Core 0. This demonstrates true parallel execution.
The C++ Implementation
To create a task in FreeRTOS, we use the xTaskCreatePinnedToCore() function. According to the official FreeRTOS xTaskCreate documentation, this function requires a task function pointer, a human-readable name, a stack size, parameters, priority, a task handle, and the core ID.
// Define task handles
TaskHandle_t Task1_Handle = NULL;
TaskHandle_t Task2_Handle = NULL;

// Pin definitions
const int ledPinCore1 = 2;  // Built-in LED on most DevKits
const int ledPinCore0 = 4;  // External LED on GPIO 4

void setup() {
  Serial.begin(115200);
  pinMode(ledPinCore1, OUTPUT);
  pinMode(ledPinCore0, OUTPUT);
  delay(1000); // Allow serial monitor to connect

  // Create Task 1 on Core 1 (Application Core)
  xTaskCreatePinnedToCore(
    Task1code,   // Task function
    "Task1",     // Name
    10000,       // Stack size (in words, not bytes!)
    NULL,        // Parameters
    1,           // Priority (1 is default for loopTask)
    &Task1_Handle,// Task handle
    1            // Core ID (1)
  );

  // Create Task 2 on Core 0 (Protocol Core)
  xTaskCreatePinnedToCore(
    Task2code,
    "Task2",
    10000,
    NULL,
    1,
    &Task2_Handle,
    0            // Core ID (0)
  );
}

void Task1code(void * parameter) {
  for(;;) {
    digitalWrite(ledPinCore1, HIGH);
    vTaskDelay(100 / portTICK_PERIOD_MS); // Non-blocking delay
    digitalWrite(ledPinCore1, LOW);
    vTaskDelay(100 / portTICK_PERIOD_MS);
  }
}

void Task2code(void * parameter) {
  for(;;) {
    digitalWrite(ledPinCore0, HIGH);
    Serial.println("Task 2 executing on Core 0");
    vTaskDelay(500 / portTICK_PERIOD_MS);
    digitalWrite(ledPinCore0, LOW);
    vTaskDelay(500 / portTICK_PERIOD_MS);
  }
}

void loop() {
  // Empty. We handle execution via FreeRTOS tasks.
  vTaskDelay(10000 / portTICK_PERIOD_MS);
}
Deconstructing the Stack Size Parameter
A critical detail that catches many beginners off guard is the stack size parameter (set to 10000 in the code above). In the ESP32 FreeRTOS implementation, stack size is defined in words, not bytes. Because the ESP32 is a 32-bit architecture, one word equals 4 bytes. Therefore, a stack size of 10,000 allocates 40,000 bytes (roughly 39 KB) of SRAM per task. The Espressif FreeRTOS API Reference recommends a minimum of 2048 words for simple tasks, but 10000 provides a safe buffer for serial operations and string manipulation.
Critical Failure Modes and Troubleshooting
When transitioning from bare-metal Arduino coding to RTOS-based development, you will likely encounter specific hardware panics. Here is how to diagnose the three most common ESP32 FreeRTOS failure modes:
1. Task Watchdog Timer (TWDT) Resets
Symptom: The serial monitor outputs E (345) task_wdt: Task watchdog got triggered followed by a core dump and reboot.
Cause: You used a standard delay() or an infinite while() loop without yielding to the RTOS scheduler. The TWDT monitors Core 0 and Core 1 idle tasks. If a high-priority task hogs the CPU, the idle task cannot run, and the watchdog resets the chip.
Fix: Replace all delay() calls with vTaskDelay(). If you must use a tight polling loop, insert taskYIELD() or vTaskDelay(1) inside the loop to feed the watchdog.
2. Stack Overflow Panics
Symptom: Random reboots with Guru Meditation Error: Core 1 panic'ed (Unhandled debug exception) or explicit stack overflow warnings if configCHECK_FOR_STACK_OVERFLOW is enabled.
Cause: Your task used more memory than allocated. This frequently happens when using large local arrays, heavy Serial.printf() formatting, or deep recursive functions inside a task.
Fix: Increase the stack size parameter in xTaskCreatePinnedToCore from 10000 to 20000. Alternatively, move large arrays out of local scope and declare them globally or allocate them dynamically using ps_malloc() if you are utilizing the ESP32's external PSRAM.
3. Core 0 Wi-Fi Starvation
Symptom: The ESP32 connects to Wi-Fi initially, but drops the connection randomly after a few minutes, or fails to complete an MQTT handshake.
Cause: You pinned a heavy, high-priority user task to Core 0, starving the underlying sys_evt and Wi-Fi tasks.
Fix: Always default to pinning user tasks to Core 1. Only use Core 0 for user tasks if they are strictly low-priority (Priority 0 or 1) and yield frequently. For more on core management, refer to the official ESP32 Arduino Core GitHub repository documentation on multi-core programming.
Summary and Next Steps
So, is the ESP32 running FreeRTOS in Arduino? Yes, and leveraging it is mandatory for professional-grade IoT development. By understanding how the Arduino core abstracts the RTOS, managing stack allocations in words, and properly utilizing vTaskDelay(), you can build highly responsive, multi-threaded applications that maximize the ESP32’s dual-core hardware.
For your next step, try integrating a hardware interrupt (ISR) to trigger a FreeRTOS semaphore, allowing a sensor interrupt to wake up a sleeping task instantly without polling. This forms the foundation of ultra-low-power, event-driven IoT architectures in 2026.