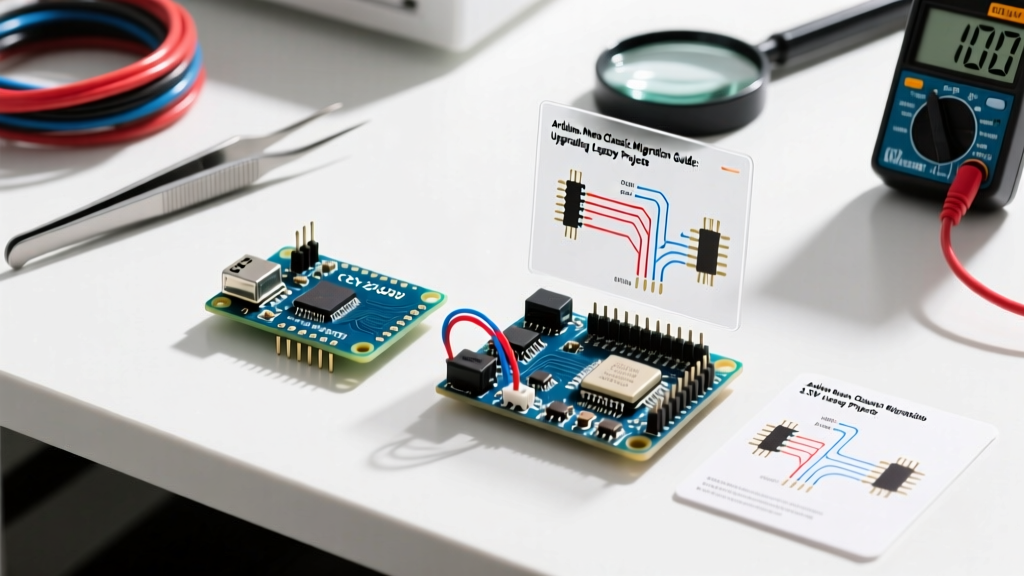

The End of an Era: Why Migrate the Arduino Nano Classic?
For over a decade and a half, the Arduino Nano Classic (based on the ATmega328P or ATmega168) has been the undisputed workhorse of DIY electronics, university labs, and rapid prototyping. Its 5V logic, 16MHz clock speed, and breadboard-friendly DIP-30 footprint made it the default choice for thousands of projects. However, as we navigate the electronics landscape in 2026, clinging to the Nano Classic is becoming a liability.
The industry has decisively shifted toward 3.3V logic standards, USB-C connectivity, and integrated wireless stacks. Sourcing genuine ATmega328P chips has faced periodic supply chain friction, and the reliance on outdated Mini-USB or Micro-USB cables is an annoyance in modern workshops. Migrating your legacy Nano Classic designs to modern alternatives like the Arduino Nano ESP32 or the Raspberry Pi Pico (RP2040) is no longer just an optimization—it is a necessity for future-proofing your hardware.
Migration Callout: If your legacy project relies on direct AVR port manipulation (PORTB, DDRD) or 5V-tolerant analog sensors, a simple drop-in board swap will result in immediate hardware failure or silent software bugs. This guide provides the exact translation matrices required to survive the transition.
Platform Comparison Matrix: Classic vs. Modern Successors
Before rewriting a single line of code, you must select the right target platform. Below is a 2026 hardware comparison mapping the legacy Nano against its most popular modern successors.
| Feature | Nano Classic (Legacy) | Arduino Nano ESP32 | Raspberry Pi Pico |
|---|---|---|---|
| Core MCU | ATmega328P (AVR) | ESP32-S3 (Xtensa LX7) | RP2040 (Dual ARM Cortex-M0+) |
| Logic Level | 5V | 3.3V | 3.3V |
| Flash / SRAM | 32KB / 2KB | 16MB / 512KB | 2MB / 264KB |
| ADC Resolution | 10-bit (5V ref) | 12-bit (Non-linear) | 12-bit (Linear) |
| Typical Price (2026) | ~$4 (Clone) / $22 (Official) | $24.00 | $4.00 |
Hardware Translation: Surviving the 5V to 3.3V Drop
The most catastrophic mistake engineers make when migrating from the Arduino Nano Classic is ignoring logic level thresholds. The Classic outputs 5V on its digital pins. If you connect a Classic's TX pin directly to the RX pin of an ESP32-S3 or RP2040, you will permanently damage the modern MCU's GPIO circuitry.
The Level-Shifting Imperative
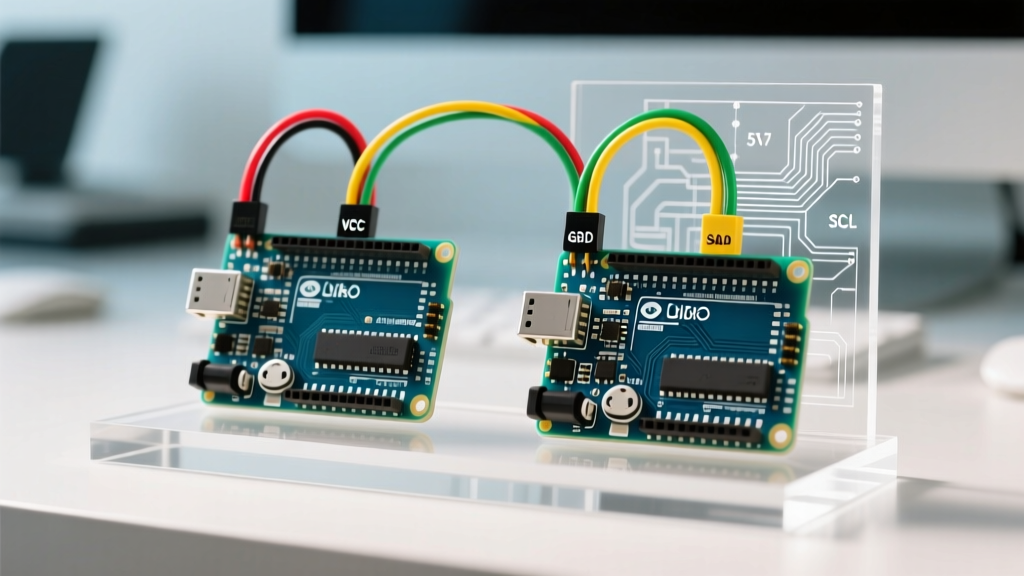
When migrating legacy sensor networks (like the ubiquitous HC-SR04 ultrasonic sensor or 5V I2C LCD backpacks), you must implement bidirectional logic level translation. Do not rely on simple resistor voltage dividers for high-speed buses like I2C or SPI; they introduce capacitance that destroys signal edges at 400kHz.
- For I2C and SPI (Bidirectional): Use a MOSFET-based level shifter like the BSS138 (available for ~$0.15 per channel on DigiKey) or a pre-built module based on the TXB0108 from Texas Instruments. These handle the bidirectional data lines without corrupting the I2C ACK/NACK handshake.
- For UART and Trigger Pins (Unidirectional): A simple voltage divider (e.g., 2kΩ and 3.3kΩ) is sufficient for stepping down a 5V Nano Classic output to a 3.3V Pico input, provided the baud rate is below 115,200.
For comprehensive architectural guidelines on modernizing legacy AVR designs, refer to the Arduino Nano ESP32 Documentation, which details specific pin-mapping constraints and 5V-tolerant pin exceptions.
Software Refactoring: Breaking the AVR Habit
Hardware is only half the battle. The Arduino Nano Classic runs on the AVR-GCC toolchain, which encourages coding patterns that are fundamentally incompatible with modern ARM and Xtensa architectures.
Eliminating Direct Port Manipulation
To achieve fast switching speeds on the Classic, developers often bypassed digitalWrite() in favor of direct register manipulation. Code snippets like PORTD |= (1 << PD4); or DDRB = 0xFF; will cause immediate compilation errors on the RP2040 or ESP32.
The Fix: Refactor your code to use the hardware-agnostic Arduino API (digitalWrite(), pinMode()). If you absolutely require high-speed toggling for software-defined PWM or bit-banging, you must use platform-specific registers. For the ESP32, use the GPIO clear/set registers: GPIO.out_w1ts = (1 << GPIO_NUM_4);. For the RP2040, utilize the sio_hw registers provided by the Pico SDK.
ADC Resolution and Non-Linearity Traps
The Nano Classic features a 10-bit Analog-to-Digital Converter (ADC), yielding 1024 steps across a 5V reference (4.88mV per step). Modern boards feature 12-bit ADCs (4096 steps), but the migration is not as simple as changing your math.
- Raspberry Pi Pico: The RP2040 ADC is highly linear but operates on a 3.3V reference. You must map your legacy 0-1023 ranges to 0-4095, and adjust your voltage calculation multiplier from
5.0 / 1023to3.3 / 4095. - Arduino Nano ESP32: The ESP32-S3 ADC is notoriously non-linear at the extreme high and low ends of its voltage range. If your legacy project relies on precision analog sensing (e.g., NTC thermistors or precision current shunts), you must implement a piecewise linear approximation or a calibration lookup table in your firmware. See the RP2040 Hardware Documentation for deeper insights into ARM ADC sampling behaviors.
Step-by-Step Migration Workflow
Follow this systematic approach to ensure your legacy Nano Classic project transitions smoothly to a modern platform without regressions.
- Audit the Bill of Materials (BOM): Identify every sensor and actuator. Flag any component that requires 5V power or outputs 5V logic. Order BSS138 level shifters for these specific nodes.
- Strip AVR-Specific Code: Search your codebase for
PORT,DDR,PIN,cli(), andsei(). Replace direct register calls with Arduino API equivalents or RTOS-safe interrupt handlers. - Address Timing and Interrupts: The Classic runs at 16MHz. The Pico runs at 133MHz, and the ESP32 at 240MHz. Legacy
delayMicroseconds()loops used for software serial or sensor polling will execute too fast on modern boards. Replace blocking delays with hardware timers ormicros()based state machines. - Prototype on a Breadboard: Do not solder your new PCB immediately. Wire the modern MCU alongside the legacy sensor suite using level shifters, and validate I2C addresses using an I2C scanner sketch.
- Update the Bootloader Protocol: The Nano Classic uses a physical reset button or an auto-reset capacitor via the DTR line. Modern boards like the Nano ESP32 use native USB CDC. You must learn the 'double-tap reset' button sequence to force the ESP32 into bootloader mode if a faulty sketch disables the USB stack.
Common Failure Modes in Migrated Projects
Even experienced engineers fall victim to these specific edge cases when retiring the Arduino Nano Classic:
- I2C Pull-Up Resistor Conflicts: Legacy 5V I2C buses typically use 4.7kΩ pull-up resistors. When migrating to a 3.3V Pico or ESP32, 4.7kΩ pull-ups often result in rise times that violate the I2C Fast Mode (400kHz) specification. Solution: Swap pull-up resistors to 2.2kΩ or 1kΩ to ensure sharp signal edges at 3.3V.
- PWM Frequency Mismatches: The Nano Classic defaults to ~490Hz on most PWM pins, and ~980Hz on pins D5 and D6. The RP2040 and ESP32 allow arbitrary PWM frequencies. If your legacy project drove a DC motor or an audio filter tuned to 490Hz, you must explicitly configure the modern board's PWM timer to match the original frequency to prevent hardware resonance or filter aliasing.
- Current Sourcing Limits: The ATmega328P could safely source up to 20mA per GPIO pin (40mA absolute max), allowing engineers to lazily drive small LEDs without resistors. The RP2040 and ESP32-S3 have much lower per-pin current limits (typically 12mA to 16mA). Driving an LED without a current-limiting resistor on a modern board will trigger thermal shutdown or fry the GPIO pad.
Conclusion
The Arduino Nano Classic earned its place in electronics history, but the constraints of 5V logic, limited SRAM, and aging USB standards make it unsuitable for new commercial or advanced hobbyist designs in 2026. By carefully managing logic level translation, refactoring AVR-specific memory and port calls, and recalibrating your analog expectations, you can successfully migrate your legacy projects to the Raspberry Pi Pico or Arduino Nano ESP32. The result is a faster, more connected, and fundamentally more robust embedded system. For more insights on the evolution of the Arduino ecosystem, the official Arduino Blog provides excellent historical context on the transition from AVR to ESP32 architectures.