
The Enduring Standard: Arduino Nano Microcontroller Board in 2026
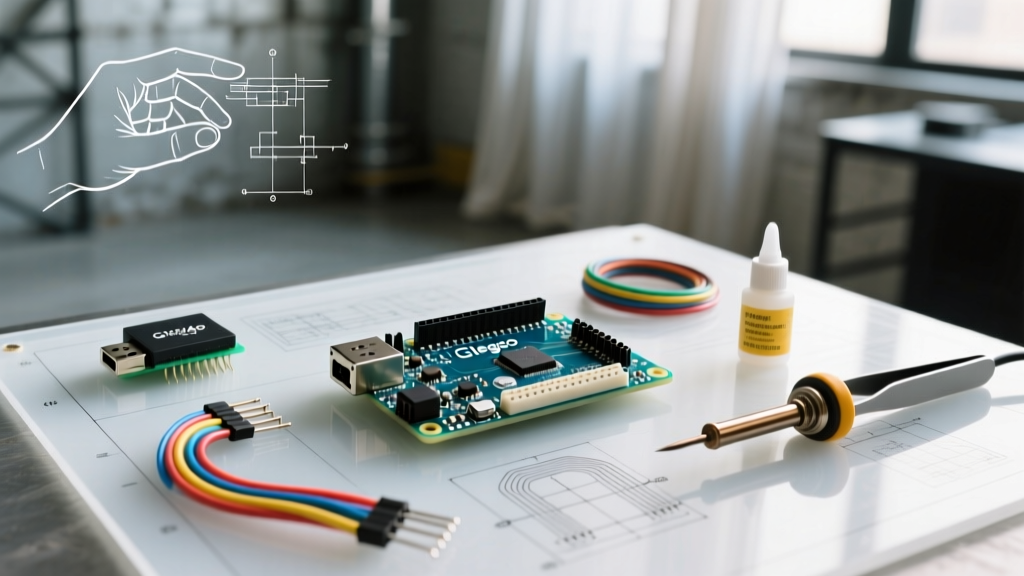
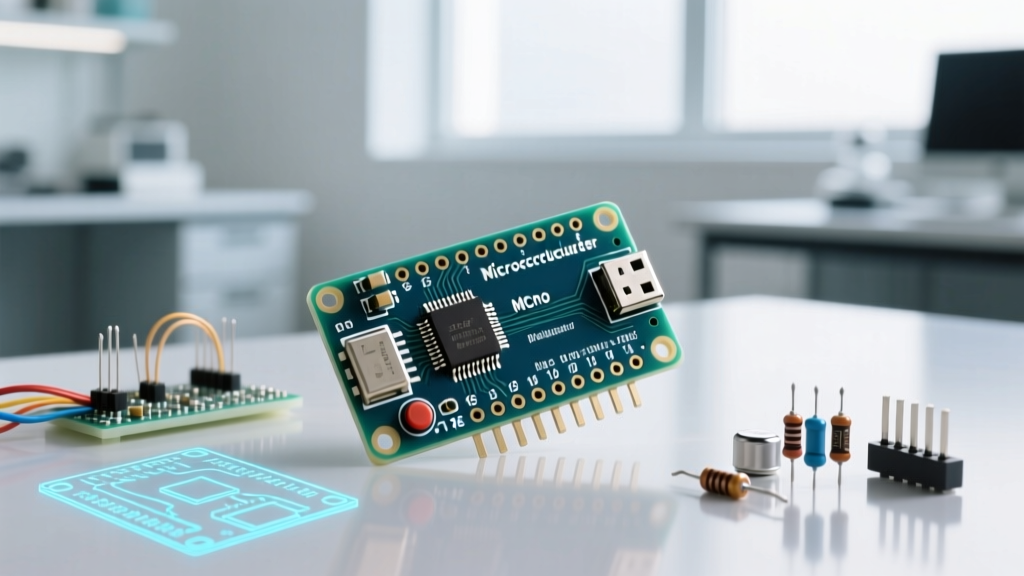
Despite the proliferation of 32-bit ARM Cortex boards and AI-capable edge devices, the Arduino Nano microcontroller board remains an indispensable workbench staple in 2026. Its DIP-30 footprint allows it to plug directly into standard solderless breadboards, bridging the gap between the bulkier Arduino Uno and the surface-mount Pro Mini. Whether you are building custom HID controllers, portable sensor nodes, or DIY synthesizers, understanding the deep hardware quirks of this board is critical for reliable embedded design.
In this feature deep dive, we bypass the basic blinking-LED tutorials and examine the actual silicon capabilities, power delivery bottlenecks, and real-world failure modes of the classic Nano architecture.
Silicon Architecture: ATmega328P vs. The Modern Alternatives
When engineers refer to the 'classic' Nano, they are referencing the board built around Microchip's ATmega328P 8-bit AVR microcontroller. However, it is vital to distinguish the classic Nano from the newer Nano Every when sourcing components for memory-intensive projects.
Core Specification Matrix
| Feature | Classic Nano (ATmega328P) | Nano Every (ATmega4809) |
|---|---|---|
| Clock Speed | 16 MHz | 20 MHz |
| Flash Memory | 32 KB (0.5 KB Optiboot) | 48 KB |
| SRAM | 2 KB | 6 KB |
| EEPROM | 1 KB | 256 B |
| Operating Voltage | 5V Logic | 5V Logic |
| I/O Pins | 22 (14 Digital, 8 Analog) | 22 (14 Digital, 8 Analog) |
Expert Insight: While the Nano Every offers more SRAM for buffering serial data, the classic ATmega328P remains superior for projects requiring extensive non-volatile EEPROM storage (1KB vs 256B) and direct legacy AVR register manipulation via C/C++ bitwise operations.
Pinout Mapping and I/O Edge Cases
A common trap for intermediate developers is assuming all pins labeled 'A' on the Arduino Nano microcontroller board can function as digital I/O. This is false.
The A6 and A7 Analog-Only Limitation
Pins A6 and A7 on the classic Nano are hardwired directly to the internal ADC (Analog-to-Digital Converter) multiplexer. They lack the digital data direction registers (DDRx) and port latches found on A0 through A5. Attempting to use digitalWrite(A6, HIGH) will silently fail. If you need 22 digital I/O lines, you must utilize the Nano Every or carefully multiplex your digital signals using external shift registers like the 74HC595.
PWM and Hardware Interrupt Mapping
- PWM Capable: D3, D5, D6, D9, D10, D11 (Driven by 8-bit and 16-bit hardware timers).
- Hardware Interrupts: D2 (INT0) and D3 (INT1). Crucial for reading high-speed rotary encoders without blocking the main loop.
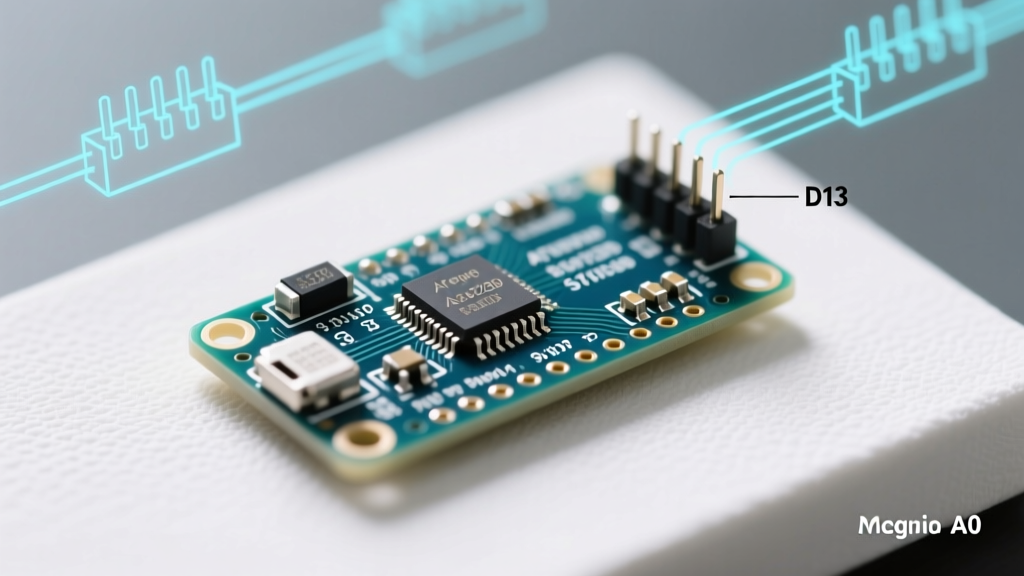
- SPI Bus: D11 (MOSI), D12 (MISO), D13 (SCK). Note that D13 is also tied to the onboard LED, which can cause clock-line interference if not managed via the bootloader initialization.
- I2C Bus: A4 (SDA) and A5 (SCL). Unlike the Uno, the Nano does not break out these pins to a separate header, meaning you must share the analog header space for I2C sensors.
Power Delivery: Regulator Limits and Thermal Throttling
The most frequent cause of permanent hardware failure on the Nano is ignoring the thermal limits of the onboard 5V linear voltage regulator. Official boards and high-quality clones typically use an AMS1117-5.0 or a similar LDO regulator.
Warning: The VIN Pin Trap
Supplying 12V to the VIN pin or the barrel jack (on shield adapters) forces the LDO to drop 7V. At a modest 100mA draw, the regulator must dissipate 700mW of heat. Without a heatsink, the silicon junction will hit its 125°C thermal shutdown threshold within seconds, causing erratic microcontroller resets and eventual silicon degradation.
Best Practices for Powering the Nano
- USB Power (Recommended): Bypasses the onboard LDO entirely. The 5V rail is fed directly from the USB VBUS, limited only by the host port's current limit (typically 500mA for USB 2.0) and the onboard PTC resettable polyfuse.
- Regulated 5V Injection: Feed a clean, external 5V supply directly into the '5V' pin. Crucial Edge Case: The Nano lacks a reverse-polarity protection diode on the 5V pin. Reversing the leads will instantly destroy the ATmega328P.
- Low-Dropout VIN: If you must use the VIN pin, supply exactly 7V to 8V. This satisfies the AMS1117's 1.3V dropout voltage requirement while minimizing thermal dissipation.
USB-UART Bridge: CH340G Driver Realities in 2026
Early official Nano revisions utilized the FTDI FT232RL chip. Today, both modern official boards and the vast majority of third-party clones use the WCH CH340G USB-UART bridge to reduce BOM costs.
As of 2026, Windows 11 (specifically the 24H2 update and later) enforces strict Core Isolation and Memory Integrity security protocols. Older, unsigned CH340 drivers will trigger a Blue Screen of Death (BSOD) or be silently blocked by Windows Defender. Always download the latest WHQL-signed drivers directly from the WCH official repository or the SparkFun Arduino guide archives before attempting to flash code.
Memory Optimization and EEPROM Wear-Leveling
With only 2KB of SRAM, memory fragmentation is a silent killer on the ATmega328P. Using the standard String class in the Arduino IDE will rapidly exhaust SRAM, leading to stack collisions and hard faults.
The PROGMEM Directive
Always store static lookup tables, error messages, and large arrays in Flash memory using the PROGMEM keyword. Furthermore, wrap all serial print strings in the F() macro (e.g., Serial.println(F("Sensor Online"));). This forces the compiler to keep the string in Flash, streaming it directly to the UART buffer without loading it into SRAM first.
EEPROM Degradation
The onboard EEPROM is rated for 100,000 write/erase cycles. If your project logs sensor data every second, you will burn out the memory address in roughly 27 hours. Always use the EEPROM.update(address, value) function instead of EEPROM.write(). The update method reads the byte first and only commits the write cycle if the new value differs from the stored value, extending the lifespan exponentially for slowly changing data.
Sourcing and Clone Identification
When procuring boards for a 2026 production run or classroom kit, understanding the market landscape is essential:
- Official Arduino Nano: Retails around $24.50. Features high-quality decoupling capacitors, a genuine USB-UART bridge, and strict 5V rail filtering.
- Premium Clones (e.g., Elegoo, HiLetgo): Typically $3.50 to $4.50 per unit in multi-packs. Functionally identical for 95% of DIY projects.
- The 'Missing Capacitor' Clone Issue: Ultra-cheap, unbranded clones often omit the 100nF decoupling capacitor between the AVCC pin and GND. This results in highly noisy ADC readings. Fix: Solder a standard 100nF MLCC capacitor across AVCC (Pin 20 on the IC) and GND to stabilize analog sensor readings.
Summary
The Arduino Nano microcontroller board remains a masterclass in practical embedded design. By respecting the thermal limits of the LDO regulator, understanding the analog-only constraints of A6/A7, and optimizing SRAM usage via PROGMEM, engineers can push this 8-bit platform far beyond its perceived limitations.