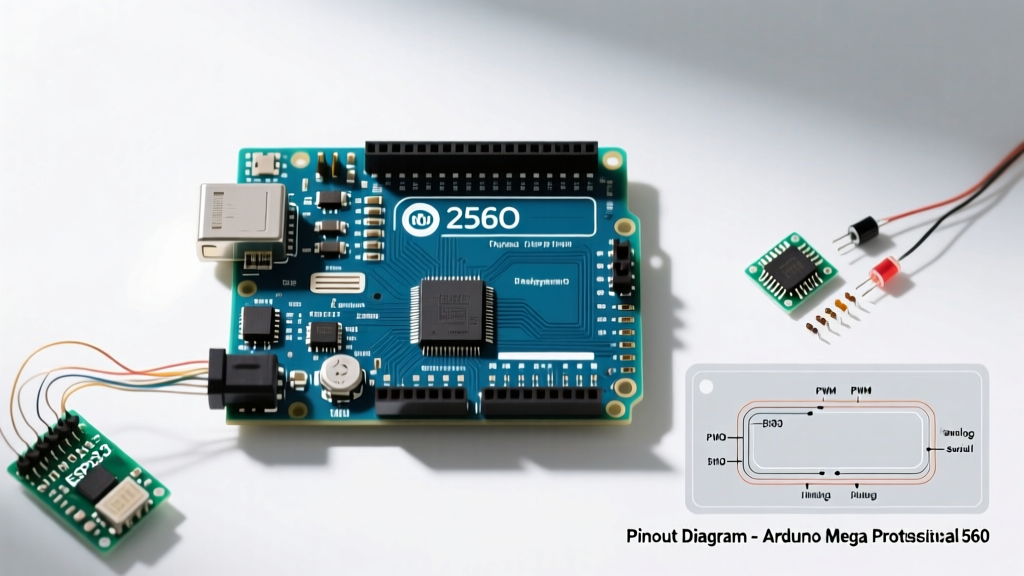

The 2026 Landscape of the Arduino Uno Robot
Building an Arduino Uno robot remains the definitive rite of passage for embedded systems engineers, students, and DIY robotics enthusiasts. However, the microcontroller landscape in 2026 has shifted dramatically. While the classic ATmega328P-based Uno R3 is still found in dusty lab drawers, modern robotics demand higher processing speeds, native floating-point units (FPU) for kinematics, and robust power management. Whether you are assembling a 2WD line-follower or a 4WD autonomous rover with LiDAR, choosing the right brain for your chassis is critical.
In this comprehensive board review and comparison, we dissect the current generation of Uno-form-factor boards, evaluate their motor-driving capabilities, and address the notorious power brownout issues that plague beginner robot builds.
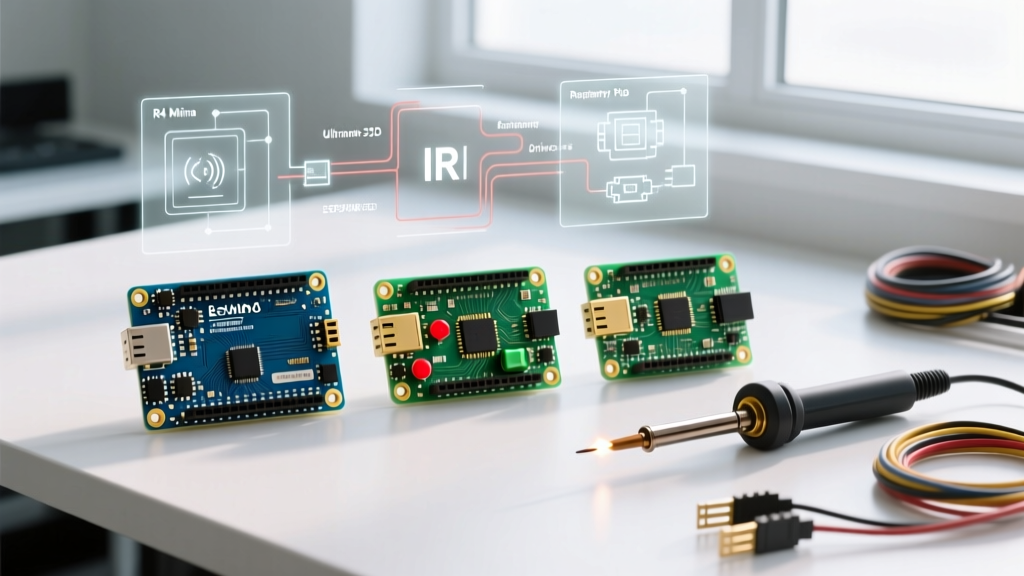
The Core Contenders: Uno R3 vs. R4 Minima vs. R4 WiFi
When builders search for an Arduino Uno robot kit in 2026, they are typically met with three primary first-party options, alongside a sea of third-party clones. Here is how they stack up for mobile robotics:
1. Arduino Uno R3 (Legacy & Clones)
The 8-bit ATmega328P running at 16 MHz is a dinosaur, yet it persists due to $12 clone pricing. For a simple obstacle-avoidance robot using ultrasonic sensors (HC-SR04) and an L298N motor driver, it is adequate. However, its lack of a hardware FPU makes real-time PID control loops and odometry calculations painfully slow, often requiring aggressive timer-interrupt hacks to prevent blocking the main loop.
2. Arduino Uno R4 Minima
Priced around $20, the R4 Minima features a Renesas RA4M1 32-bit ARM Cortex-M4 processor clocked at 48 MHz. With 256 KB Flash and 32 KB SRAM, it handles inverse kinematics and sensor fusion effortlessly. The upgraded 12-bit DAC and 14-bit ADC are massive boons for reading analog proximity sensors and IR reflectance arrays with high precision.
3. Arduino Uno R4 WiFi
At roughly $27.50, the Arduino Uno R4 WiFi adds an ESP32-S3 module for wireless telemetry. For a robot, this means you can stream IMU data or camera feeds to a base station without wiring. The inclusion of a Qwiic/I2C connector directly on the board also eliminates the need for messy soldering when integrating modern digital sensors.
Board Comparison Matrix for Robotics
| Feature | Uno R3 (Clone) | Uno R4 Minima | Uno R4 WiFi | Raspberry Pi Pico W |
|---|---|---|---|---|
| Processor | ATmega328P (8-bit) | Renesas RA4M1 (32-bit) | RA4M1 + ESP32-S3 | RP2040 (Dual M0+) |
| Clock Speed | 16 MHz | 48 MHz | 48 MHz / 240 MHz | 133 MHz |
| Logic Level | 5V | 5V Tolerant | 5V Tolerant | 3.3V |
| Hardware PWM | 6 Channels | 10+ Channels | 10+ Channels | 16 Channels (PIO) |
| Approx. Price (2026) | $10 - $14 | $20 | $27.50 | $6 |
| Best Robot Type | Basic Line Follower | PID-Controlled Rover | Telemetry/IoT Rover | High-Speed Servo Walker |
The Motor Driver Bottleneck: L298N vs. Modern Alternatives
The most common failure point in an Arduino Uno robot build is not the code, but the power delivery to the motors. Most beginner kits include the L298N dual H-bridge. While ubiquitous, the L298N is a bipolar transistor-based driver with a notorious voltage drop of 2V to 3V. If you power your robot with a standard 7.4V (2S) LiPo battery, your motors will only see roughly 4.5V to 5.4V, resulting in sluggish torque and stalled starts.
Edge Case: The Brownout Reset Loop
When a DC motor stalls (e.g., your robot hits a carpet threshold), it draws its stall current—often exceeding 1.5A. If you are powering the Arduino Uno via the battery's voltage regulator (the Vin pin), this massive current spike causes the battery voltage to sag. If the voltage drops below the microcontroller's brownout detection threshold (typically 4.3V for the ATmega328P), the robot will reset mid-drive, losing all odometry and state data.
Expert Fix: Never power high-torque motors and the microcontroller logic from the same unisolated voltage rail without heavy decoupling. Use a dedicated BEC (Battery Eliminator Circuit) or a buck converter (like the LM2596) set to 5V to power the Uno via the 5V pin, bypassing the inefficient onboard linear regulator entirely.
Modern Driver Recommendation: TI DRV8871
For 2026 builds, we strongly recommend abandoning the L298N in favor of MOSFET-based drivers like the Texas Instruments DRV8871. Priced at around $4 per channel on breakout boards, the DRV8871 features a voltage drop of less than 0.5V, supports up to 3.6A continuous current, and natively handles PWM frequencies up to 100 kHz. This allows for silent motor operation and vastly superior battery efficiency. You can explore a full range of modern motor controllers via Pololu's motor driver catalog, which offers excellent documentation for Arduino integration.
Sensor Integration and I2C Bus Capacitance
As your Arduino Uno robot evolves from simple bump-switches to mapping environments, you will inevitably add I2C sensors: a BNO085 9-DOF IMU, a VL53L1X Time-of-Flight sensor, and perhaps an INA219 current monitor.
The 400pF Limit
The I2C specification dictates a maximum bus capacitance of 400pF. In a robot chassis, long unshielded wires running from the Uno to the front bumper sensors easily exceed this limit, leading to corrupted data packets and phantom obstacles.
- Use 3.3V Logic Shifters: The Uno R4 operates at 5V, but modern robotics sensors are strictly 3.3V. Use bidirectional logic level shifters (like the BSS138 MOSFET-based shifters) to protect your sensors.
- Lower Pull-Up Resistors: Standard I2C pull-ups are 4.7kΩ. If you are running at 400kHz (Fast Mode) with high capacitance, drop the pull-up resistors to 2.2kΩ to sharpen the rising edges of the SDA/SCL signals.
- Deploy an I2C Multiplexer: If you need multiple VL53L1X sensors (which share the same default I2C address), use a TCA9548A I2C multiplexer. This isolates the capacitance of each sensor branch and prevents address collisions.
When to Ditch the Uno Form Factor
While the Arduino Uno form factor is excellent for stacking shields, it is physically bulky for micro-rovers or swarm robots. If your project requires sub-100-gram weight constraints or high-speed quadrature encoder decoding, consider the Raspberry Pi Pico W.
The Pico's Programmable I/O (PIO) state machines can decode four quadrature encoders simultaneously in hardware without using a single CPU interrupt, leaving both M0+ cores entirely free for ROS 2 micro-ROS communication and SLAM algorithms. At just $6, it is a formidable alternative, though it requires a shift to 3.3V logic and MicroPython or C++ SDK development.
Final Verdict: Choosing Your Board
- For the Absolute Beginner: Stick with an Uno R3 Clone paired with an L298N. The sheer volume of legacy tutorials makes debugging frictionless, even if the hardware is outdated.
- For the Intermediate Builder (PID & Odometry): The Uno R4 Minima is the undisputed champion. The 32-bit FPU makes tuning PID loops for straight-line driving a mathematical pleasure rather than a frustrating chore.
- For the Advanced IoT/Telemetry Rover: The Uno R4 WiFi eliminates the need for secondary companion boards when streaming diagnostic data to a dashboard via MQTT or WebSocket protocols.
Building a reliable Arduino Uno robot in 2026 is less about writing basic code and more about mastering power distribution, signal integrity, and modern motor control. By upgrading your drivers and respecting the electrical limits of your chosen board, your rover will transition from a fragile classroom project to a robust, autonomous machine.