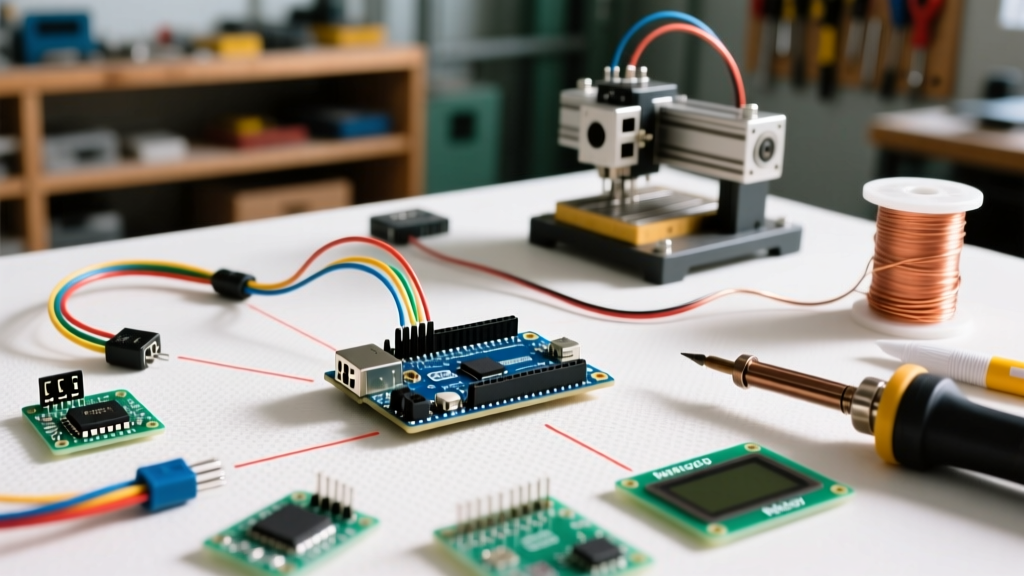

The Enduring Power of the Arduino Uno R3 Ecosystem
Even in 2026, with the market saturated by dual-core ESP32s and high-speed Raspberry Pi Picos, the Arduino Uno R3 remains the undisputed king of the hobbyist workbench. Why? The answer lies not in its 16 MHz ATmega328P microcontroller or its modest 32KB of flash memory, but in its unparalleled ecosystem. When evaluating projects for Arduino Uno R3, you are not just buying a board; you are tapping into a decade-plus repository of drop-in shields, standardized 5V sensor modules, and bulletproof community libraries.
According to the official Arduino Uno R3 Documentation, the board's 5V logic levels and standard 0.1-inch header spacing created a de facto industry standard. This guide explores the hardware ecosystem and details three advanced, real-world projects that leverage the Uno R3's unique architectural advantages, while highlighting the specific failure modes and edge cases that separate beginners from seasoned engineers.
Mapping the Uno R3 Hardware Ecosystem
Before writing a single line of C++, understanding the physical ecosystem is critical. The market is divided into official boards, high-quality clones, and specialized shields. Here is a breakdown of the core components you will encounter when sourcing parts for your projects.
| Component Type | Specific Model / Variant | Approx. Price (2026) | Ecosystem Role & Notes |
|---|---|---|---|
| Base Board (Official) | Arduino Uno R3 (DIP-28) | $27.50 | Features the NCP1117 5V regulator. Best for production prototyping and institutional use. |
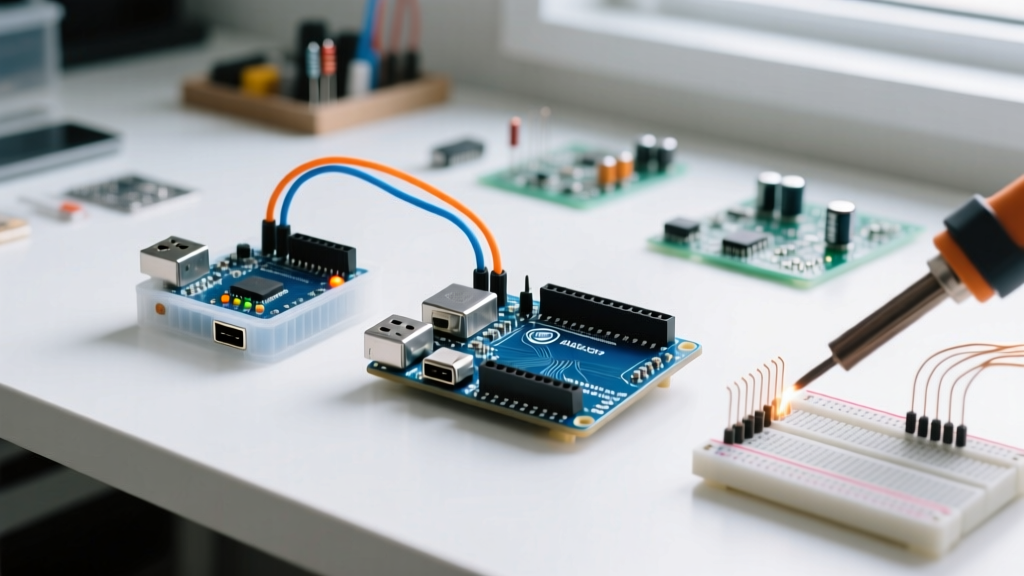
| Base Board (Clone) | Elegoo Uno R3 (CH340G) | $14.00 | Uses the CH340 USB-to-Serial chip. Requires specific drivers on older OS versions but is functionally identical for 99% of projects. |
| Motor Control | Arduino Motor Shield V2 | $12.50 | L298P dual H-bridge. Handles up to 2A per channel. Essential for DC motor and basic stepper projects. |
| Sensor Expansion | Sensor Shield V5.0 | $6.00 | Breaks out I2C, UART, and power rails to 3-pin G-V-S headers. Eliminates the need for custom breadboard wiring. |
| CNC / Motion | CNC Shield V3 + DRV8825 | $11.00 (Set) | Routes stepper signals to standard GRBL pins. Supports 8V-35V input for high-torque NEMA 17 motors. |
Project 1: Precision I2C Environmental Monitoring Station
The Uno R3's hardware I2C pins (A4 for SDA, A5 for SCL) make it an ideal host for environmental logging. However, the 5V logic level requires careful module selection to avoid damaging 3.3V sensors.
Hardware Selection and Wiring
For this project, we utilize the Bosch BME280 sensor, which measures temperature, humidity, and barometric pressure. While raw BME280 chips operate at 3.3V, the ecosystem provides breakout boards (like those from Adafruit or SparkFun) that include onboard 3.3V LDO regulators and BSS138 logic-level shifters.
- VCC: Connect to Uno 5V (the breakout's LDO will drop it to 3.3V safely).
- GND: Connect to Uno GND.
- SDA/SCL: Connect to A4/A5. The breakout board's level shifters protect the sensor's I2C bus.
- Display: 128x64 OLED (SSD1306 driver, I2C address 0x3C).
Software and Edge Cases
Using the Adafruit BME280 Library, data acquisition is straightforward. However, a common failure mode in this ecosystem is I2C bus capacitance. If you run jumper wires longer than 30cm between the Uno and the sensor, signal degradation will cause I2C timeouts.
Pro-Tip: If your BME280 fails to initialize on long wire runs, solder 4.7kΩ pull-up resistors between the SDA/SCL lines and the 5V rail directly at the sensor breakout to sharpen the signal rise times.
Project 2: GRBL-Based CNC Plotter (The Shield Ecosystem)
The Arduino Uno R3 is the undisputed brain of the hobbyist CNC ecosystem, thanks to GRBL, an open-source, high-performance G-code parser. Because GRBL is hardcoded to the ATmega328P's specific timer interrupts and pin mappings, newer boards like the Pico require complex firmware translations, keeping the Uno R3 at the top of the GRBL compatibility wiki.
Configuring the CNC Shield V3
The CNC Shield V3 plugs directly into the Uno's headers and accepts up to four DRV8825 stepper drivers. To ensure your NEMA 17 motors do not overheat or skip steps, you must tune the current limit potentiometer on each DRV8825 before connecting the motors.
- Power the shield with a 12V, 10A DC power supply via the barrel jack.
- Measure the Vref voltage on the DRV8825 potentiometer using a multimeter.
- Calculate the target Vref. For a standard NEMA 17 rated at 1.5A, the formula is
Vref = Imot / 2(for 1/32 microstepping). Target Vref = 0.75V. - Adjust the tiny brass screw on the driver until the multimeter reads exactly 0.75V.
Firmware Flashing
Flash GRBL v1.1 using the Arduino IDE 2.x. Set the board to 'Arduino Uno', select the correct COM port, and upload the compiled grbl.ino file. Once flashed, the Uno R3 will no longer accept standard Arduino sketches; it will only respond to G-code commands via serial (115200 baud) from software like Universal Gcode Sender (UGS).
Project 3: RFID Access Control (Navigating the 5V/3.3V Trap)
Integrating an MFRC522 RFID reader (13.56 MHz) via SPI is a rite of passage for Uno builders. This project highlights a critical ecosystem trap: logic level mismatch.
The Logic Level Failure Mode
The Arduino Uno R3 outputs 5V on its SPI pins (MOSI, SCK, CS). The RC522 module, however, is strictly 3.3V tolerant. Sending 5V into the RC522's MISO or MOSI pins will not immediately destroy the chip, but it will cause long-term silicon degradation, leading to erratic read ranges and eventual module death within a few weeks.
The Correct Ecosystem Solution
Do not rely on cheap resistor-divider networks for high-speed SPI. Instead, use a dedicated 4-channel I2C/SPI Logic Level Converter (based on the BSS138 MOSFET).
- Connect the Uno's 5V SPI pins to the High-Voltage (HV) side of the converter.
- Connect the RC522's SPI pins to the Low-Voltage (LV) side.
- Power the HV side with 5V and the LV side with the Uno's 3.3V pin.
This ensures clean, bi-directional signal translation without the signal rounding caused by passive resistors, guaranteeing reliable 13.56 MHz RFID tag reads.
Power Architecture: The Barrel Jack vs. USB Debate
A frequent point of failure in Uno R3 projects involves the onboard 5V linear regulator. When powering the board via the 2.1mm barrel jack at 12V, the regulator must drop 7V. Given its limited thermal dissipation (approx. 1W without active cooling), the maximum safe current draw from the 5V pin is roughly 140mA.
If your project includes a 5V relay module, an LCD backlight, and multiple servos, you will easily exceed 140mA, causing the regulator to thermally throttle or fail completely. The ecosystem workaround: Use an external LM2596 buck converter to step down 12V to 5V, and feed that directly into the Uno's 5V pin (bypassing the onboard regulator entirely) and the peripheral power rails.
When to Stay with Uno R3 vs. Modern Alternatives
While the Uno R3 ecosystem is vast, it is not the right tool for every job. Use this decision matrix to determine if your project requires the R3 or a modern alternative.
| Project Requirement | Arduino Uno R3 (ATmega328P) | ESP32 (Dual-Core) | Raspberry Pi Pico (RP2040) |
|---|---|---|---|
| 5V Logic Peripherals (Relays, older shields) | Native (Ideal) | Requires Level Shifters | Requires Level Shifters |
| Wi-Fi / Bluetooth Connectivity | Requires bulky ESP-01 shield | Native (Ideal) | Requires Pico W variant |
| High-Speed Data Acquisition (Audio/SDR) | Insufficient SRAM (2KB) | Good (520KB SRAM) | Ideal (264KB + PIO) |
| Industrial Prototyping / Education | Unmatched Ecosystem | Fragmented Shield Support | Growing, but limited shields |
Conclusion: The 5V Workhorse
The ecosystem of projects for Arduino Uno R3 continues to thrive because the board solves the hardest part of electronics: physical and software integration. Whether you are building a GRBL-driven CNC router, an isolated RFID security gate, or a multi-node I2C sensor array, the Uno R3's standardized 5V architecture, DIP-socketed microcontroller, and massive library support eliminate the friction of hardware prototyping. By respecting its power limits and properly managing logic-level translations, the Uno R3 remains an indispensable platform for both rapid prototyping and permanent installations.