
The Prototyping Trap: Why Your Arduino Uno Enclosure Matters
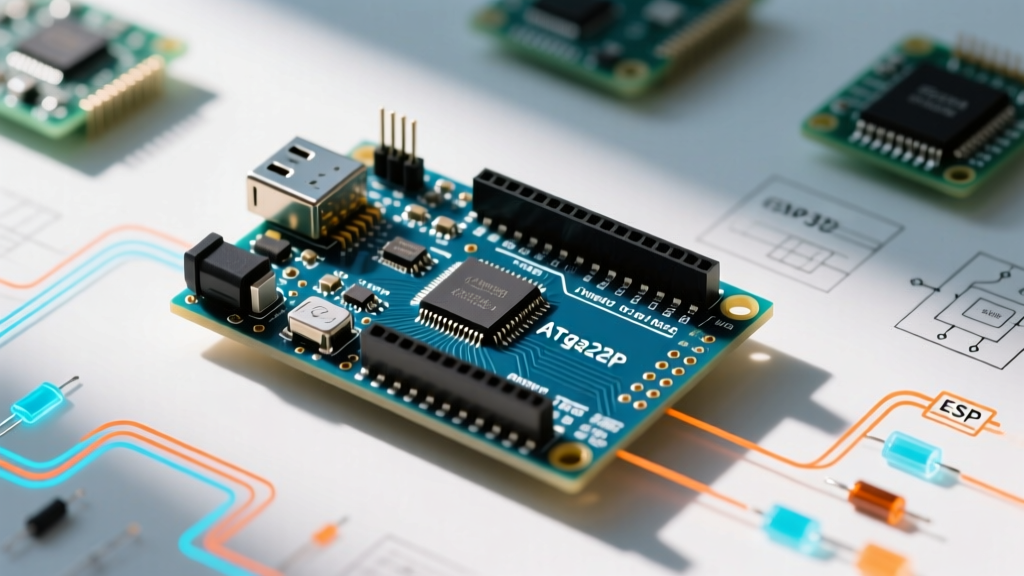
Every embedded systems engineer knows the prototyping trap: you build a brilliant IoT sensor node or industrial controller on an Arduino Uno, it works perfectly on the bench, and then comes the deployment phase. Suddenly, you need a robust Arduino Uno enclosure to protect the hardware from dust, moisture, and physical impact. However, the Uno's generous footprint (68.6 x 53.4 mm) dictates a large, often expensive enclosure, which can completely derail the unit economics of a scaled deployment.
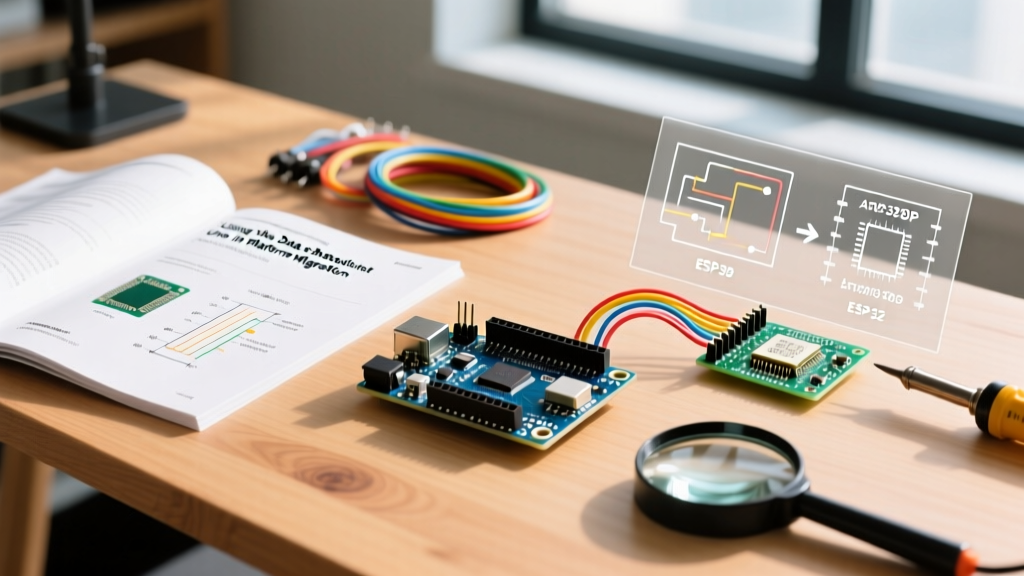
This guide bridges the gap between prototyping and production. We will evaluate the best enclosure options for your initial Arduino Uno deployments in 2026, and then provide a comprehensive platform migration framework. You will learn exactly when and how to migrate your circuit to a smaller microcontroller—like the Arduino Nano or ESP32—to drastically reduce your enclosure size, material costs, and thermal management headaches.
Sizing Up the Standard Arduino Uno Enclosure
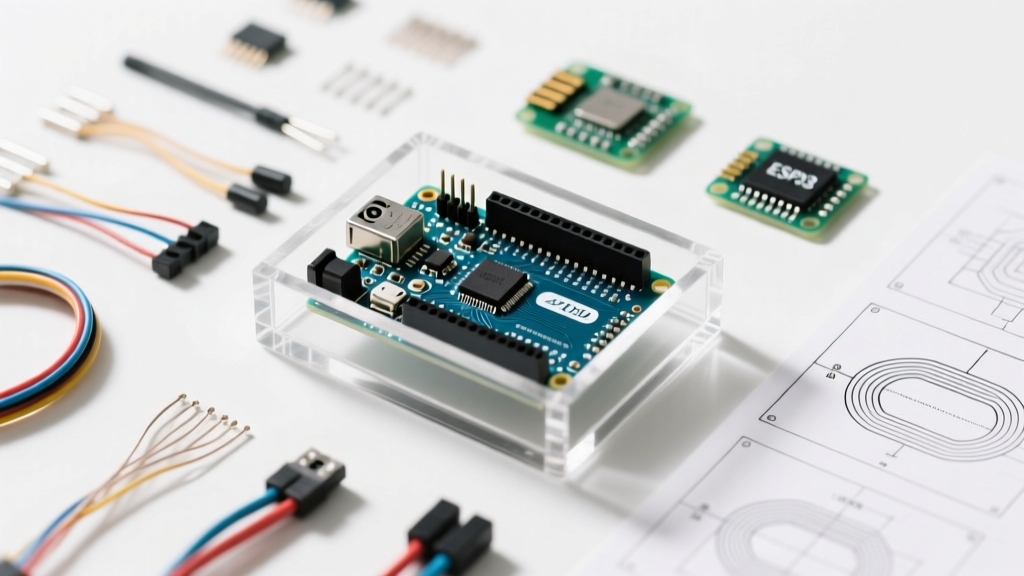
The official Arduino Uno Rev3 measures 68.6 mm by 53.4 mm, with four M3 (3.2mm diameter) mounting holes. When selecting an enclosure, you must account not just for the PCB footprint, but for the vertical clearance required by the USB Type-B port, the DC barrel jack, and any stacked shields (which can add 15mm to 30mm of height).
According to the Arduino Uno Rev3 documentation, the board's maximum height with standard headers is roughly 45mm. Therefore, an ideal enclosure must offer at least 60mm of internal vertical clearance to accommodate wiring and shield stacking.
Top Enclosure Choices for Uno Deployments
For field deployments, you must consider the IEC 60529 IP rating standards. An indoor educational project might only need an IP20 ABS plastic box, but an outdoor agricultural sensor requires at least IP65 to protect against low-pressure water jets and dust ingress.
| Manufacturer & Model | Material | IP Rating | Internal Dimensions (LxWxH) | Approx. Cost (2026) |
|---|---|---|---|---|
| Hammond 1593V | ABS Plastic | IP54 (with gasket) | 114 x 66 x 48 mm | $12.50 |
| Bud Industries NBF-32016 | Polycarbonate | IP66 / NEMA 4X | 152 x 82 x 57 mm | $28.00 |
| Serpac R51 | ABS Plastic | IP67 (Sealed) | 121 x 71 x 43 mm | $16.50 |
Note: The Serpac R51 offers excellent water resistance but its 43mm internal height is extremely tight if you are using shields. It is best suited for bare Uno boards with low-profile soldered connections.
The Migration Trigger: When the Uno Enclosure Becomes a Liability
While the Bud Industries NBF-32016 is a phenomenal enclosure, paying $28.00 per unit for a plastic box is unacceptable if you are manufacturing 500 units of a commercial product. Furthermore, the sheer volume of an Arduino Uno enclosure increases shipping costs and makes discreet installation in commercial buildings nearly impossible.
The Deployment Rule of Thumb: If your project requires more than 10 deployed units, and the primary function of the Arduino Uno is simply to read a few analog sensors and toggle digital pins, the Uno's physical footprint is a liability. It is time to migrate to a smaller platform.
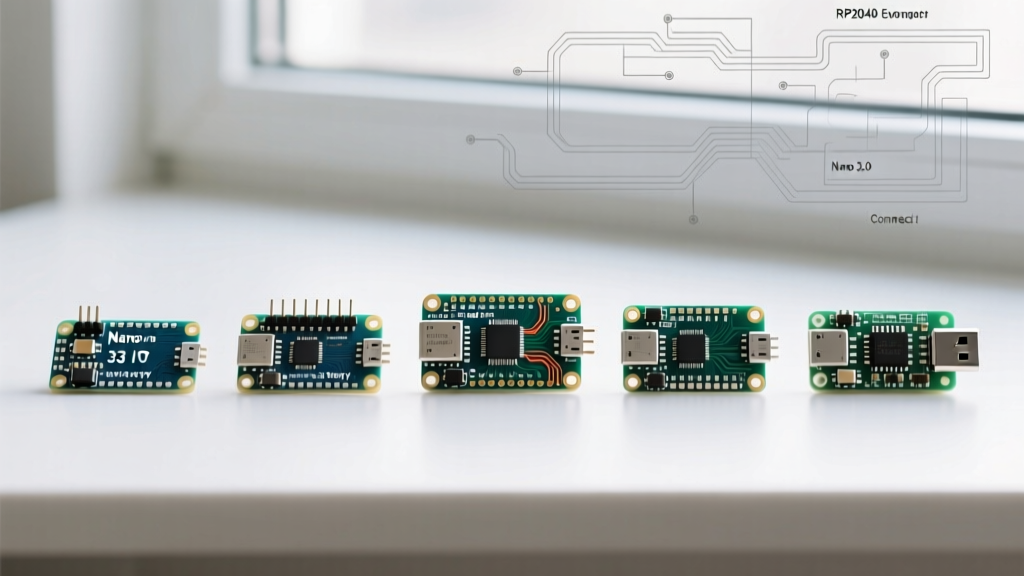
Migrating your code and wiring to an Arduino Nano (45 x 18 mm) or an ESP32-WROOM-32 dev board (51 x 25 mm) allows you to shrink your enclosure volume by up to 75%. This drops your enclosure cost from the $20+ range down to the $4–$8 range for standard project boxes.
Platform Migration Matrix: Uno vs. Nano vs. ESP32
Before ripping out your ATmega328P-PU DIP chip, consult this migration matrix to ensure your target platform supports your environmental and electrical requirements.
| Feature | Arduino Uno (Rev3) | Arduino Nano | ESP32 DevKit V1 |
|---|---|---|---|
| PCB Footprint | 68.6 x 53.4 mm | 45 x 18 mm | 51 x 25.5 mm |
| Required Enclosure Volume | ~450 cm³ | ~120 cm³ | ~160 cm³ |
| Onboard 5V Regulator Limit | ~800mA (NCP1117) | ~150mA (SOT-89) | ~500mA (AMS1117) |
| Native Wireless | No | No | Wi-Fi & Bluetooth |
| Mounting Style | 4x M3 Standoffs | Pin Headers / Sled | Pin Headers / Sled |
Step-by-Step: Migrating from Uno to Nano for Compact Enclosures
If you decide to migrate to the Arduino Nano to fit a smaller, cheaper enclosure, follow these precise engineering steps to avoid hardware failure in the field.
1. Audit Your Power Budget (The Thermal Edge Case)
This is where most migrations fail. The Arduino Nano hardware specs reveal a critical limitation: its onboard linear voltage regulator is significantly smaller than the Uno's. If your Uno project powers a relay module, an LCD screen, and a few LEDs drawing a combined 350mA from the 5V pin, the Nano's regulator will overheat and trigger thermal shutdown within minutes inside a sealed enclosure.
The Fix: If your total 5V current draw exceeds 150mA, do not power the Nano via the VIN pin. Instead, use an external buck converter (like the LM2596 or MP1584EN) to step down your main supply voltage directly to 5V, and feed it into the Nano's 5V pin, bypassing the onboard regulator entirely.
2. Adapt the Mechanical Mounting
The Uno uses four standard M3 mounting holes. The Nano does not have mounting holes; it relies on 15-pin male headers. To mount a Nano securely in a small enclosure without it vibrating loose:
- Option A (3D Printing): Design a custom TPU or PETG 'sled' that snaps onto the Nano's headers and features integrated M2 or M3 mounting bosses.
- Option B (PCB Soldering): For permanent deployments, desolder the pin headers and solder the Nano directly to a custom carrier board or perfboard that features M3 mounting holes.
- Option C (Adhesive Standoffs): Use 3M VHB tape-backed nylon standoffs. Ensure the enclosure plastic is compatible with VHB (ABS and Polycarbonate work well; avoid PP or PE).
3. Resolve USB-to-Serial Driver Differences
The Uno uses the ATmega16U2 chip for USB communication, which enumerates natively on almost all operating systems. Most cost-effective Nano clones in 2026 use the CH340G or CH340C USB-to-Serial chip. If you are deploying a kiosk or a system where a technician will need to plug in a laptop for field updates, ensure the CH340 drivers are pre-installed on the maintenance laptops, or purchase official Nanos that use the FT232RL chip (though these cost roughly $22 compared to $4 for a CH340 clone).
Final Deployment Checklist
Before you seal your enclosure and ship the units to the field, run through this final validation checklist:
- Thermal Soak Test: Place the fully assembled board inside the sealed enclosure. Power it on at maximum load. Leave it in a 40°C ambient environment for 4 hours. Measure the internal temperature via a thermocouple. If it exceeds 70°C, you must add passive ventilation (IP67 vents) or migrate to a switching power supply.
- Antenna Placement (If applicable): If you migrated to an ESP32 to save space, ensure the PCB antenna overhangs the edge of the board and is not shielded by metallic enclosure components or copper tape.
- Cable Gland Sizing: If routing external sensor wires into your new compact enclosure, use PG7 or PG9 cable glands. Drill the enclosure hole to exactly 12.5mm (for PG7) or 15.2mm (for PG9) to maintain the IP rating.
- Conformal Coating: For high-humidity environments, apply an acrylic conformal coating (like MG Chemicals 419D) to the solder joints before closing the enclosure, protecting against condensation.
Choosing the right Arduino Uno enclosure is the first step toward professionalizing your DIY project. But recognizing when that enclosure is holding back your product's scalability—and knowing exactly how to migrate to a denser, more efficient microcontroller platform—is what separates a hobbyist from an embedded systems engineer.