
The 3-Pin to 4-Pin Migration: Why Voltage Control Fails
For years, PC builders, DIY server homelab enthusiasts, and custom enclosure makers relied on 3-pin DC voltage control to manage thermals. The legacy approach was simple: use an N-channel MOSFET and an Arduino analogWrite() signal to drop the voltage from 12V down to 7V or 5V, effectively slowing the fan. However, as hardware densities have increased and acoustic tolerances have tightened, this voltage-reduction method has become a critical bottleneck.
When you drop the voltage on a standard DC motor, you reduce the torque. At lower voltages (typically below 4.5V), many PC fans suffer from 'stall voltage' issues where the motor hums, vibrates, and fails to spin, potentially burning out the internal windings. Migrating to a modern pwm fan pc architecture solves this by keeping a constant 12V supply to the motor while using a high-frequency logic signal to pulse the power. This ensures maximum starting torque even at ultra-low duty cycles, completely eliminating low-RPM stalling and bearing wear.
Decoding the Intel 4-Wire Spec for PC Cooling
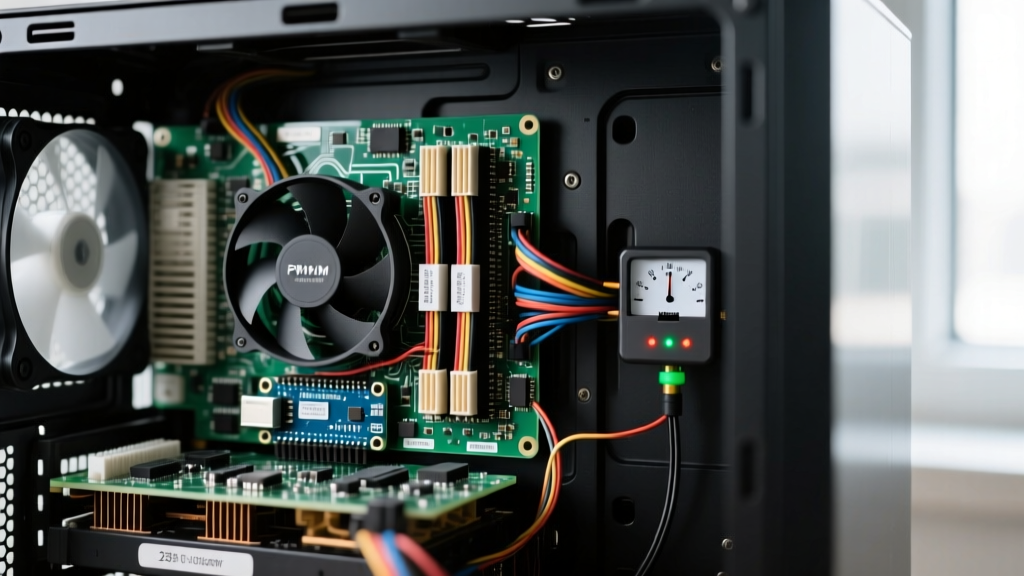
When you integrate a pwm fan pc into your custom MCU-driven enclosure, you are adopting the Intel 4-Wire PWM Controlled Fans Specification. This standard was designed to ensure interoperability between motherboard headers and cooling hardware, but it introduces strict timing requirements that trip up many Arduino developers.
The most critical parameter in the Intel Rev 1.3 specification is the PWM frequency requirement: 25 kHz ± 20%. This means the control signal must operate between 20 kHz and 30 kHz. Why so high? The 25 kHz threshold pushes the switching frequency of the internal MOSFETs well beyond the range of human hearing. If you attempt to drive a 4-pin PC fan with the default Arduino PWM frequency (which is roughly 490 Hz or 980 Hz depending on the pin), the internal coils will vibrate at an audible frequency, resulting in an unbearable, high-pitched whining noise. To execute a successful migration, we must manipulate the ATmega328P hardware timers to achieve ultrasonic switching.
Pinout and Pull-Up Resistor Traps
A standard 4-pin PC fan header follows a strict color-coded or labeled pinout:
- Pin 1 (Black): Ground (GND). Must be shared with your Arduino and 12V PSU.
- Pin 2 (Yellow/Red): +12V Constant Power. Sourced directly from a Molex, SATA, or dedicated 12V buck converter.
- Pin 3 (Green): Sense / Tachometer. An open-drain output that pulses twice per revolution.
- Pin 4 (Blue): PWM Control Input. Logic-level signal (tolerates 3.3V and 5V).
A common migration failure occurs when makers leave Pin 4 floating during MCU boot-up. Inside the fan's controller IC, there is typically a high-value pull-up resistor (often 100kΩ) tied to 3.3V. If your Arduino pin is configured as an input or is in a HIGH-Z state during initialization, the fan's internal pull-up will read a 'HIGH' logic state, causing the fan to immediately ramp to 100% speed. Always initialize your PWM pins as OUTPUT and write them LOW in the very first lines of your setup() function to maintain acoustic control during boot.
Forcing 25kHz on the ATmega328P (The Whine Fix)
To drive your pwm fan pc silently, you must abandon analogWrite() defaults and reconfigure the hardware timers. On the Arduino Uno or Nano (ATmega328P), Pins 9 and 10 are controlled by Timer1. By altering the Timer1 prescaler, we can push the Phase Correct PWM frequency into the ultrasonic range.
According to the Arduino Timer PWM Cheat Sheet, applying a prescaler of 1 to Timer1 in Phase Correct mode yields a frequency of approximately 31.37 kHz. While this sits slightly outside the strict 30 kHz upper ceiling of the original Intel spec, modern fan controllers (including those from Noctua, be quiet!, and Delta) easily tolerate frequencies up to 35 kHz without issue.
To implement this, insert the following bitwise operation at the top of your setup() loop:
// Set Timer1 prescaler to 1 (Yields ~31.3kHz on Pins 9 & 10)
TCCR1B = (TCCR1B & 0xF8) | 0x01;

// Initialize Pin 9 to LOW to prevent boot-up 100% spin
pinMode(9, OUTPUT);
digitalWrite(9, LOW);
Once the timer is configured, you can use standard analogWrite(9, dutyCycle) commands. Note that because Phase Correct PWM operates differently than Fast PWM, the duty cycle mapping remains 0-255, but the physical switching behavior is optimized for inductive loads like fan motors.
Tachometer Feedback: Closing the Thermal Loop
A true migration from passive cooling to an active, intelligent thermal daemon requires closed-loop feedback. Pin 3 (Tachometer) provides this data, but it requires specific hardware conditioning. The tachometer pin is an open-drain (or open-collector) output. It pulls the signal to Ground when active, but it does not drive the signal HIGH.
If you wire Pin 3 directly to an Arduino digital input, the pin will float, resulting in erratic RPM readings and phantom interrupts. You must install a 10kΩ pull-up resistor between the Tachometer wire and the Arduino's 5V rail. Once pulled up, you can use hardware interrupts to measure the time between pulses.
volatile unsigned long pulseCount = 0;

void setup() {
  pinMode(2, INPUT_PULLUP); // Using internal pull-up as an alternative
  attachInterrupt(digitalPinToInterrupt(2), countPulse, FALLING);
}

void countPulse() {
  pulseCount++;
}
Because most PC fans output two pulses per full revolution, calculating the exact RPM requires capturing the pulse count over a precise 1-second window and multiplying by 30. This data allows your MCU to detect if a fan has physically stalled or accumulated dust, triggering a maintenance alert via I2C OLED or MQTT.
Real-World Migration: Noctua vs. Delta Electronics
Not all pwm fan pc models behave identically when driven by custom MCU logic. When upgrading a system, choosing between consumer-grade and enterprise-grade fans drastically alters your PID tuning and thermal thresholds.
| Migration Spec | Noctua NF-A12x25 (Consumer/Silent) | Delta FFB0412UHN (Server/Enterprise) |
|---|---|---|
| Minimum Duty Cycle | 20% (Below this, fan stops gracefully) | 30% (High static pressure requires more torque) |
| Startup Duty Cycle | Requires 40% pulse for 2 seconds | Requires 60% pulse to overcome magnetic detent |
| Acoustic Profile | Near-silent at 25kHz PWM | Audible wind shear, regardless of PWM frequency |
| Current Draw (Peak) | 0.14A (Safe for direct board traces) | 1.2A+ (Requires dedicated 12V power injection) |
When migrating to high-static-pressure server fans like the Delta series, your Arduino code must include a 'kick-start' routine. If your thermal algorithm requests a 35% duty cycle from a dead stop, the Delta fan may fail to overcome its internal magnetic detent. Your firmware must temporarily output an 80% duty cycle for 1.5 seconds before dropping to the target 35%, ensuring reliable migration to enterprise-grade cooling.
Fail-Safes and Hardware Protection
In custom MCU thermal loops, software crashes can lead to catastrophic hardware overheating. Fortunately, the Noctua PWM whitepaper and Intel specs outline a built-in hardware fail-safe that you can leverage during your upgrade.
If the ATmega328P locks up, the WDT (Watchdog Timer) resets the chip, or the 5V logic rail drops out, the PWM output pin (Pin 9) enters a HIGH-Z (high impedance) state. As mentioned earlier, the fan's internal pull-up resistor will detect this floating state as a logic HIGH. Consequently, the fan will automatically default to 100% speed. This passive hardware fail-safe ensures that even if your custom Arduino thermal daemon experiences a fatal exception, your PC components will be blasted with maximum airflow rather than suffocating in a stalled, low-voltage state.
For mission-critical upgrades, combine this hardware trait with an Arduino Watchdog Timer. If the main loop hangs for more than 4 seconds, the MCU resets, the PWM pin floats, the fans roar to 100%, and your hardware survives to cool another day. By understanding both the silicon-level timer registers and the physical electromechanical traits of the motor, you can execute a flawless migration to a fully autonomous, silent, and fail-safe thermal management system.