
The 2026 Robotics Shift: Why Your Legacy Setup is Holding You Back
If you are building autonomous rovers, mapping drones, or SLAM (Simultaneous Localization and Mapping) robots in 2026, relying on legacy distance sensors is no longer viable. For years, the maker community relied on the HC-SR04 ultrasonic sensor or basic 1D time-of-flight modules like the TFMini-S for obstacle avoidance. While these components are excellent for simple edge-detection, they completely fail at generating the dense, 360-degree point clouds required for modern navigation algorithms.
Migrating to a true 2D LiDAR scanner Arduino setup—using rotating optical arrays like the Slamtec RPLidar A1M8 or the LDRobot LD19—fundamentally changes your robot's spatial awareness. However, this migration is rarely as simple as swapping a sensor and uploading a new sketch. The data throughput, power requirements, and memory constraints of 2D LiDAR scanners routinely overwhelm legacy 8-bit microcontrollers. This comprehensive migration guide will walk you through the exact hardware bottlenecks, microcontroller upgrades, power delivery overhauls, and software architecture shifts required to successfully integrate a 2D LiDAR scanner into your Arduino-compatible ecosystem.
The AVR Bottleneck: Why the Arduino Uno Fails at 2D LiDAR
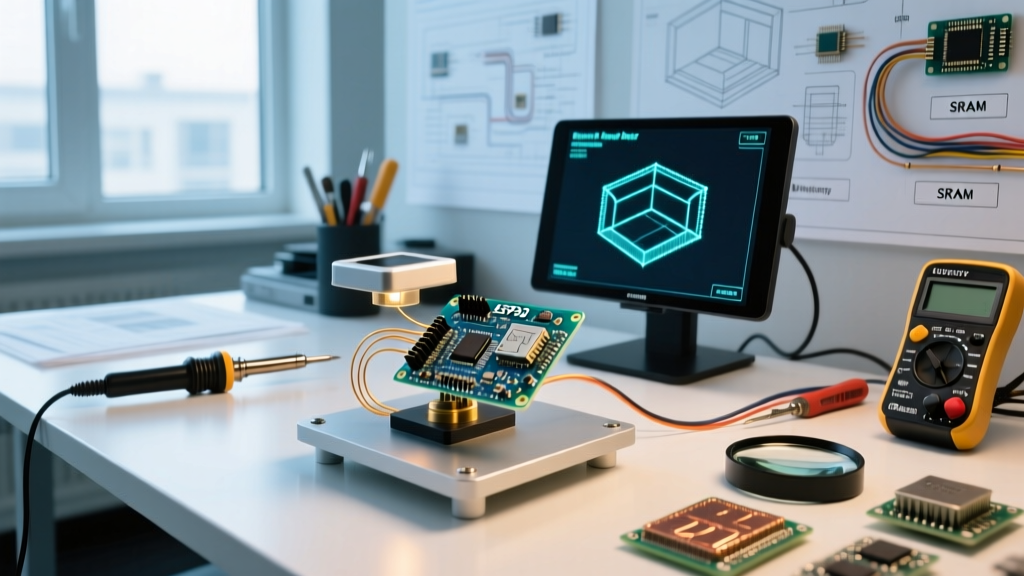
The most common failure mode when makers first attempt to wire an RPLidar or LD19 to an Arduino Uno or Nano isn't electrical—it is architectural. The ATmega328P chip powering these classic boards features a mere 2KB of SRAM. To understand why this is catastrophic for LiDAR, we must look at the data structure of a point cloud.
A standard 2D LiDAR scanner outputs between 400 and 800 data points per rotation. A minimal C++ struct to hold a single LiDAR point (angle, distance, and signal quality) requires at least 9 bytes of memory. Buffering a single full 360-degree sweep requires roughly 7.2KB of contiguous SRAM. When you attempt to allocate this array on an Uno, the compiler will either throw a memory overflow error, or the microcontroller will silently overwrite its own stack, resulting in an immediate, untraceable hard fault and reboot.
Expert Insight: Never attempt to process raw 2D LiDAR point clouds on an 8-bit AVR. Even the Arduino Mega2560, with its 8KB of SRAM, will choke when you factor in the memory overhead of the Serial buffer, motor control libraries, and I2C communication for IMUs. You must migrate to a 32-bit architecture.
Hardware Migration Matrix: Choosing Your 2026 LiDAR Sensor
Before rewriting your codebase, you must select the right sensor for your processing pipeline. The market has bifurcated into budget-friendly 230k-baud sensors and premium 115k-baud legacy sensors. Below is a comparison matrix to guide your hardware migration.
| Sensor Model | Logic Level | Baud Rate | Sample Rate | Approx. Cost (2026) | Best Use Case |
|---|---|---|---|---|---|
| LDRobot LD19 | 3.3V | 230,400 | 4,500 pts/sec | $45 - $60 | ESP32-S3 / Teensy 4.1 SLAM |
| Slamtec RPLidar A1M8 | 5V TTL | 115,200 | 8,000 pts/sec | $99 - $120 | Legacy 5V Arduino Mega setups |
| XG lidar P100 | 3.3V | 230,400 | 4,500 pts/sec | $50 - $70 | Compact indoor rovers |
| Benewake TFMini Plus (1D) | 3.3V/5V | 115,200 | 1,000 pts/sec | $35 - $45 | High-speed forward collision |
Step 1: The Brain Swap — Upgrading Your Microcontroller
To handle the sheer volume of UART data generated by a 2D LiDAR scanner, you must migrate to a microcontroller with robust SRAM and hardware UART capabilities. In 2026, the two dominant choices for advanced Arduino-compatible robotics are the Teensy 4.1 and the ESP32-S3.
Why the Teensy 4.1 is the Ultimate LiDAR Bridge
The Teensy 4.1 features an ARM Cortex-M7 running at 600MHz and a massive 1MB of onboard SRAM (expandable via external PSRAM). More importantly, it supports advanced UART DMA (Direct Memory Access). When reading a 230,400 baud stream from an LD19, standard interrupt-driven serial reading can still drop packets if your main loop is busy calculating PID motor controls. By configuring DMA, the Teensy's hardware automatically shoves incoming LiDAR bytes into a background buffer without waking the CPU, guaranteeing zero packet loss.
The ESP32-S3 Alternative
If your project requires Wi-Fi telemetry or integration with ROS 2 (Robot Operating System) via micro-ROS, the ESP32-S3 is the superior choice. With 512KB of SRAM and dual-core processing, you can dedicate Core 0 entirely to parsing the LiDAR UART stream while Core 1 handles navigation logic and wireless publishing.
Step 2: Power Delivery and Brownout Prevention
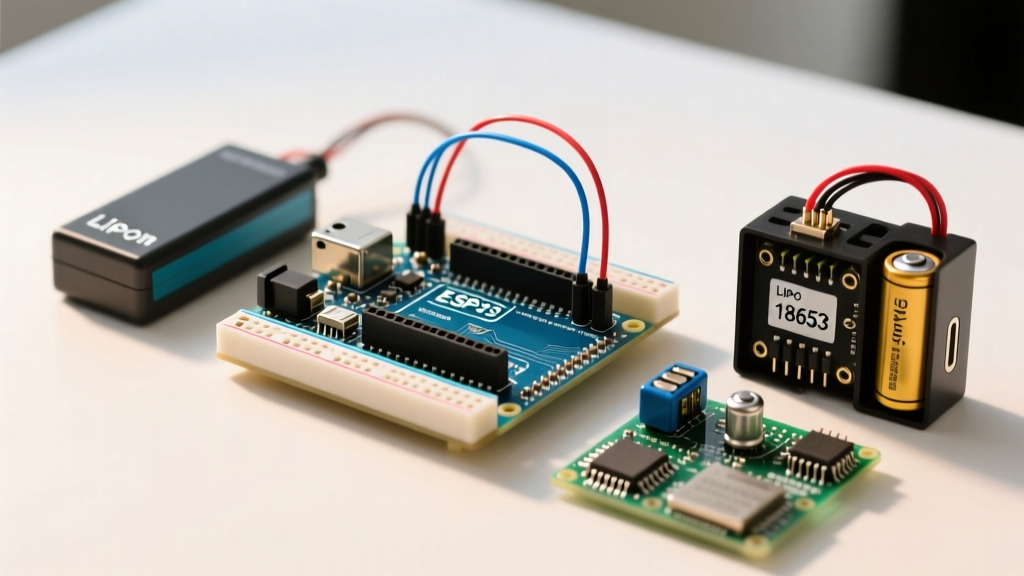
A hidden trap in LiDAR migration is power delivery. 2D LiDAR scanners contain internal DC motors that spin the optical array at roughly 5 to 10 Hz. During motor spin-up, these devices draw an inrush current of 500mA to 1A. If you attempt to power an RPLidar A1 directly from the Arduino's onboard 5V linear regulator, the voltage will instantly sag below 4.5V. This triggers a brownout reset on the microcontroller, causing an endless boot-loop where the LiDAR never reaches full RPM.
The 2026 Power Standard: You must implement a dedicated, high-current buck converter. Wire a 5V, 9A Step-Down Voltage Regulator (such as those available from Pololu) directly to your main battery pack (e.g., a 3S or 4S LiPo). Connect the 5V output to the LiDAR's power pins, and ensure you establish a common ground between the buck converter, the LiDAR, and your microcontroller. This isolates the noisy motor current from your MCU's sensitive logic rails.
Step 3: Wiring and Logic Level Shifting
Mixing 5V and 3.3V logic is the fastest way to permanently destroy a modern LiDAR scanner. The LDRobot LD19 and XG P100 operate strictly on 3.3V logic. If you are using a 5V Arduino Mega or a standard 5V-tolerant Teensy configuration, sending a 5V TX signal to the LiDAR's 3.3V RX pin will fry the sensor's internal UART transceiver.
- For 3.3V Sensors (LD19/P100): Use a bidirectional logic level shifter (like the BSS138 MOSFET-based Adafruit 4-channel shifter) between the MCU and the LiDAR.
- For 5V Sensors (RPLidar A1): Direct connection to 5V Arduino boards is safe, but ensure the TX/RX lines are crossed correctly (MCU TX to LiDAR RX, MCU RX to LiDAR TX).
- Motor Control Pin: Most 2D LiDARs feature a 'MOTO_CTRL' pin. You must wire this to a digital GPIO on your MCU and set it HIGH to start the physical rotation before expecting UART data.
Step 4: Software Architecture and SDK Migration
Migrating your codebase requires abandoning simple Serial.read() loops. Modern LiDAR SDKs parse complex hexadecimal packet structures. According to the Slamtec RPLidar SDK documentation, a standard response packet includes a start flag, quality byte, angle data (with a 14-bit resolution), and a 16-bit distance measurement.
When writing your parser, you must implement a state machine that continuously scans the Arduino Serial buffer for the specific start-byte signature (usually 0xA5 followed by 0x5A). If your parser falls out of sync due to electrical noise, it must be able to flush the buffer and re-acquire the packet header without crashing.
Integrating with ROS 2 via micro-ROS
In professional and advanced university robotics, the Arduino-compatible board no longer performs SLAM locally. Instead, it acts as a real-time hardware bridge. By installing the micro-ROS agent on a companion computer (like a Raspberry Pi 5 or Jetson Orin Nano), your ESP32-S3 can publish the parsed LiDAR scans directly to a ROS 2 sensor_msgs/LaserScan topic over Wi-Fi or a high-speed USB serial link. This offloads the heavy matrix math of SLAM to the companion computer while the MCU maintains strict real-time motor control.
Expert Troubleshooting: Common Migration Failures
Even with the correct hardware, LiDAR integrations frequently fail during the testing phase. Use this diagnostic checklist to resolve edge cases:
- Motor Spins but No Data: The UART baud rate is mismatched. Many budget LiDARs default to 230,400 baud. Standard Arduino
SoftwareSerialcannot reliably exceed 38,400 baud. You must use hardware serial pins (Serial1,Serial2). - Ghost Obstacles / Noise: LiDAR sensors struggle with highly reflective surfaces (like glass or polished metal) and absorbent surfaces (like dark foam). Implement a software filter that discards data points where the 'quality' byte falls below a threshold of 40.
- USB Serial Bottlenecks: If you are printing raw LiDAR data to the Arduino IDE Serial Monitor for debugging, the USB CDC interface will bottleneck at 115,200 baud, causing the MCU's internal TX buffer to overflow and halt the program. Always use a secondary hardware UART connected to an FTDI adapter for high-speed data logging.
Conclusion: Embracing the 32-Bit Reality
Upgrading your LiDAR scanner Arduino project is a rite of passage for serious robotics enthusiasts. By leaving behind the limitations of 8-bit AVRs, implementing robust power delivery networks, and respecting logic-level boundaries, you unlock the ability to map entire rooms in real-time. Whether you choose the raw processing power of the Teensy 4.1 or the wireless versatility of the ESP32-S3, the migration to 2D LiDAR will fundamentally elevate the autonomy and intelligence of your 2026 robotics platforms.