
Bridging the Gap: The ESP Arduino Ecosystem in 2026
The term ESP Arduino refers to the massive ecosystem of Espressif microcontrollers—primarily the ESP8266 and ESP32 families—programmed via the Arduino IDE. While native Espressif development relies on the ESP-IDF (IoT Development Framework) using CMake and FreeRTOS, the Arduino core provides a familiar, accessible abstraction layer. However, as we move through 2026, the transition to ESP32 Arduino Core v3.x and the rise of RISC-V based chips (like the ESP32-C3 and C6) have introduced significant compatibility shifts, breaking changes, and new hardware paradigms.
This compatibility guide cuts through the outdated tutorials. We will cover exact board manager configurations, library breaking changes, GPIO mapping quirks, and hardware-specific upload failures to ensure your ESP Arduino projects compile and run flawlessly.
Core Board Manager Configuration
The foundation of any ESP Arduino project is the correct Board Manager URL. Using outdated or deprecated JSON endpoints is the number one cause of compilation errors in the Arduino IDE (both v1.8.x and v2.x).
Official JSON Endpoints
Navigate to File > Preferences (or Arduino IDE > Settings on macOS) and paste the following URLs into the 'Additional boards manager URLs' field, separated by commas:
- ESP8266:
http://arduino.esp8266.com/stable/package_esp8266com_index.json - ESP32:
https://raw.githubusercontent.com/espressif/arduino-esp32/gh-pages/package_esp32_index.json
Deprecation Warning: Do not use the old dl.espressif.com package URLs for the ESP32. Espressif migrated all ESP32 Arduino Core releases to GitHub Pages to leverage better CDN distribution and version control. Using the old URL will result in missing board definitions for newer chips like the ESP32-S3 and ESP32-C6.
Hardware Compatibility Matrix: ESP8266 vs. ESP32 Family
Not all 'ESP' boards are created equal. When selecting hardware for an ESP Arduino project, you must account for architectural differences, USB capabilities, and current market pricing.
| Chip Family | Architecture | Native USB | Default I2C Pins (SDA/SCL) | Avg. Dev Board Price (2026) |
|---|---|---|---|---|
| ESP8266 (NodeMCU v3) | Xtensa 32-bit (Single-core) | No (Requires CH340/CP2102) | GPIO 4 / GPIO 5 | $3.50 - $4.50 |
| ESP32 (WROOM-32) | Xtensa 32-bit (Dual-core) | No (Requires UART Bridge) | GPIO 21 / GPIO 22 | $5.00 - $6.50 |
| ESP32-S3 | Xtensa 32-bit (Dual-core) | Yes (USB OTG) | GPIO 8 / GPIO 9 | $7.00 - $9.50 |
| ESP32-C3 / C6 | RISC-V (Single-core) | Yes (USB Serial/JTAG) | GPIO 8 / GPIO 9 | $4.50 - $6.00 |
As detailed in the Espressif Arduino Core repository, the shift toward native USB on the S3 and C-series chips eliminates the need for external UART-to-USB bridge chips, reducing BOM costs and enabling native HID (Human Interface Device) emulation directly through the Arduino IDE.
Library Compatibility and Core v3.x Breaking Changes
If you are migrating legacy ESP Arduino code written in 2022 or 2023, you will likely encounter compilation failures when using the modern ESP32 Arduino Core v3.0.x. Espressif aligned the Arduino API closer to the native ESP-IDF, resulting in several critical breaking changes.
1. The LEDC (PWM) API Overhaul
In older cores, configuring PWM required a three-step process using ledcSetup(), ledcAttachPin(), and ledcWrite(). In Core v3.x, this has been simplified to match the standard Arduino analogWrite() behavior, but the underlying channel management has changed.
- Old Method (Deprecated):
ledcSetup(channel, freq, resolution); - New Method (Core v3+):
ledcAttach(gpio, freq, resolution);
The new API automatically assigns an available LEDC channel to the specified GPIO, removing the need for manual channel tracking. If your legacy code relies on hardcoded channel numbers, it will fail to compile.
2. I2C Wire.h Defaults
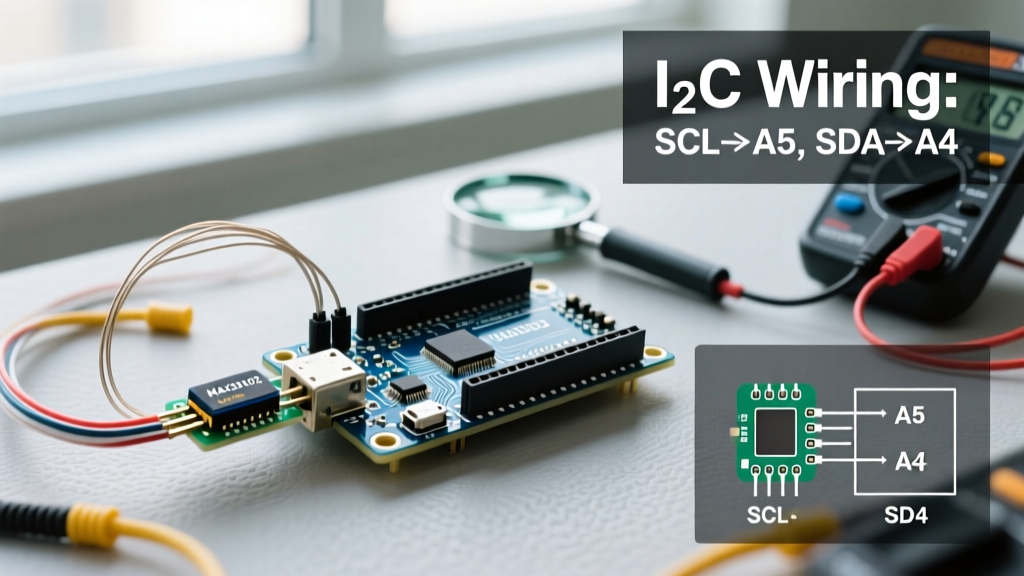
Calling Wire.begin() without arguments will initialize I2C on the default pins for your specific chip (see the matrix above). However, if you are using custom pins, the syntax Wire.begin(SDA, SCL) remains compatible, but you must ensure you are not using pins reserved for the internal SPI flash (e.g., GPIO 6-11 on the original ESP32).
GPIO Mapping Quirks and Hardware Edge Cases
Understanding the physical limitations of the silicon is crucial for ESP Arduino compatibility. The Arduino abstraction does not protect you from hardware-level conflicts.
The ADC2 and WiFi Conflict
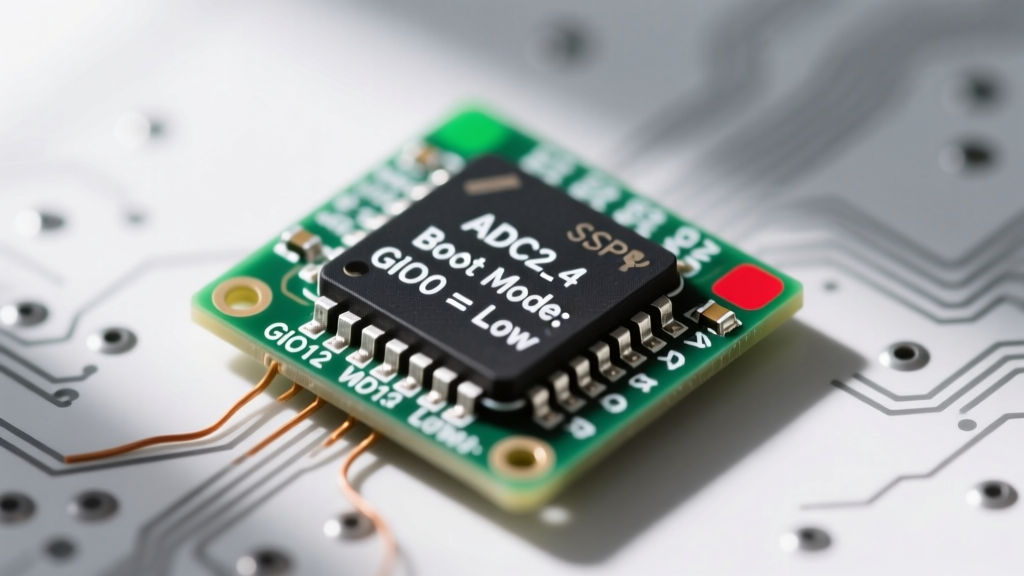
On the original ESP32 and ESP32-S3, the Analog-to-Digital Converter is split into ADC1 and ADC2. ADC2 pins (GPIO 0, 2, 4, 12, 13, 14, 15, 25, 26, 27) cannot be used for analogRead() while WiFi is active. The WiFi driver takes exclusive control of the ADC2 hardware. If your sketch requires simultaneous WiFi communication and analog sensing, you must strictly route your sensors to ADC1 pins (GPIO 32-39 on the original ESP32).
Strapping Pins and Boot Failures
Espressif chips use specific 'strapping pins' to determine boot modes during power-on. According to the official Espressif Hardware Design Guidelines, pulling these pins high or low via external sensors or relays can cause the board to boot into the UART bootloader or SDIO mode instead of executing your Arduino sketch.
- ESP32 Strapping Pins: GPIO 0, GPIO 2, GPIO 12, GPIO 15.
- ESP32-S3 Strapping Pins: GPIO 0, GPIO 3, GPIO 45, GPIO 46.
Rule of Thumb: Never connect external pull-up/pull-down networks or active-low sensors to strapping pins unless you have verified the boot state requirements.
Troubleshooting Upload and Compilation Failures
When the Arduino IDE fails to flash your ESP board, the issue usually lies at the intersection of OS drivers, UART bridges, and bootloader timing.
Step 1: Identify the UART Bridge Chip
Check the silicon chip located between the USB port and the main ESP module.
- CH340 / CH341: Common on budget NodeMCU and ESP32-DevKitC clones. Requires specific WCH drivers. macOS Sequoia/Sonoma users: Apple Silicon Macs often block older CH34x kernel extensions. Download the latest VCP driver directly from the WCH website, not from third-party Arduino blogs.
- CP2102 / CP2104: Found on premium boards (e.g., official Espressif DevKits, Adafruit Huzzah). Uses Silicon Labs drivers. Generally more stable on Windows 11 and macOS.
- Native USB (ESP32-S3/C3): No bridge chip. Requires selecting 'USB CDC On Boot: Enabled' in the Arduino IDE Tools menu to expose the serial port.
Step 2: The 'Timed Out Waiting for Packet Header' Fix
If your ESP32 compiles successfully but fails at the upload stage with a timeout error, the chip is not entering the UART bootloader. The Arduino IDE attempts to toggle the DTR and RTS serial lines to pulse GPIO 0 (Boot) and EN (Reset) automatically. On many clone boards, the capacitor required for this auto-reset circuit is missing.
The Manual Bootloader Sequence:
- Click Upload in the Arduino IDE.
- Wait for the console to output:
Connecting...followed by a series of dots. - Press and hold the physical BOOT button on the ESP board.
- Press and release the EN (Reset) button while still holding BOOT.
- Release the BOOT button.
This manually forces GPIO 0 low during the reset cycle, guaranteeing the chip enters download mode. For a permanent fix, solder a 10µF electrolytic capacitor between the EN pin and GND on the dev board to stabilize the auto-reset timing.
Frequently Asked Questions (FAQ)
Can I use standard Arduino libraries like Servo.h on an ESP32?
Yes, the ESP32 Arduino Core includes a patched version of Servo.h that utilizes the ESP32's LEDC (PWM) hardware under the hood. However, because it consumes an LEDC channel, you are limited to 16 servo channels on the original ESP32. For high-channel-count robotics, use the ESP32Servo library which offers better channel management.
Why does my ESP8266 crash when I use Strings in my loop?
The ESP8266 has limited SRAM (approx. 50KB available for the heap). Using the Arduino String object inside the loop() causes severe heap fragmentation, leading to the infamous 'Exception 9' or 'Exception 28' watchdog resets. Always use fixed-length C-arrays (char[]) or the String::reserve() method to pre-allocate memory in the setup() function. For modern ESP Arduino development, migrating to the ESP32 is highly recommended due to its 520KB SRAM and external PSRAM support.
Where can I find the official Arduino IDE core documentation?
The official Arduino Board Manager documentation provides foundational instructions for adding third-party cores, but for ESP-specific API references, always consult the Espressif GitHub repository wiki, as the Arduino.cc reference pages do not cover ESP-specific functions like esp_sleep_enable_timer_wakeup().