
Why Your Robot Jitters: The Limits of Bang-Bang Control
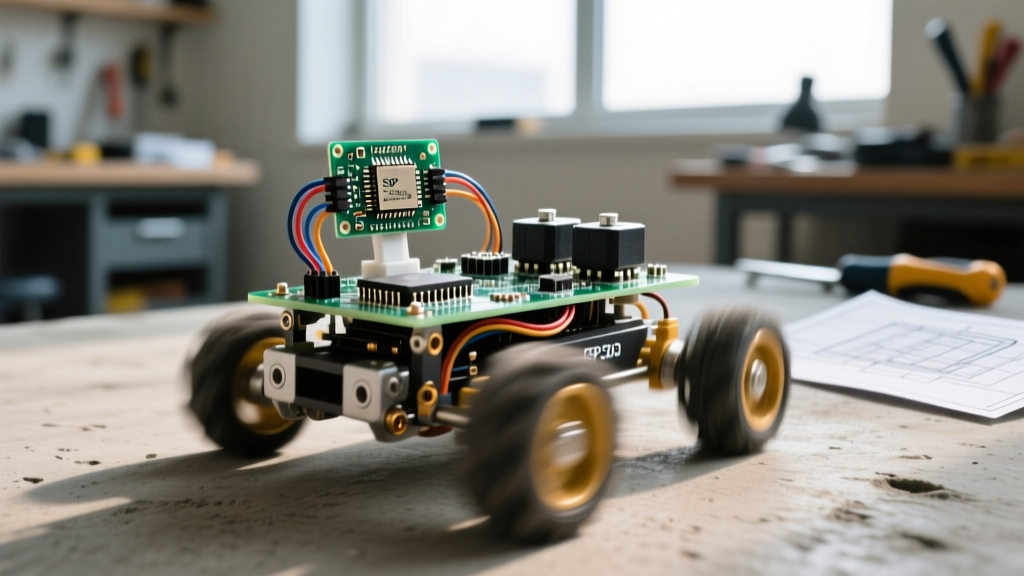
When most hobbyists build their first line-following robot or self-balancing rover, they rely on what control engineers call 'bang-bang' control. The logic is simple: if the robot drifts left of the line, turn the right motor on and the left motor off until it crosses the center, then reverse the motors. While this approach works for elementary school science fairs, it results in a violent, oscillating, and jittery machine. The robot constantly overshoots its target, corrects aggressively, and overshoots again.
To achieve the buttery-smooth, precise movements seen in industrial automation and advanced hobbyist PID robotics projects, you must abandon simple threshold logic. You need a Proportional-Integral-Derivative (PID) controller. PID is a continuous feedback loop mechanism that calculates an error value as the difference between a desired setpoint and a measured process variable, applying a correction based on three distinct terms. This guide will demystify the algorithm, provide a precise hardware bill of materials, and teach you how to tune your first PID motor controller without pulling your hair out.
The Anatomy of PID Robotics Control
At its core, PID takes the current error (how far you are from your target) and processes it through three mathematical lenses. Understanding these lenses is the key to moving from a guessing game to an engineered solution.
Proportional (The Present)
The Proportional term (Kp) looks at the current error. If your robot is far from the center of the line, the P term commands a large motor correction. As you get closer to the center, the correction shrinks. The problem with relying solely on P is that as the error approaches zero, the motor command also approaches zero, often leaving a 'steady-state error' where the robot simply doesn't have enough power to overcome physical friction and make the final microscopic correction.
Integral (The Past)
The Integral term (Ki) looks at the history of the error. It accumulates the error over time. If your robot has been slightly off-center for a long period, the I term slowly builds up, eventually providing that extra 'push' needed to eliminate the steady-state error that the P term couldn't fix. However, if the I term builds up too much, it causes massive overshoot when the robot finally reaches the target.
Derivative (The Future)
The Derivative term (Kd) looks at the rate of change of the error. It predicts where the error is going. If your robot is approaching the center line very quickly, the D term acts as a brake, dampening the motor speed before you overshoot. It is the shock absorber of your PID robotics system.
Essential Hardware BOM for Your First PID Project
A common failure point for beginners is attempting PID control with hardware that lacks the precision or response time required. Do not use the ubiquitous L298N motor driver for PID projects. The L298N uses older BJT transistor technology, resulting in a massive 2V voltage drop and slow PWM switching times that will completely ruin your derivative tuning. Instead, use a MOSFET-based driver like the TB6612FNG.
| Component | Recommended Model | Est. Price | Why It Matters for PID |
|---|---|---|---|
| Microcontroller | Arduino Nano or ESP32 Dev Kit | $6 - $12 | Requires reliable millis() timing for strict PID sample rates. |
| Motor Driver | TB6612FNG Dual Motor Driver | $5 | MOSFET-based, minimal voltage drop (~0.5V), handles high-frequency PWM smoothly. |
| Motors | Pololu 131:1 Micro Metal Gearmotor | $22/pair | High gear reduction provides stall torque at low RPM, crucial for fine corrections. |
| Encoders | Pololu Magnetic Encoder Pair (12 CPR) | $12 | Magnetic encoders are immune to the optical dust/dirt issues that plague cheap IR encoders. |
The Manual Tuning Heuristic: A Step-by-Step Framework
Tuning a PID controller can feel like alchemy, but it follows a strict, logical sequence. Before you begin, install the industry-standard Arduino PID Library on GitHub to handle the background math. Set your sample time to 50ms (20Hz) and follow this exact sequence:
- Kill I and D: Set Ki and Kd to exactly 0. You are only tuning the Proportional term right now.
- Find the P-Oscillation Point: Slowly increase Kp until your robot begins to oscillate back and forth across your target (e.g., weaving steadily across a line) at a constant amplitude. Note this value.
- Set Final P: Set your working Kp to roughly 50% of the oscillation value you just found. Your robot will now track the line but will likely exhibit a steady-state error (sluggishness or drifting slightly off-center).
- Introduce D for Dampening: Slowly increase Kd. You will notice the robot's movements become snappier, and the overshoot when turning is reduced. Stop increasing Kd when the motor starts to twitch or emit a high-frequency whine (this means you are amplifying sensor noise).
- Add I to Close the Gap: Finally, slowly increase Ki just enough to eliminate the steady-state offset. In most fast-moving robotics applications, Ki should be kept very small to prevent instability.
Real-World Failure Modes and How to Fix Them
Even with perfect hardware, software implementation errors will sabotage your PID robotics project. Here are the two most common traps beginners fall into, and how to engineer your way out of them.
Trap 1: Integral Windup
Imagine your robot gets physically stuck against a wall. The error remains massive, and the Integral term continues to accumulate (wind up) to astronomical levels. When you finally free the robot, the massive accumulated I-term will cause the motors to spin at 100% power, launching the robot across the room. The Fix: Implement 'Anti-Windup' clamping in your code. The Arduino PID library handles this automatically if you use the SetOutputLimits() function to cap your motor PWM values between 0 and 255. Never skip this step.
Trap 2: Derivative Kick
If you suddenly change your robot's target setpoint (for example, commanding a balancing robot to lean forward 10 degrees), the error changes instantly. Because the Derivative term calculates the rate of change of the error, an instantaneous change results in a mathematical spike to infinity. This 'derivative kick' will send a massive, violent voltage spike to your motors, potentially stripping your gears. The Fix: As detailed in Brett Beauregard's Improving the Beginner's PID, you should calculate the derivative based on the Process Variable (the actual sensor reading) rather than the Error. Since the physical robot cannot move instantaneously, the Process Variable changes smoothly, entirely eliminating the derivative kick.
Expert Tip on Sampling Rates: The PID algorithm mathematically assumes that the time between samples is perfectly constant. If you use
delay()in your Arduino loop, sensor readings and I2C communication delays will cause your sample time to jitter, completely breaking the Integral and Derivative math. Always use a non-blockingmillis()timer to trigger yourCompute()function at exact, rigid intervals.
Moving Forward: Sensor Fusion and Advanced Robotics
Once you have mastered basic motor speed control and line-following using encoders and IR arrays, the principles of PID robotics scale beautifully to more complex sensors. Whether you are tuning a PID loop to balance a two-wheeled inverted pendulum using an MPU6050 IMU, or controlling the steering angle of an Ackermann chassis via a servo, the underlying math remains identical. Invest in high-quality Pololu Micro Metal Gearmotors with magnetic encoders, respect the tuning heuristic, and your robots will transition from jittery toys to precision-engineered machines.