
Introduction: Modernizing the Classic Arduino Smart Home
Building a custom smart home hub used to require messy dual-microcontroller setups, like wiring an ESP8266 to an Arduino Uno via voltage dividers and AT-commands. As of 2026, learning how to make a home automation system with Arduino is vastly more streamlined thanks to the Arduino Uno R4 WiFi. This board features a Renesas RA4M1 main processor and an ESP32-S3 coprocessor built directly onto a single PCB, eliminating the need for external Wi-Fi modules while maintaining the classic Uno form factor.
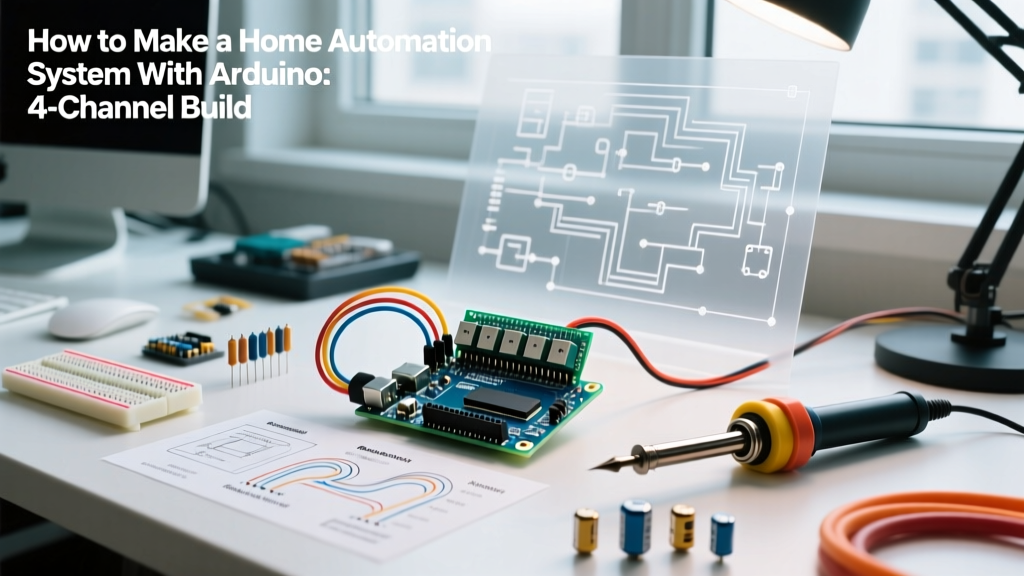
In this step-by-step build tutorial, we will construct a robust, cloud-connected 4-channel home automation controller. This system will safely switch 120V/240V AC loads (like desk lamps, exhaust fans, or coffee makers) using the Arduino IoT Cloud, providing real-time telemetry, scheduling, and smartphone control without relying on third-party servers.
⚠️ Critical Mains Voltage Safety Warning
This project involves switching high-voltage AC mains (120V/240V). Improper wiring can result in lethal electric shock or electrical fires. Always disconnect power at the breaker panel before making physical connections. Use appropriately rated enclosures, and ensure all line-voltage connections are made inside a grounded, UL-listed junction box or project enclosure. If you are unsure about local electrical codes, consult a licensed electrician.
Bill of Materials (BOM) & 2026 Cost Breakdown
To ensure reliability, we are skipping cheap, unbranded relay modules in favor of opto-isolated boards with proper flyback diode protection. Below is the exact hardware list required for this build.
| Component | Specific Model / Spec | Est. Price (2026) | Purpose |
|---|---|---|---|
| Microcontroller | Arduino Uno R4 WiFi (ABX00087) | $27.50 | Logic processing & Wi-Fi cloud connectivity |
| Relay Module | 5V 4-Channel Opto-Isolated Relay (JD-VCC) | $8.99 | Galvanic isolation and high-voltage switching |
| Power Supply | 5V 3A USB-C Buck Converter Module | $6.50 | Dedicated power for relay coils to prevent brownouts |
| Wiring (Logic) | 22 AWG Stranded Silicone Wire | $12.00 (spool) | Low-voltage signal connections |
| Wiring (Mains) | 14 AWG Solid Copper THHN | $8.00 (cut) | Safe routing of 120V/240V AC line and neutral |
| Enclosure | Polycarbonate IP65 Project Box (200x120x75mm) | $14.50 | Physical protection and dielectric isolation |
Total Estimated Hardware Cost: ~$77.49
Phase 1: Hardware Wiring & Galvanic Isolation
The most common point of failure in DIY Arduino relay projects is inadequate power delivery and lack of isolation. When a relay coil de-energizes, it generates a reverse voltage spike (back-EMF). If your relay module lacks proper optical isolation or if it shares a ground rail with your microcontroller, this spike will reset your Arduino Uno R4 WiFi.
The JD-VCC Jumper Trick (Expert Configuration)
Most standard 4-channel relay modules feature a jumper labeled JD-VCC. By default, this jumper connects the relay coil power to the logic input power. You must remove this jumper.
- Remove the JD-VCC jumper on the relay module.
- Connect the JD-VCC pin on the relay module to the positive output of your dedicated 5V 3A buck converter.
- Connect the GND pin on the relay module to the negative output of the buck converter.
- Connect the VCC pin (logic side) to the 5V pin on the Arduino Uno R4 WiFi.
- Connect the GND (logic side) to one of the Arduino's GND pins.
This configuration ensures that the high-current relay coils are powered entirely independently of the Arduino's onboard voltage regulator, while the optocouplers safely bridge the logic signals via light, maintaining strict galvanic isolation. For a deeper dive into relay isolation mechanics, refer to the SparkFun Relay Shield Hookup Guide.
Signal Pin Mapping
Connect the relay input pins (IN1 to IN4) to the Arduino's digital PWM pins. We use pins D4, D5, D6, and D7. Ensure you are using 22 AWG stranded wire for these connections to prevent wire fatigue and breakage inside the enclosure over time.
Phase 2: Arduino IoT Cloud Configuration
While platforms like Blynk have moved to heavily restricted paywalls in recent years, the Arduino IoT Cloud remains the most robust, native solution for Uno R4 boards in 2026, offering a generous free tier for hobbyist automation.
Setting Up Cloud Variables
Log into the Arduino IoT Cloud portal and create a new 'Thing'. You will need to create four boolean variables to represent your appliances.
- Variable 1:
Light_LivingRoom(Boolean, Read & Write, On Change) - Variable 2:
Fan_Bedroom(Boolean, Read & Write, On Change) - Variable 3:
Heater_Office(Boolean, Read & Write, On Change) - Variable 4:
System_Status(String, Read Only, Periodic 10s)
Link your Uno R4 WiFi to the Thing via the Arduino Create Agent. The portal will automatically generate a skeleton sketch with the necessary OTA (Over-The-Air) update capabilities and secure TLS certificate handling.
Phase 3: Firmware & Failsafe Logic
Writing code for home automation requires more than just turning pins HIGH or LOW. You must account for Wi-Fi dropouts and boot-up states. Below is the core logic structure for handling the relay states safely.
#include 'thingProperties.h'

const int RELAY_1 = 4;
const int RELAY_2 = 5;
const int RELAY_3 = 6;
const int RELAY_4 = 7;

void setup() {
  Serial.begin(9600);
  delay(1500);

  // Initialize pins as outputs
  pinMode(RELAY_1, OUTPUT);
  pinMode(RELAY_2, OUTPUT);
  pinMode(RELAY_3, OUTPUT);
  pinMode(RELAY_4, OUTPUT);

  // FAILSAFE: Set all relays to HIGH (OFF) on boot
  // Most 5V relay modules are Active LOW
  digitalWrite(RELAY_1, HIGH);
  digitalWrite(RELAY_2, HIGH);
  digitalWrite(RELAY_3, HIGH);
  digitalWrite(RELAY_4, HIGH);

  // Connect to Arduino IoT Cloud
  initProperties();
  ArduinoCloud.begin(ArduinoIoTPreferredConnection);
  setDebugMessageLevel(2);
  ArduinoCloud.printDebugInfo();
}

void loop() {
  ArduinoCloud.update();
  System_Status = ArduinoCloud.connected() ? 'Online' : 'Offline';
}

// Cloud Callback Functions
void onLightLivingRoomChange() {
  digitalWrite(RELAY_1, Light_LivingRoom ? LOW : HIGH);
}

void onFanBedroomChange() {
  digitalWrite(RELAY_2, Fan_Bedroom ? LOW : HIGH);
}

void onHeaterOfficeChange() {
  digitalWrite(RELAY_3, Heater_Office ? LOW : HIGH);
}
Expert Note on Active LOW Logic: Notice that we write HIGH to turn the relay off, and LOW to turn it on. Standard opto-isolated relay modules use active-low triggering. Failing to set the pins HIGH in the setup() function before initializing the Wi-Fi stack will result in all your appliances turning on briefly during the board's 3-second boot sequence—a dangerous edge case you must avoid.
Common Failure Modes & Troubleshooting
Even with perfect code, physical environmental factors can disrupt your home automation system. Here is how to diagnose the most frequent issues:
| Symptom | Root Cause | Solution |
|---|---|---|
| Arduino randomly reboots when a relay clicks off. | Back-EMF spike from relay coil collapsing; inadequate flyback diode or shared ground. | Verify JD-VCC jumper is removed. Ensure relay module has onboard flyback diodes. Add a 0.1µF ceramic capacitor across the Arduino's 5V and GND pins. |
| Relay 'chatters' or buzzes without fully engaging. | Insufficient current delivery from the 5V power supply to pull in the electromagnet. | Upgrade to a 5V 3A power supply. Standard USB ports often max out at 500mA, which is insufficient for four simultaneous relay coils. |
| Cloud dashboard shows 'Offline' but relays hold state. | Wi-Fi signal degradation through the project enclosure or local router DHCP lease expiration. | Use a polycarbonate enclosure (never metal, which acts as a Faraday cage). Assign a static IP reservation to the Uno R4 WiFi in your router's DHCP settings. |
Frequently Asked Questions (FAQ)
Can I use this system to control high-draw appliances like space heaters?
The standard 10A relays found on most 4-channel modules are rated for 10A at 250V AC (resistive load). However, a 1500W space heater draws roughly 12.5A at 120V. Do not use standard 10A relays for space heaters. The inrush current will pit and weld the relay contacts over time, creating a severe fire hazard. For loads exceeding 8A continuous, use the Arduino to trigger an external, properly rated 30A solid-state relay (SSR) or a heavy-duty contactor.
How do I handle power outages? Will my lights turn on when the grid returns?
By default, the code provided sets all relays to the OFF (HIGH) state during the setup() phase. When power is restored after an outage, the Arduino will boot, connect to Wi-Fi, and poll the Arduino IoT Cloud for the last known state of the variables. If your cloud variables are set to 'persist' between sessions, the system will automatically restore your appliances to their pre-outage states within 10 seconds of regaining internet access.
Is it possible to integrate this build with Home Assistant?
Yes. While this tutorial uses the native Arduino IoT Cloud for simplicity, the Uno R4 WiFi is fully compatible with MQTT. By swapping the Arduino Cloud library for the ArduinoMqttClient and WiFiS3 libraries, you can publish and subscribe to topics on a local Mosquitto broker, allowing seamless integration with Home Assistant's MQTT integration without any cloud latency.