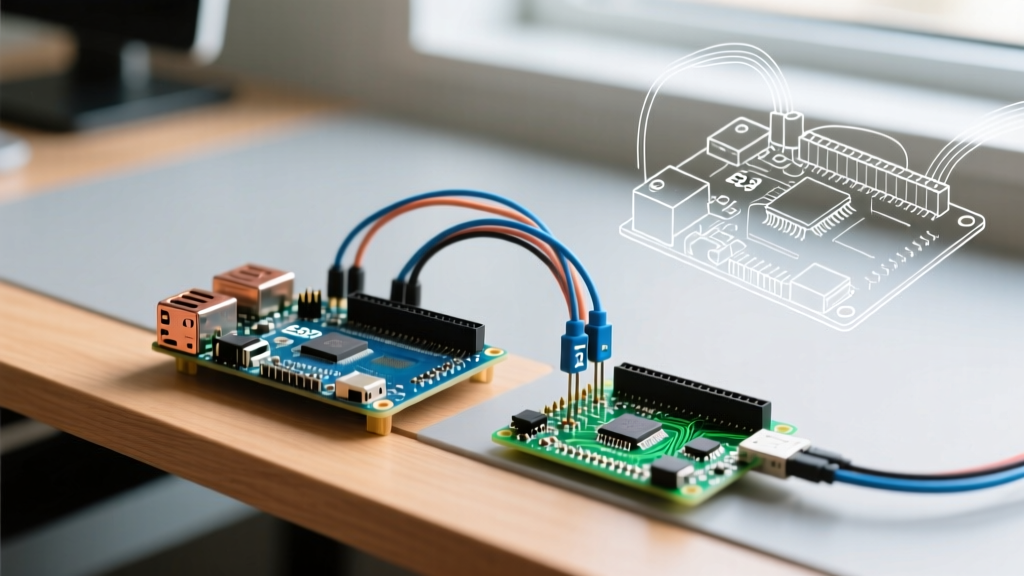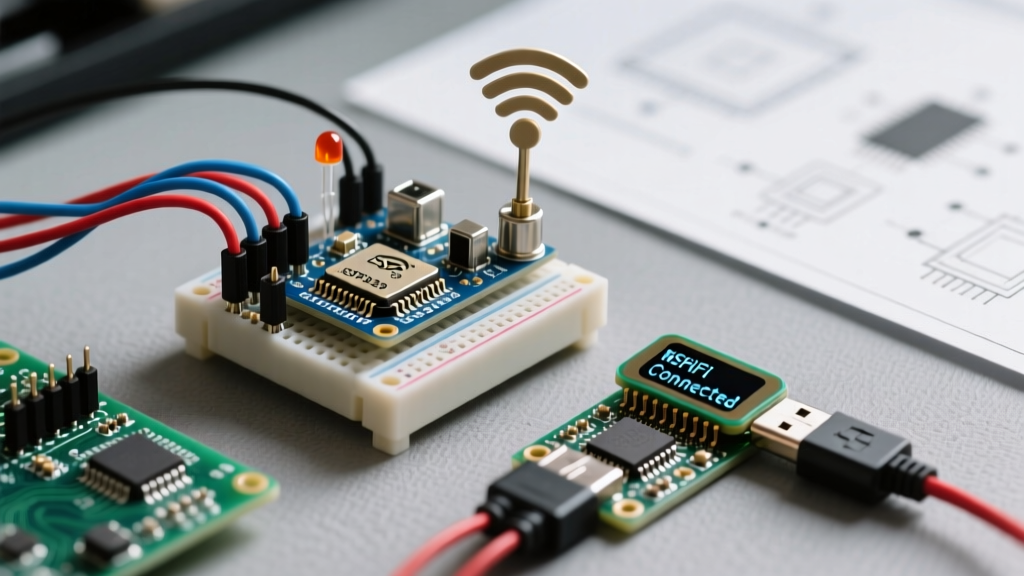

Integrating wireless connectivity into microcontroller projects has evolved dramatically over the last decade. The days of relying on cumbersome AT-command firmware via serial bridges are largely behind us. Today, a robust Arduino WiFi configuration relies on native System-on-Chip (SoC) architectures, primarily the Espressif ESP32 and ESP8266, or specialized modules like the NINA-W102 found on official Arduino boards. This comprehensive configuration guide bypasses basic "blink" tutorials and dives straight into enterprise-grade network setup, event-driven reconnection, and RF power tuning for production-ready maker projects.
Hardware Selection: The Arduino WiFi Ecosystem
Before writing a single line of C++, selecting the correct silicon is critical. Power envelopes, antenna topologies, and SDK maturity dictate your project's success. Below is a comparison matrix of the most common hardware platforms used for Arduino WiFi development in professional and advanced maker environments.
| Platform | Core SoC / Module | Peak TX Current | WiFi Standard | Best Use Case |
|---|---|---|---|---|
| ESP32 DevKitC V4 | ESP32-WROOM-32E | ~240 mA | 802.11 b/g/n (2.4GHz) | High-performance IoT, concurrent BLE/WiFi |
| NodeMCU V3 | ESP8266EX | ~170 mA | 802.11 b/g/n (2.4GHz) | Low-cost, simple sensor nodes |
| Arduino Nano 33 IoT | SAMD21 + NINA-W102 | ~180 mA | 802.11 b/g/n (2.4GHz) | Strict Arduino ecosystem compatibility |
| Arduino Portenta H7 | STM32H747 + Murata 1DX | ~350 mA | 802.11 b/g/n (2.4/5GHz) | Industrial edge computing, high-bandwidth |
IDE Board Manager and Core Configuration
To configure modern Arduino WiFi hardware, you must move beyond the default AVR board packages. For Espressif-based boards, the Espressif Arduino Core is mandatory. Navigate to File > Preferences in the Arduino IDE and append the official JSON URL to the Additional Boards Manager URLs field:
https://raw.githubusercontent.com/espressif/arduino-esp32/gh-pages/package_esp32_index.jsonOnce installed, the IDE exposes critical compile-time configurations via the Tools menu. For WiFi-heavy applications, adjust the following parameters to prevent memory fragmentation and brownouts:
- Partition Scheme: Select "Huge APP (3MB No OTA/1MB SPIFFS)" if your firmware exceeds 1.2MB, or "Default 4MB with spiffs" for standard OTA updates.
- Core Debug Level: Set to "Verbose" during initial WiFi provisioning to view the underlying ESP-IDF handshake logs in the serial monitor.
- Flash Frequency: 80MHz is standard, but drop to 40MHz if you experience SPI bus contention with external sensors.
Network Topologies: STA, AP, and Concurrent Modes
The ESP32 WiFi driver supports three primary modes. Understanding these is vital for correct memory allocation in the Arduino WiFi library.
1. Station Mode (WIFI_STA)
The microcontroller acts as a client connecting to an existing router. This is the default for 90% of IoT sensor nodes.
2. Access Point Mode (WIFI_AP)
The SoC broadcasts its own SSID. Useful for initial captive portal provisioning (e.g., WiFiManager libraries). Note that AP mode disables certain power-saving sleep states.
3. Concurrent Mode (WIFI_AP_STA)
The ESP32 can simultaneously host an AP and connect to a STA network. However, both interfaces share the same 2.4GHz RF chain and channel. If the STA connects to Channel 6, the AP is forced onto Channel 6, which can cause latency spikes for connected clients.
Advanced Event-Driven WiFi Configuration
Beginners often rely on blocking while() loops to wait for a connection. In production firmware, this triggers watchdog timer (WDT) resets and fails to handle mid-operation dropouts. Professional Arduino WiFi configuration utilizes the FreeRTOS event loop via WiFi.onEvent().
#include <WiFi.h>

void WiFiEvent(WiFiEvent_t event) {
    switch(event) {
        case ARDUINO_EVENT_WIFI_STA_GOT_IP:
            Serial.printf("Connected. IP: %s\n", WiFi.localIP().toString().c_str());
            break;
        case ARDUINO_EVENT_WIFI_STA_DISCONNECTED:
            Serial.println("Disconnected. Reconnecting...");
            WiFi.reconnect();
            break;
    }
}

void setup() {
    Serial.begin(115200);
    WiFi.onEvent(WiFiEvent);
    WiFi.mode(WIFI_STA);
    WiFi.begin("Your_SSID", "Your_PASSWORD");
}

void loop() {
    // Non-blocking main loop
}
This event-driven architecture ensures your main loop remains unblocked, allowing local sensor polling to continue even if the RF environment is congested.
RF Power Tuning and Power Consumption
A common failure mode in battery-operated Arduino WiFi projects is the "Brownout Detector was triggered" panic. When the ESP32 transmits a WiFi beacon or ACK packet, current draw can spike from 20mA to over 240mA in microseconds. If your voltage regulator (like a standard AMS1117-3.3) cannot supply this transient current, the brownout detector resets the chip.
To mitigate this without redesigning the PCB power tree, you can throttle the TX power via software:
// Reduce TX power to 11dBm (approx 12.5mW)
WiFi.setTxPower(WIFI_POWER_11dBm);
According to Espressif hardware specifications, lowering the TX power from the default 19.5dBm to 11dBm can reduce peak current spikes by nearly 40%, drastically improving stability on marginal power supplies like CR123A lithium cells or long USB micro-cables.
Troubleshooting Common Arduino WiFi Failures
When your sketch compiles but the network stack fails, use this diagnostic matrix to isolate the issue.
| Symptom / Serial Output | Root Cause | Configuration Fix |
|---|---|---|
WL_CONNECT_FAILED | WPA3 incompatibility or NVS (Non-Volatile Storage) corruption holding stale PHY calibration data. | Call WiFi.disconnect(true, true); to wipe NVS WiFi credentials and recalibrate RF. |
Brownout detector was triggered | Transient voltage drop during 802.11b TX bursts. | Add a 470µF low-ESR capacitor across the 3.3V/GND pins. Reduce TX power via setTxPower(). |
| Connects, but drops every 5 mins | Router ARP timeout or DHCP lease expiration without proper ACK. | Configure a Static IP via WiFi.config() to bypass DHCP renewal overhead. |
WiFi.status() == 255 | WiFi radio was never initialized or hardware SPI conflict. | Ensure WiFi.mode(WIFI_STA) is called before WiFi.begin(). Check for SPI pin overlaps. |
Implementing Static IP Configurations
For industrial environments or local mesh networks, relying on DHCP introduces unnecessary latency and failure points during router reboots. Hardcoding a static IP ensures the microcontroller is immediately addressable upon boot.
IPAddress local_IP(192, 168, 1, 150);
IPAddress gateway(192, 168, 1, 1);
IPAddress subnet(255, 255, 255, 0);
IPAddress primaryDNS(8, 8, 8, 8);
IPAddress secondaryDNS(8, 8, 4, 4);

void setup() {
    if (!WiFi.config(local_IP, gateway, subnet, primaryDNS, secondaryDNS)) {
        Serial.println("STA Failed to configure");
    }
    WiFi.begin("SSID", "PASS");
}
Final Thoughts on Production Deployment
Mastering Arduino WiFi configuration requires moving beyond simple SSID and password strings. By leveraging event-driven callbacks, managing RF power envelopes, and understanding the underlying ESP-IDF network stack, you can transform a fragile hobbyist prototype into a resilient, deployment-ready IoT node. Always monitor the serial output at 115200 baud during initial provisioning to catch PHY calibration errors before they manifest as field failures.