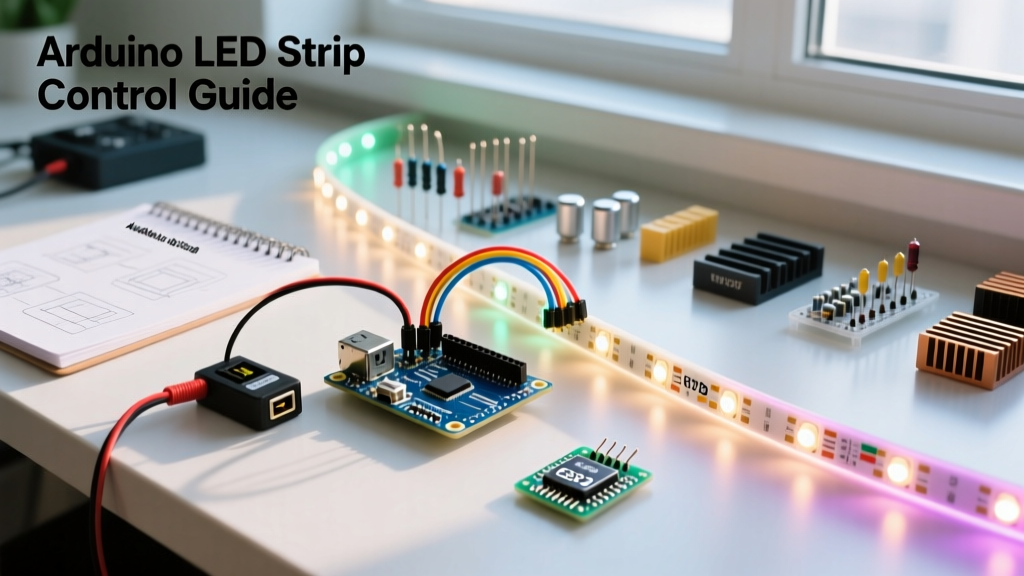

To control an LED light strip with an Arduino, you must route power through external components rather than the microcontroller pins. For analog strips, use a logic-level MOSFET connected to a Pulse Width Modulation pin. For addressable strips, connect the data line to a digital pin and utilize the FastLED library. This prevents drawing excessive current through the voltage regulator. This guide is designed for electronics hobbyists, STEM students, and DIY makers building automated lighting systems.
Key Takeaways
- Never power high-density strips directly from the Arduino Uno Rev3 5V pin.
- Use WS2812B addressable strips for individual pixel control and complex animations.
- Use logic-level MOSFETs and external power supplies for high-power analog strips.
- Leverage the FastLED library for optimized, community-supported rendering.
Understanding Arduino LED Light Strip Types
Selecting the correct strip dictates your wiring topology and code structure. Strips generally fall into two categories: addressable and analog. Understanding the difference is critical for building a reliable arduino led controller.
Addressable vs. Analog Strips
Addressable strips allow you to control the color and brightness of every single diode independently. Analog strips treat the entire strip as a single zone, changing color uniformly across the entire length. Below is a decision framework to help you choose the right component for your project.
| Feature | Addressable (e.g., WS2812B) | Analog (e.g., 5050 RGB) |
|---|---|---|
| Control Granularity | Individual pixel control | Whole-strip uniform color |
| Wiring Complexity | 3 wires (5V, GND, Data) | 4+ wires (12V, R, G, B) |
| Microcontroller Pins | 1 digital pin | 3 PWM pins |
| Best Use Case | Animations, chases, displays | Ambient bias lighting |
Definition: An Addressable LED contains an integrated circuit embedded directly within the light-emitting diode package. This microchip allows individual control of color and brightness for every single pixel on the strip via a single digital data line.
Hardware Requirements for an Arduino LED Controller
Microcontrollers cannot supply the current required for extensive lighting arrays. The Arduino Uno Rev3 voltage regulator is limited to roughly 500 milliamperes, while a standard arduino led light strip draws significantly more.
Power Supply Sizing
A typical WS2812B addressable LED draws up to 60mA at peak white brightness. If you deploy a strip with 300 LEDs, the maximum current draw reaches 18A at 5V. You must use a dedicated 5V switching power supply wired directly to the strip, sharing a common ground with the microcontroller.
Logic Level Shifting and MOSFETs
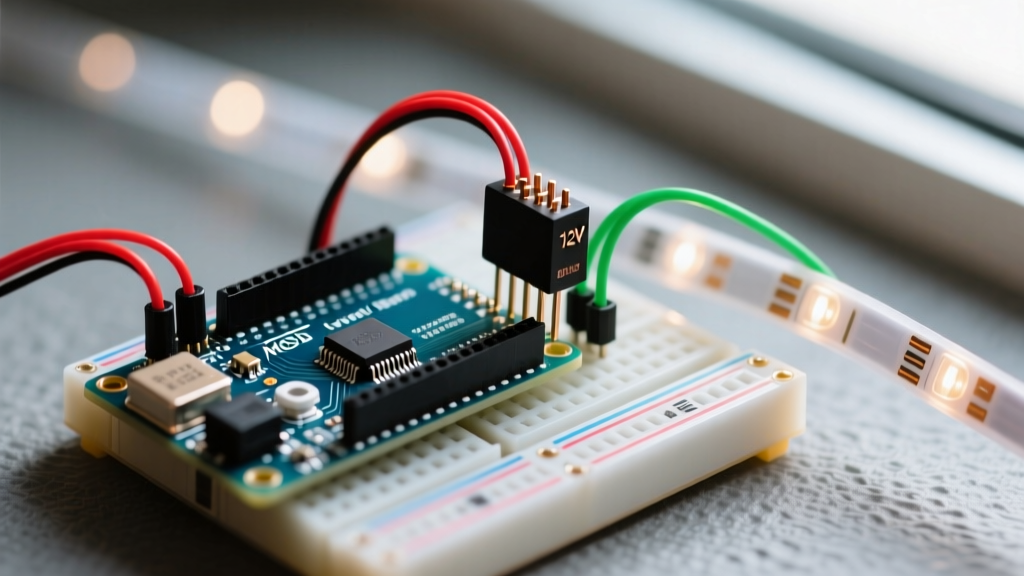
For analog strips operating at 12V, you need a logic-level N-channel MOSFET (like the IRLZ44N) to switch the high-voltage side using the 5V Arduino pins. Always place a 500Ω resistor between the data pin and the MOSFET gate to prevent ringing, and a 10kΩ pull-down resistor between the gate and ground to keep the strip off during boot.
Programming the LED Light Strip Arduino Setup
Writing efficient code ensures smooth animations without blocking the microcontroller's main loop. The approach varies based on the strip type selected.
Using the FastLED Library
For addressable strips, the FastLED library is the industry standard. It supports dozens of chipsets and includes hardware-specific optimizations for AVR and ARM architectures. By defining your chipset and pin number, you can push color arrays to the strip using highly optimized direct-port manipulation.
Using AnalogWrite for Single-Color Strips
For analog strips, you will rely on the Arduino analogWrite function. This function generates a Pulse Width Modulation signal on compatible pins, allowing you to mix red, green, and blue channels to create custom colors.
Definition: Pulse Width Modulation is a technique used by microcontrollers to simulate analog voltage outputs using digital pins. By rapidly toggling the pin between high and low states at varying duty cycles, the Arduino controls the perceived brightness of connected lighting components.
Community Resources and Troubleshooting
When building a complex led light strip arduino setup, community knowledge is invaluable. The FastLED subreddit and the official Arduino forums host thousands of threads addressing specific timing issues, voltage drop calculations, and power injection strategies.
Recommended Forums and Repositories
- FastLED GitHub Discussions: Best for library-specific bugs and advanced rendering math.
- Arduino Forum (LEDs and Multiplexing section): Ideal for hardware wiring and MOSFET selection.
- WLED Project: An open-source ESP32 firmware that serves as an excellent reference for Wi-Fi-enabled LED control logic.
Frequently Asked Questions
Can I power an arduino led light strip directly from the USB port?
No. A standard USB 2.0 port provides only 500mA. Exceeding this limit will trip your computer's overcurrent protection or damage the Arduino's polyfuse. Always use an external power supply for strips longer than 10 LEDs.
Why do the colors look wrong on my WS2812B strip?
Many addressable strips have a different color byte order. If your code outputs RGB but the strip expects GRB, red and green will swap. Adjust the color order parameter in your FastLED initialization macro to fix this.
Do I need a capacitor for my arduino led controller?
Yes. Place a 1000µF electrolytic capacitor across the positive and negative terminals of your external power supply. This buffers sudden current spikes when the entire strip turns on simultaneously, protecting your power supply from voltage dips.
Conclusion
Building a robust lighting system requires matching the correct strip topology with external power management and optimized libraries. By separating your high-current power delivery from your low-voltage logic signals, you ensure long-term reliability. Your next step is to wire a single 10-LED segment on a breadboard, upload a basic FastLED color-cycle sketch, and verify your power injection before scaling up to full-length architectural strips.