
The Shift to Cycle-Accurate MCU Simulation
In the modern embedded development landscape of 2026, hardware simulation is no longer restricted to classroom LED-blinking exercises. With the proliferation of complex Real-Time Operating Systems (RTOS) on microcontrollers like the ESP32-S3 and RP2040, configuring an arduino hardware simulator correctly is a critical skill for firmware engineers. Physical prototyping remains essential, but advanced simulators now offer cycle-accurate execution, peripheral injection, and mixed-signal SPICE integration that drastically reduce the hardware-in-the-loop debugging cycle.
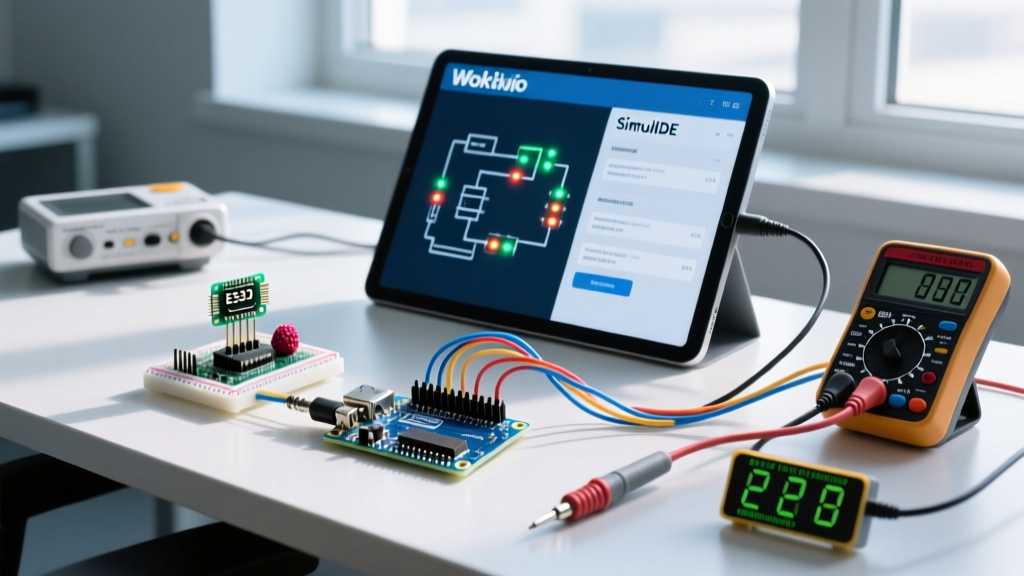
This configuration guide bypasses basic tutorials and dives directly into the advanced setup of the two most powerful simulation environments available today: Wokwi for IoT and RTOS workflows, and SimulIDE for bare-metal AVR and analog circuit profiling.
Simulator Stack Comparison Matrix
Before configuring your environment, it is vital to select the right engine for your specific MCU architecture. Below is a technical comparison of the leading platforms based on current 2026 capabilities.
| Simulator | Core Engine | Primary Target MCUs | RTOS & Networking | Pricing Model (2026) |
|---|---|---|---|---|
| Wokwi | WebAssembly / Cloud | ESP32-S3/C3, RP2040, AVR | Native FreeRTOS, Zephyr, WiFi/MQTT | Free (Basic) / $9/mo (Club) |
| SimulIDE | Native Qt/C++ | AVR (ATmega/ATtiny), PIC, 8051 | Bare-metal focus, SPICE analog | Free (Open Source GPL) |
| Proteus VSM | Proprietary VSM | ARM Cortex-M, AVR, PIC | Basic RTOS, Ethernet models | ~$295 (Hobby) / $1200+ (Pro) |
Configuring Wokwi for ESP32-S3 and RP2040 IoT Workflows
Wokwi has become the industry standard for simulating WiFi-enabled microcontrollers. However, out-of-the-box configurations rarely suffice for complex IoT sensor nodes. To properly configure this arduino hardware simulator for advanced debugging, you must master the diagram.json and local network bridging.
Advanced Peripheral Mapping via diagram.json
When simulating an ESP32-S3 reading from a BME280 environmental sensor over I2C, relying on the visual UI is prone to wiring errors. Instead, define your hardware topology programmatically. Create a diagram.json file in your project root with the following structure to enforce strict I2C addressing and pin mapping:
{
  'version': 1,
  'author': 'Firmware Engineering Team',
  'parts': [
    { 'type': 'board-esp32-s3-devkitc-1', 'id': 'esp', 'attrs': {} },
    { 'type': 'chip-bme280', 'id': 'sensor1', 'attrs': { 'address': '0x76' } }
  ],
  'connections': [
    ['esp:8', 'sensor1:SDA', 'blue', []],
    ['esp:9', 'sensor1:SCL', 'yellow', []],
    ['esp:3V3', 'sensor1:VCC', 'red', []],
    ['esp:GND.1', 'sensor1:GND', 'black', []]
  ]
}
Expert Insight: Notice the explicit assignment of GPIO8 and GPIO9. The ESP32-S3 has multiple I2C buses; hardcoding the bus pins in the simulator prevents phantom I2C timeout errors that often occur when the simulator defaults to strapping pins.
Network Bridging and WiFi Simulation
Simulating MQTT telemetry requires the virtual MCU to reach your local broker. Wokwi achieves this via the Wokwi WiFi Gateway. To configure this, install the Wokwi CLI and initialize the virtual network interface. This creates a virtual NAT router that bridges the simulated ESP32's LWIP stack to your host machine's localhost, allowing you to test Mosquitto MQTT brokers without exposing them to the public internet.
- Step 1: Install the Wokwi CLI via npm:
npm install -g @wokwi/cli - Step 2: Run the gateway daemon:
wokwi-gateway - Step 3: In your ESP32 Arduino sketch, connect to the SSID
Wokwi-GUESTwith no password. The gateway automatically routes port 1883 to your local MQTT broker.
For deeper network topology configurations, refer to the Wokwi Official Documentation, which details advanced DNS spoofing and TLS certificate injection for simulated HTTPS requests.
SimulIDE Configuration for Bare-Metal AVR Analog Profiling
While Wokwi dominates the 32-bit IoT space, SimulIDE remains the undisputed champion for 8-bit AVR bare-metal development, particularly when analog circuit interaction is required. SimulIDE integrates a SPICE engine, allowing you to simulate the exact analog decay of a capacitor connected to an ATmega4809 ADC pin.
Oscilloscope and Logic Analyzer Calibration
To accurately debug PWM jitter or software-implemented UART timing on an ATmega328P, you must configure SimulIDE's virtual test equipment correctly. By default, the simulator runs as fast as the host CPU allows, which ruins real-time analog sampling.
- Lock the Simulation Speed: Navigate to Settings > Simulator and set the 'Speed' to
100%(Real-Time). This forces the simulation engine to insert sleep cycles, ensuring the virtual oscilloscope samples at the correct physical timebase. - Configure the Timebase: Open the virtual Oscilloscope. Set Channel A to the target PWM pin. Adjust the timebase to
10us/divto capture high-frequency switching noise that might trigger false interrupts in your analog comparator. - Enable VCD Export: For post-mortem analysis, configure the Logic Analyzer to export to Value Change Dump (VCD) format. You can import this VCD file into PulseView (the sigrok GUI) to decode SPI or I2C packets offline.
For the latest component libraries and SPICE model updates, regularly check the SimulIDE Project Homepage and their active development forum.
VS Code GDB Integration: The Ultimate Debugging Loop
The true power of an arduino hardware simulator is unlocked when integrated with a modern IDE's debugging protocol. Both Wokwi and SimulIDE expose a GNU Debugger (GDB) server, allowing you to set breakpoints, inspect RTOS task stacks, and watch memory registers directly inside Visual Studio Code.
Configuring launch.json for Cortex-Debug
To connect VS Code to Wokwi's ESP32-S3 simulation, you need the Cortex-Debug extension. Create a .vscode/launch.json file with the following configuration to attach to the simulator's GDB port:
{
  'version': '0.2.0',
  'configurations': [
    {
      'name': 'Attach to Wokwi Simulator',
      'type': 'cortex-debug',
      'request': 'attach',
      'servertype': 'external',
      'gdbTarget': 'localhost:3333',
      'executable': '${workspaceFolder}/build/firmware.elf',
      'svdFile': '${workspaceFolder}/svd/esp32s3.svd'
    }
  ]
}
Critical Detail: The svdFile parameter is often overlooked. By pointing to the official Espressif SVD (System View Description) file, VS Code will parse the raw memory addresses into human-readable peripheral registers (e.g., GPIO.out_w1ts), making hardware-level debugging infinitely easier. You can source these SVD files directly from the SimulIDE GitHub Repository or Espressif's official CMSIS packs.
Common Simulation Artifacts and Edge Cases
Even the most advanced simulators have limitations. Understanding these edge cases prevents you from chasing 'ghost bugs' that only exist in the virtual environment.
- I2C Clock Stretching Failures: Older simulator versions often failed to emulate I2C clock stretching, causing simulated sensors to drop bytes when the MCU was under heavy RTOS load. Ensure your simulator engine is updated to the latest 2026 build, as modern Wokwi releases have patched the LWIP I2C driver to respect SCL hold times.
- Floating-Point Timing Drift: In instruction-accurate simulators (like basic AVR emulators), floating-point math operations may execute in 1 cycle, whereas physical silicon requires 20+ cycles. If your code relies on
micros()inside a math-heavy DSP loop, the simulator will report artificially fast execution. Always use hardware FPU-enabled MCUs (like the RP2040 or ESP32) for cycle-accurate DSP simulation. - Watchdog Timer (WDT) Resets: Simulators often pause the WDT when a GDB breakpoint is hit. However, if you are running a 'free-run' simulation without GDB attached, ensure your virtual WDT timeout matches the physical fuse settings, or your simulated MCU will endlessly reboot in the background.
Expert Takeaway: An arduino hardware simulator is a powerful proxy for physical silicon, but it is not a replacement for electrical reality. Always validate simulated analog thresholds and high-frequency SPI bus capacitance on a physical oscilloscope before committing to a final PCB layout.
By mastering the diagram.json topology, leveraging virtual network gateways, and integrating GDB server protocols into VS Code, you transform basic simulation into a rigorous, enterprise-grade firmware validation pipeline.