
Understanding the Japanese Electrical Standard (JIS C 8303)
When tackling international wiring projects, the japan electrical outlet presents a unique set of challenges and nuances that often trip up even seasoned electricians. At first glance, Japanese receptacles look identical to North American NEMA 1-15 (Type A) and NEMA 5-15 (Type B) configurations. However, they are governed by the Japanese Industrial Standard (JIS C 8303) and require strict adherence to the PSE (Product Safety Electrical Appliances and Materials) mark mandated by the Ministry of Economy, Trade and Industry (METI).
Unlike the US standard of 120V, Japan operates on a nominal 100V AC system. While this 20V difference might seem minor, it drastically affects the performance of resistive heating elements, motor-driven appliances, and sensitive power supplies. Furthermore, any receptacle installed or replaced in Japan must bear the Japan Electrical Testing Laboratories (JET) certification mark to ensure compliance with local safety codes.
The 50Hz vs. 60Hz Regional Divide
Before wiring or adapting any high-draw equipment to a japan electrical outlet, you must account for Japan's dual-frequency grid. This is a historical artifact from the late 19th century when Tokyo purchased 50Hz generators from Germany, while Osaka purchased 60Hz generators from the United States.
Regional Frequency Map:
50Hz (East Japan): Tokyo, Yokohama, Tohoku, Hokkaido (Served by TEPCO and Tohoku Electric).
60Hz (West Japan): Osaka, Kyoto, Nagoya, Hiroshima, Fukuoka (Served by Kansai Electric and Chubu Electric).
If you are wiring a workshop or importing industrial equipment, ensure the device's internal power supply or motor is rated for the specific frequency of your region. Running a 60Hz motor on a 50Hz supply in Tokyo will cause it to run 17% slower, draw more current, and potentially overheat.
Type A vs. Type B: The Grounding Dilemma
The most common scenario DIYers face in Japan is dealing with ungrounded Type A outlets. While modern Japanese building codes require grounded Type B outlets in kitchens, bathrooms, and outdoor areas, millions of older homes and apartments still rely exclusively on ungrounded Type A receptacles.
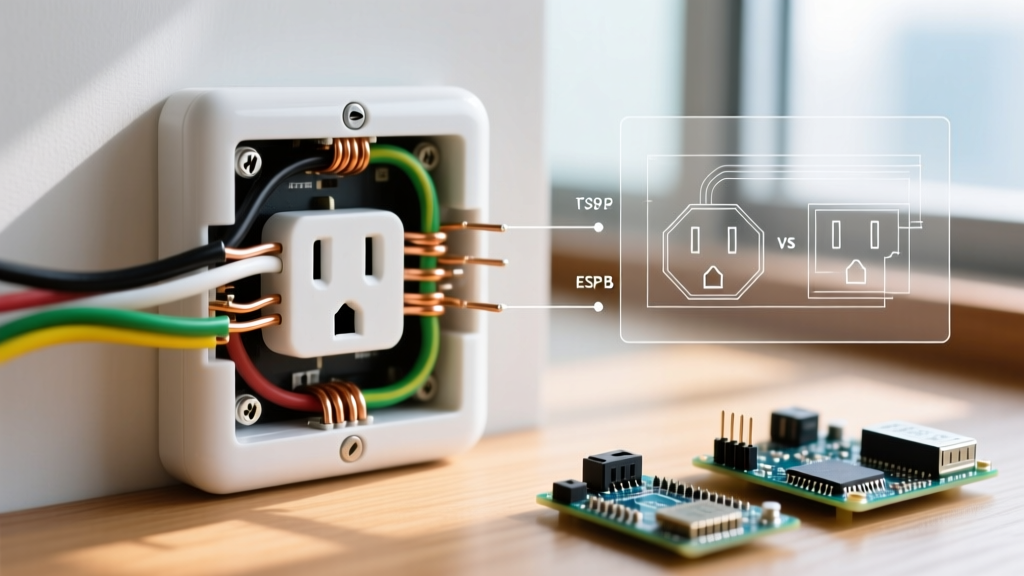
| Feature | Japan Type A (JIS) | Japan Type B (JIS) | US NEMA 1-15 | US NEMA 5-15 |
|---|---|---|---|---|
| Pins | 2 Flat Parallel | 2 Flat + 1 Round | 2 Flat Parallel | 2 Flat + 1 Round |
| Voltage | 100V AC | 100V AC | 125V AC | 125V AC |
| Polarization | Rare (Usually Symmetrical) | Yes (Wide Neutral) | Yes (Wide Neutral) | Yes (Wide Neutral) |
| Grounding | No | Yes | No | Yes |
Common Wiring Scenario 1: Upgrading Type A to Grounded Type B
Upgrading an ungrounded japan electrical outlet to a grounded Type B receptacle is a frequent requirement for home studios, server racks, and high-end audio equipment. The primary hurdle in Japan is the absence of a dedicated equipment grounding conductor (EGC) in older VVF (Vinyl Insulated Vinyl Sheathed Flat Cable) runs.
Step-by-Step Upgrade Procedure
- Verify the Existing Cable: Most older Japanese homes use 2-core VVF 1.6mm cable. To add a proper ground, you must pull a new 3-core VVF 2.0mm cable (equivalent to 12 AWG) from the distribution board (bun-den-ban) to the outlet location.
- Prepare the Wires: Strip the outer VVF sheath back 50mm, and strip the individual wire insulation exactly 12mm. Japanese terminal screws are designed for this specific bare-wire length to prevent arcing and accidental contact.
- Identify the Conductors: In Japanese 3-core VVF, the standard color coding is White (Neutral/Grounded), Black (Hot/Ungrounded), and Green (Earth Ground). *Note: Never assume colors; always verify with a multimeter at the panel.*
- Terminate the Receptacle: Connect the White wire to the silver screw (W), the Black wire to the brass screw (X), and the Green wire to the green grounding screw (G). Tighten terminal screws to a torque of 0.5 N·m to prevent thermal loosening over time.
- Establish the Earth Ground: If the main panel lacks a grounding bus, Japanese code allows for a localized D-type earth ground. This involves driving a copper-clad steel earth rod (minimum 1.5 meters long) into the soil outside the wall and running a minimum 1.6mm bare copper wire through the wall to the receptacle's green screw. Use a ground resistance tester to ensure the resistance is below 100 ohms.
Common Wiring Scenario 2: Adapting 120V North American Appliances
Expats and importers frequently plug 120V US appliances into a 100V japan electrical outlet. While many modern switching power supplies (like laptop chargers) are rated for 100-240V and will function perfectly, resistive loads and induction motors will suffer.
A 120V, 1000W coffee maker plugged into a 100V outlet will only draw about 694W (Power = Voltage² / Resistance). The water will take significantly longer to heat. For appliances where performance is critical, you must wire a dedicated step-up transformer circuit.
Sizing a Step-Up Transformer (100V to 120V)
- Calculate the Load: Identify the maximum wattage of the US appliance. For a 1500W microwave, add a 20% safety margin (1500 x 1.2 = 1800W).
- Select the Transformer: Purchase a JET-certified step-up transformer rated for at least 2000W. Brands like Kasuga Denki or Nichicon are industry standards in Japan, typically costing between $150 and $250 USD for a heavy-duty 2kVA unit.
- Wiring the Dedicated Circuit: Do not plug a 2000W transformer into a standard 15A Japanese wall circuit, as it will draw 20A at 100V (2000W / 100V = 20A) and trip the breaker. You must wire a dedicated 20A breaker at the distribution panel using 2.0mm VVF cable to a dedicated 20A-rated Type B receptacle.
Troubleshooting: The Polarization Problem
According to the IEC World Plugs database, Type A plugs are inherently unpolarized. Historically, Japanese electricians wired outlets without regard to which slot was hot and which was neutral, as the symmetrical plugs could be inserted either way.
If you are wiring sensitive audio equipment or medical devices that rely on a polarized connection (where the wide blade is neutral and the narrow blade is hot), you must manually verify and correct the polarity.
- Turn off the main breaker.
- Remove the outlet cover and identify the incoming wires.
- Using a non-contact voltage tester or a digital multimeter, identify the hot wire at the junction box.
- Ensure the hot wire (Black) is connected to the brass screw on the narrower slot side of the receptacle, and the neutral wire (White) is connected to the silver screw on the wider slot side.
Frequently Asked Questions (FAQ)
Can I use US NEMA 5-15 receptacles in Japan instead of JIS Type B?
Physically, a US NEMA 5-15 receptacle will accept Japanese Type B plugs, and the physical dimensions are nearly identical. However, it is illegal under Japanese electrical codes to install non-PSE certified NEMA receptacles in a permanent residential or commercial installation. Always source JIS C 8303 compliant receptacles from manufacturers like Panasonic or Kosoku Denki.
Why does my Japanese outlet have a third wire that isn't connected to the ground screw?
In some older Japanese wiring scenarios, particularly in kitchens, you may find a third wire that is actually a switched hot leg for a garbage disposal or a dishwasher, not a ground wire. Always use a multimeter to test for voltage between all three wires before assuming the third wire is an earth ground. Miswiring a ground to a switched hot will create a severe shock hazard.
Are GFCI (Earth Leakage) breakers standard in Japan?
Yes, but they are typically located at the main distribution board rather than at the receptacle. Japanese homes use Earth Leakage Breakers (Rojiden - 漏電ブレーカー) which trip at 30mA. While you can install inline GFCI receptacles, it is more common and code-compliant in Japan to rely on the main panel's Rojiden for whole-house ground fault protection.