
The Global Gold Standard: Understanding the BS 1363 3-Pin Plug
When electrical professionals and safety inspectors discuss the safest domestic plug design in the world, the UK’s BS 1363 13-amp fused 3-pin plug is universally cited. Unlike standard European Schuko (Type F) or US NEMA 5-15 designs, the BS 1363 integrates an internal replaceable fuse, insulated live/neutral pins, and a mechanical shutter actuation system. Understanding the precise wiring diagram for 3 pin plug configurations is not just about making an appliance work; it is about engineering a fail-safe mechanism that protects against catastrophic short circuits and electrical fires.
At ElectricalFlux, we emphasize that a wiring diagram is only as safe as the physical execution of its measurements and material selections. This guide provides a master-level reference for wiring, stripping, and terminating a 3-pin plug to exact British Standard specifications.
Anatomy and Pinout Mapping
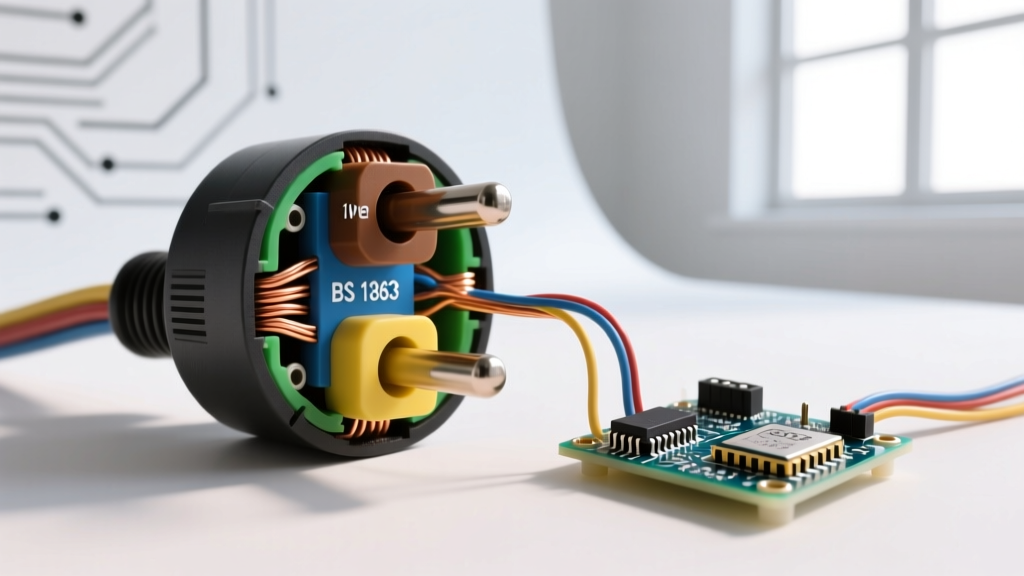
Before stripping any cable, you must understand the spatial layout of the BS 1363 terminal block. The plug is designed with a specific geometric orientation. When looking at the inside of the plug (with the pins facing away from you and the cord grip at the bottom), the wiring diagram for 3 pin plug terminals follows a strict mnemonic and color-coded layout.
| Terminal Position | Pin Designation | Insulation Color (Post-2004) | Legacy Color (Pre-2004) | Function & Safety Role |
|---|---|---|---|---|
| Top Center | Earth (E) | Green/Yellow | Green | Grounding path; actuates socket safety shutters. |
| Bottom Left | Neutral (N) | Blue | Black | Return current path; connected to the neutral bus. |
| Bottom Right | Live (L) | Brown | Red | Hot supply; routed through the internal cartridge fuse. |
The Mechanical Shutter Actuation Mechanism
A critical, often overlooked detail in the wiring diagram for 3 pin plug systems is the physical dimension of the Earth pin. The Earth pin is exactly 22.2mm long and 6.48mm wide, whereas the Live and Neutral pins are 17.7mm long and partially insulated at the base. The Earth pin acts as a mechanical key. When inserted into a BS 1363 socket, it physically pushes open the internal plastic safety shutters that block the Live and Neutral holes. If you attempt to bypass this by wiring a plug without an Earth connection (using a plastic dummy pin), you compromise the integrated safety architecture of the socket.
Cable Selection: Harmonized Flex Standards
You cannot use arbitrary wire for appliance plugging. You must use harmonized flexible PVC or rubber cables. For standard domestic appliances, the H05VV-F (PVC insulated, PVC sheathed) 3-core flex is the industry standard. For high-heat or heavy-duty industrial appliances (like kettles or portable heaters), upgrade to H07RN-F (rubber insulated, polychloroprene sheathed).
- 0.75mm² Cross-Section (6A max): Suitable for low-draw appliances like desk lamps, phone chargers, and small fans (up to ~1400W, though typically fused at 3A).
- 1.25mm² Cross-Section (13A max): Mandatory for high-draw appliances like kettles, irons, microwaves, and space heaters (up to ~3100W).
Expert Warning: Never terminate a 1.25mm² heavy-duty cable into a plug fitted with a 3A fuse for a high-draw appliance. The continuous current will cause the fuse to nuisance-trip, tempting users to illegally upgrade to a 13A fuse without verifying the appliance's internal wiring gauge.
Precision Stripping and Termination Procedure
The most common cause of plug failure and arcing is improper cable preparation. Do not use a utility knife to strip cables, as scoring the copper strands creates micro-fractures that increase resistance and generate heat. Use a dedicated wire stripper, such as the Knipex 12 62 180.
- Outer Sheath Removal: Strip exactly 40mm to 45mm of the outer PVC sheath. Exposing too much inner core risks the cord grip clamping onto the thin inner insulation rather than the thick outer sheath, leading to cable pull-out.
- Inner Core Stripping: Strip exactly 12mm to 15mm of insulation from the Brown, Blue, and Green/Yellow cores. Do not twist the copper strands tightly; a gentle twist to keep them coherent is sufficient. Over-twisting reduces the surface contact area inside the brass terminal.
- The 'Earth Longest' Rule: This is the most critical safety step in the entire wiring diagram for 3 pin plug execution. Route the Green/Yellow Earth wire so that it is visibly longer than the Live and Neutral wires. Why? If the cord grip fails and the cable is violently yanked from the plug, the Live (Brown) wire must pull out of its terminal first, cutting the power before the Earth connection is lost. Furthermore, route the Earth wire over the top of the fuse. This acts as a physical barrier, preventing the Live wire from fraying and shorting against the Earth terminal.
- Terminal Torque: Insert the cores into the brass terminals. Tighten the terminal screws using a high-quality Pozidriv #1 screwdriver (e.g., Wera PicoFinish). Ensure no stray copper 'whiskers' protrude from the terminal block, as these can bridge the gap to adjacent pins and cause a dead short.
- Cord Grip Securing: The cord grip bar must clamp firmly onto the outer sheath of the cable, not the inner colored cores. Perform a pull test: grip the cable and pull firmly. The sheath should not slide.
Fuse Sizing Matrix: Calculating the Correct Cartridge
The BS 1363 plug utilizes a 1-inch by 1/4-inch (25.4mm x 6.35mm) ceramic or glass cartridge fuse conforming to BS 1362. Selecting the correct fuse is paramount. The fuse protects the flexible cable from melting and catching fire in the event of an appliance short circuit, not the appliance itself.
Use the formula Current (I) = Power (W) / Voltage (V). Assuming a standard 230V supply:
| Appliance Wattage | Calculated Current | Required BS 1362 Fuse | Typical Appliances |
|---|---|---|---|
| Up to 700W | < 3.04 Amps | 3 Amp (Red) | LED TVs, laptops, table lamps, blenders. |
| 700W to 1200W | 3.04 - 5.2 Amps | 5 Amp (Black) | Desktop PCs, large monitors, some power tools. |
| 1200W to 3100W | 5.2 - 13.4 Amps | 13 Amp (Brown) | Kettles, microwaves, space heaters, irons. |
The 5-Amp Fuse Anomaly
While 3A and 13A fuses are standard in retail, the 5A fuse (often colored black) is technically part of the BS 1362 standard but is rarely stocked in supermarkets. For appliances drawing between 700W and 1150W, using a 13A fuse is generally considered acceptable practice by the Electrical Safety First organization, provided the flex is rated at 1.25mm² (13A). However, for 0.75mm² flex on an 800W appliance, a 5A fuse is the mathematically correct safety choice to prevent the thin cable from overheating before the 13A fuse blows.
Troubleshooting Common Wiring Faults
Even with a perfect wiring diagram for 3 pin plug reference, human error during assembly introduces severe hazards. Inspect your work against these common failure modes:
- The 'Insulation Bite': If you strip the inner cores too short (e.g., 8mm), the brass terminal screw will clamp down on the PVC insulation rather than the copper. This creates a high-resistance connection. Under load, the terminal will overheat, melt the plug faceplate, and potentially cause a fire.
- Fuse Clip Tension Loss: Over time, or when using cheap, non-compliant replacement plug tops, the metal clips holding the fuse can lose their spring tension. If the fuse is loose, micro-arcing occurs at the ferrule ends, generating extreme heat. Always ensure the fuse requires a firm push to seat.
- Missing Earth Connection: For Class II (double-insulated) appliances, an Earth wire is not present in the cable. However, you must use a plug with an insulated plastic Earth pin to actuate the socket shutters. Never bend the Live pin to bypass the shutters.
Final Safety Verification
Before plugging the assembled unit into the mains, perform a visual and mechanical audit. Ensure the cord grip is biting the outer sheath. Verify that no bare copper is visible outside the terminal blocks. Confirm the fuse rating matches the appliance data plate. According to the UK Health and Safety Executive (HSE), regular visual inspections of plugs and cables are the first line of defense against workplace and domestic electrical fires.
Mastering the physical execution of the wiring diagram for 3 pin plug systems transforms a routine maintenance task into a critical safety intervention. By adhering to precise stripping measurements, understanding the mechanical interlocks of the BS 1363 standard, and calculating fuse ratings based on actual wattage rather than guesswork, you ensure both operational reliability and life-safety compliance.