
The Visceral Reality: Why Outlets Smell Like Decay
Walking into a room and detecting the unmistakable, foul odor of rotting meat emanating from a wall outlet is a jarring experience. Most homeowners immediately assume a mouse, rat, or reptile has crawled into the wall cavity and died near the electrical box. While biological pests are certainly a possibility in older homes with unsealed penetrations, as a senior electrical diagnostician, I can tell you that in over 90% of cases, an electrical outlet that smells like a dead animal is actually suffering from a high-resistance thermal fault.
When electrical components overheat, the chemical breakdown of modern wire insulation produces volatile organic compounds (VOCs) that perfectly mimic biological decay. Ignoring this smell can lead to catastrophic electrical fires. According to the National Fire Protection Association (NFPA), electrical failures or malfunctions are consistently among the leading causes of home structure fires. This inspection and testing guide will walk you through the exact diagnostic protocol to determine whether you are dealing with a biological pest or an imminent electrical fire hazard.
The Chemistry of the 'Dead Animal' Odor
To properly inspect the outlet, you must understand what you are actually smelling. Standard residential wiring (Romex/NM-B) uses Polyvinyl Chloride (PVC) for insulation. PVC is heavily compounded with plasticizers (like phthalates), flame retardants, and stabilizers.
- Thermal Degradation: When a loose connection causes arcing or high resistance, localized temperatures can easily exceed 150°C (302°F). At this threshold, PVC begins to depolymerize.
- Hydrogen Chloride & Sulfur Off-Gassing: The breakdown releases hydrogen chloride gas, sulfur dioxide, and complex hydrocarbons. When these sulfur-bearing compounds mix with ambient humidity, they produce an olfactory profile nearly identical to cadaverine and putrescine—the exact chemicals produced by rotting flesh.
- Ozone Production: Micro-arcing across a degraded terminal gap generates ozone and nitrogen oxides, adding a sharp, metallic 'rot' undertone to the primary sulfur smell.
Phase 1: Non-Invasive Sensory and Thermal Inspection
Before removing any cover plates, you must perform a non-invasive assessment to gauge the severity of the thermal event. Do not touch the outlet faceplate directly with bare skin if the smell is overpowering.
Step 1: The Visual and Olfactory Triangulation
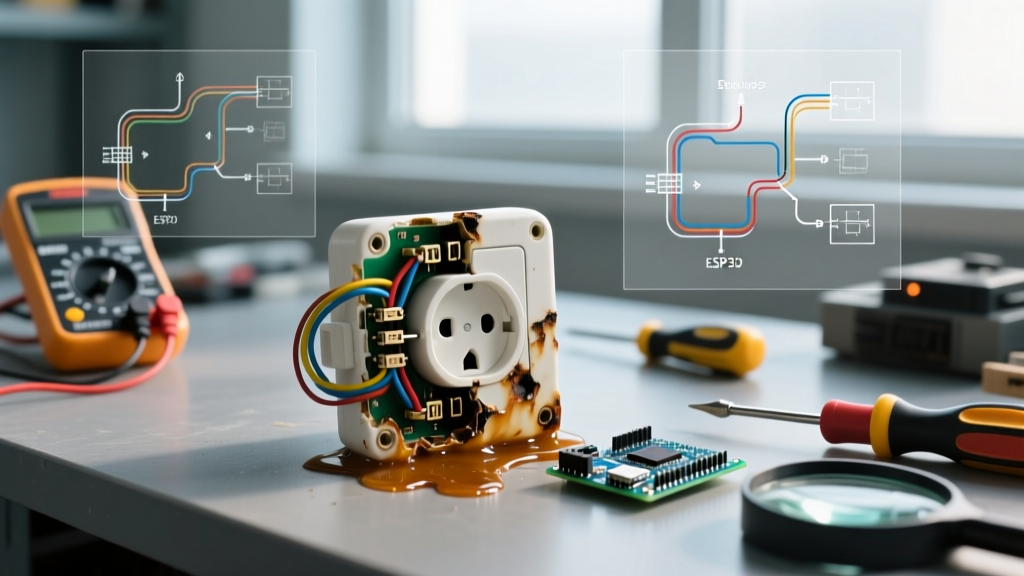
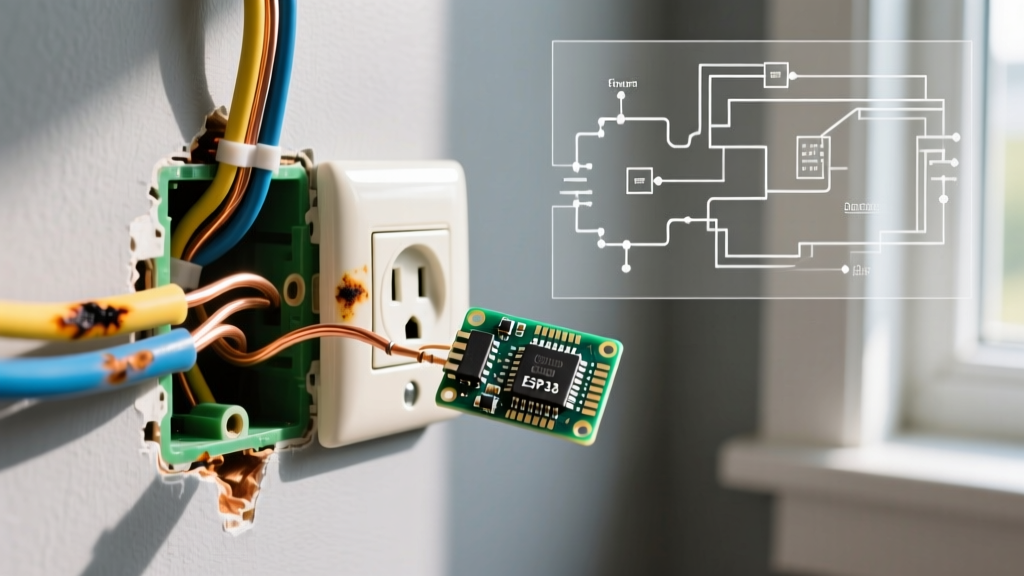
Get close to the outlet and sniff. Is the smell localized strictly to the receptacle slots, or is it a general ambient odor in the room? If the odor is sharply concentrated at the plastic faceplate, you are dealing with an electrical fault. Next, look for subtle visual cues: micro-blisters on the paint surrounding the box, a faint yellowish or brownish discoloration on the white plastic faceplate, or warping of the duplex receptacle slots.
Step 2: Thermal Imaging Diagnostics
This is where professional inspection diverges from DIY guesswork. Use a compact thermal imaging camera, such as the FLIR C5 or FLIR ONE Pro attached to your smartphone. Scan the outlet faceplate and the wall immediately surrounding the junction box.
Expert Thresholds: A healthy outlet under normal load (e.g., powering a 60W lamp) should be within 2°F to 4°F of ambient wall temperature. If your thermal camera shows a 'hot spot' or delta-T of 20°F (11°C) above ambient at the terminal screws or push-in slots, you have a confirmed high-resistance loose connection. A delta-T exceeding 50°F (28°C) indicates active, severe degradation and an imminent fire risk.
Phase 2: Electrical Testing and De-energization
Once a thermal anomaly is suspected or confirmed, the circuit must be killed immediately. Unplug any devices from the suspect outlet and the entire circuit.
- Breaker Identification: Locate the correct breaker in your main panel. If the panel is poorly labeled, use a tone generator or simply turn off the main breaker if the fault appears severe and active.
- Verify De-energization: Use a non-contact voltage tester (NCVT) like the Klein Tools NCVT-3TI. Test the top and bottom slots of both the hot (short) and neutral (long) sides. The NCVT-3TI will glow red and beep if 120V is still present.
- Remove the Faceplate: Unscrew the center screw of the faceplate. As you pull the plate away, note if the odor intensifies. This confirms the source is inside the junction box.
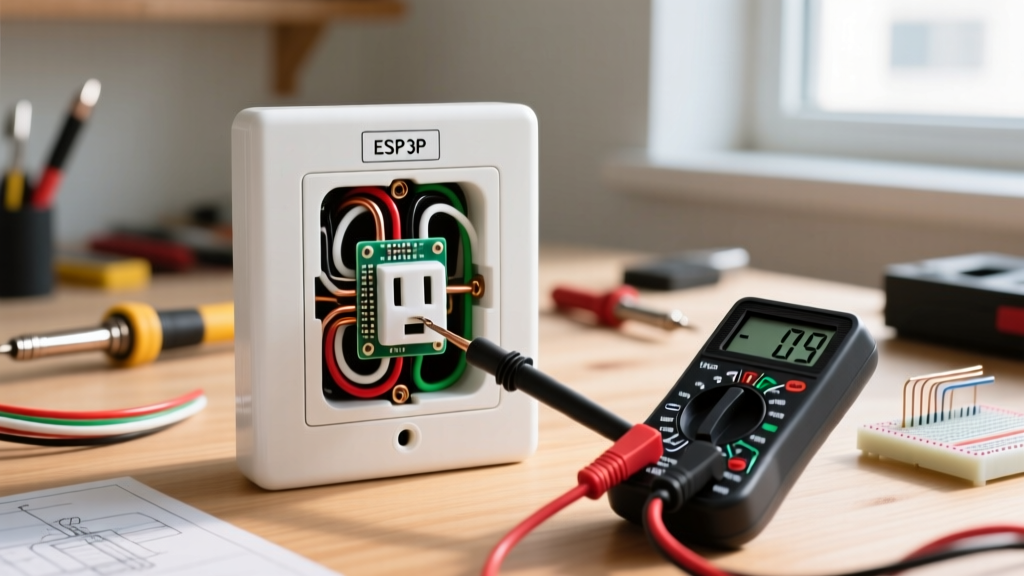
- Multimeter Continuity Check: Using a True-RMS multimeter (e.g., Fluke 117), set the dial to resistance (Ohms) or continuity. Probe the hot and neutral wires to ensure no dead shorts exist downstream before you begin physical wire inspection.
Biological Pest vs. Electrical Arcing Fault
If you are still unsure whether a literal dead animal is in the wall versus a melting electrical fault, use this diagnostic matrix to differentiate the two scenarios.
| Diagnostic Indicator | Electrical Fault (Melting PVC) | Biological Pest (Dead Rodent) |
|---|---|---|
| Odor Onset & Profile | Sudden or intermittent; sharp, chemical, sulfuric, metallic undertone. | Gradual onset over 24-48 hours; sweet, sickly, purely organic rot. |
| Thermal Signature (FLIR) | Distinct hot spot localized to the receptacle or junction box. | No localized heat signature; wall cavity matches ambient temperature. |
| Visual Clues at Outlet | Discolored plastic, melted slots, scorch marks on wire insulation. | None on the outlet itself; possible scratching sounds prior to odor. |
| Associated Symptoms | Flickering lights, tripped AFCI breakers, warm faceplates. | Presence of blowflies, maggot activity near baseboards, prior pest issues. |
Phase 3: Remediation and 2026 NEC Standards
If your inspection confirms an electrical fault—which is highly likely if the smell is localized to the receptacle—you must address the physical damage. The Consumer Product Safety Commission (CPSC) strongly advises replacing any receptacle that shows signs of thermal damage or loose internal contacts.
Inspecting the Terminations
Pull the receptacle out of the gang box. You will likely find the 'backstabbed' push-in terminals have failed. Push-in terminals rely on a small brass spring clip to hold the solid copper wire. Over years of thermal expansion and contraction (especially on high-draw circuits like vacuums or space heaters), this clip loses tension, creating a micro-gap. Electricity jumping this gap creates the heat that melts the PVC.
The Proper Repair Protocol
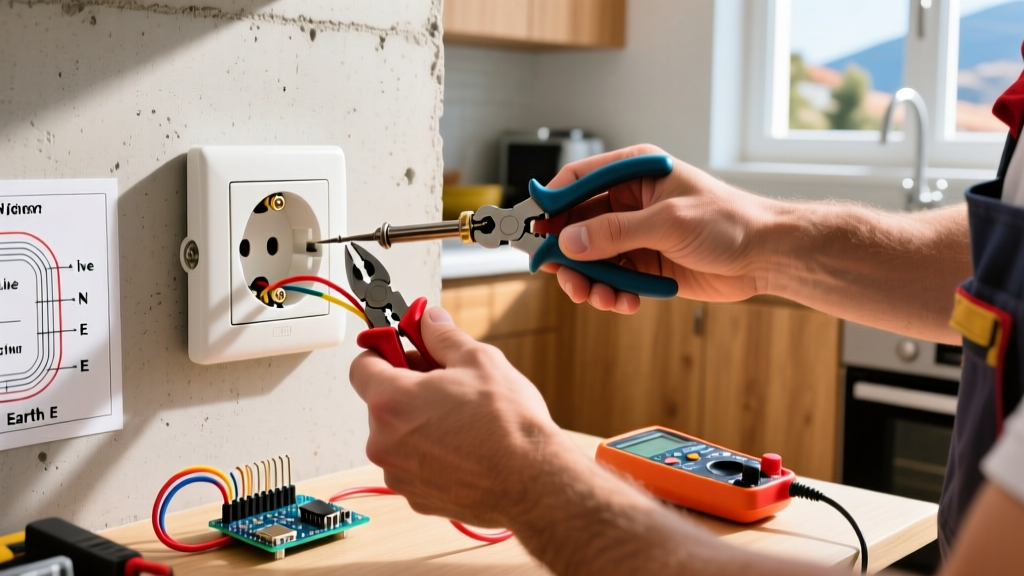
- Excise Damaged Wire: Use wire strippers to cut off any section of the copper conductor that has turned black, green, or brittle from heat annealing. If the wire is damaged flush with the drywall, you must use an in-wall wire extender kit (like the Tyco Electronics AMP Netconnect) to legally extend the conductor without opening the drywall.
- Upgrade the Receptacle: Discard the old, builder-grade outlet. Install a commercial-specification, tamper-resistant (TR) receptacle, such as the Leviton 5262-CW (approx. $3.50). Commercial specs feature thicker internal brass contacts and higher heat tolerance.
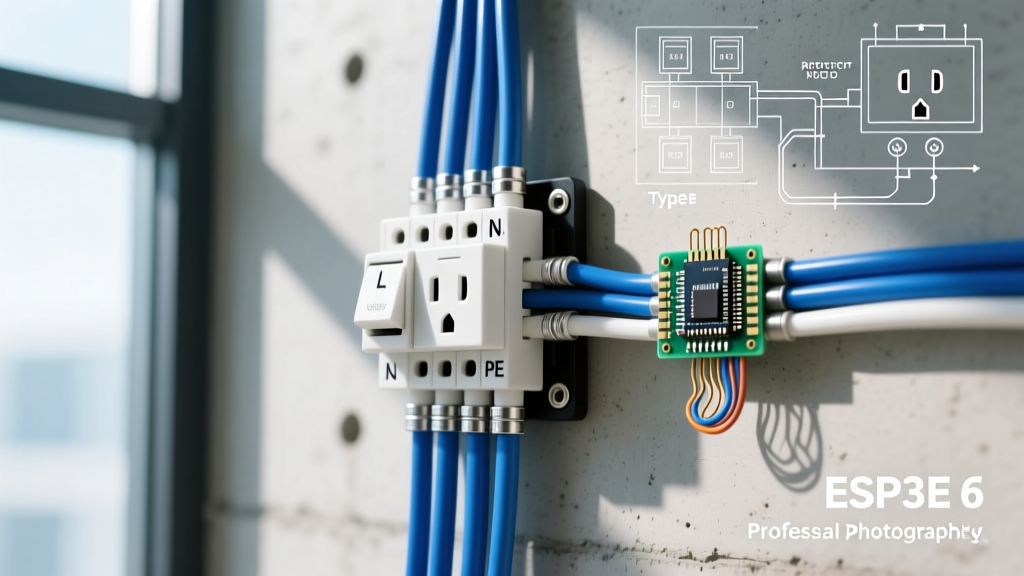
- Use Side-Wiring or Lever Nuts: Never use push-in terminals. Wrap the wire clockwise around the side terminal screws. Alternatively, pigtail the wires using Wago 221-413 lever nuts for a gas-tight, vibration-proof connection.
- Torque to Specification: This is the most skipped step by amateurs. Use a torque screwdriver (e.g., Klein Tools 6-in-1 Torque) set to the manufacturer's specification—typically 14 in-lbs for #12 AWG wire. Proper torque prevents the exact high-resistance faults that cause the 'dead animal' smell.
When to Call an Electrician
If you remove the outlet and find that the wire insulation deep inside the wall cavity is melted, brittle, or crumbling, stop immediately. This indicates a sustained overload or a fault upstream that has compromised the entire cable run. Replacing the outlet will not fix damaged Romex hidden behind the drywall. Furthermore, if your home lacks Arc Fault Circuit Interrupter (AFCI) protection on bedroom and living room circuits, consult a licensed electrician to upgrade your panel. Modern NEC codes mandate AFCI protection precisely to detect the micro-arcing conditions that cause PVC to off-gas and ignite long before a standard thermal breaker trips.
For more comprehensive safety guidelines regarding home wiring and outlet maintenance, refer to the Electrical Safety Foundation International (ESFI). By treating a foul-smelling outlet as a critical thermal fault rather than a mere pest issue, you protect your home from the silent, destructive progression of electrical fires.