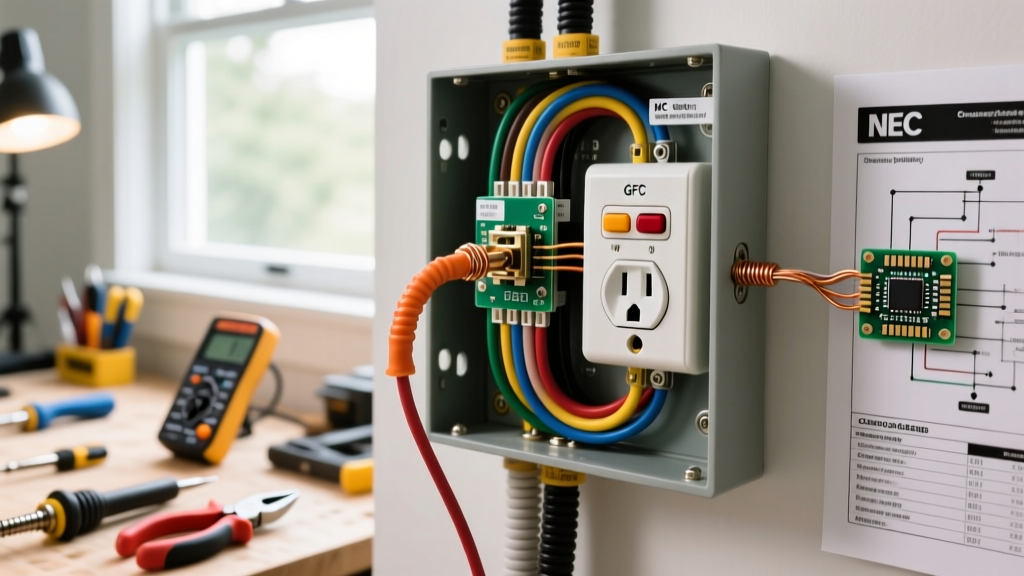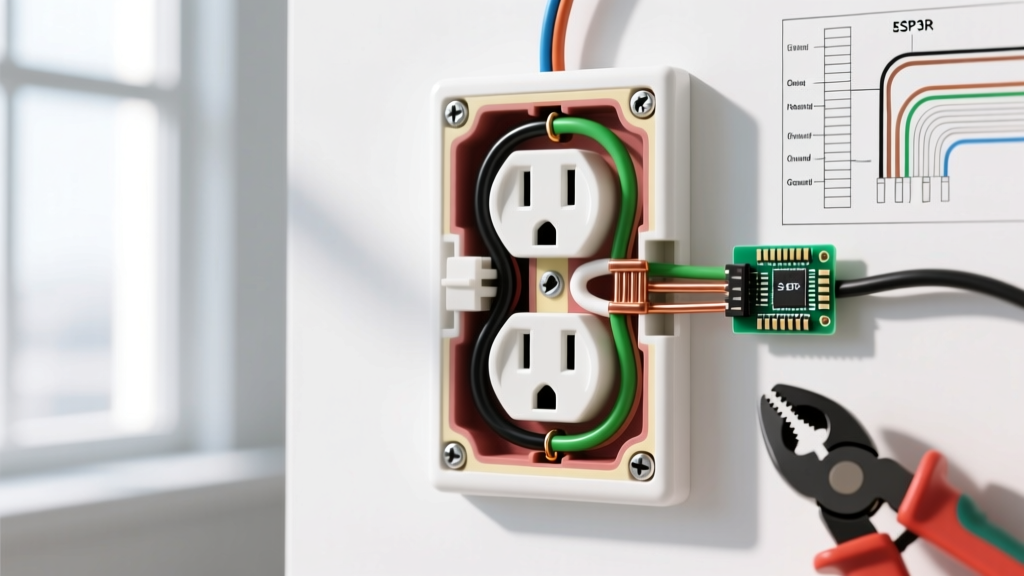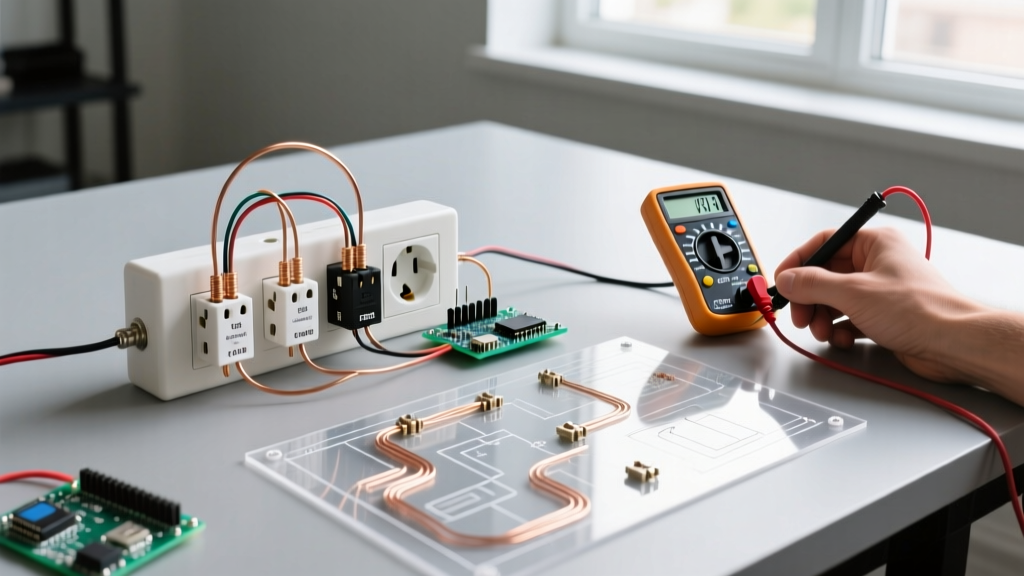

The Diagnostic Phase: How to Troubleshoot Electrical Outlet Failures
A malfunctioning receptacle is more than a mere inconvenience; it is a potential fire hazard and a clear indicator of aging infrastructure. According to the National Fire Protection Association (NFPA), electrical failures or malfunctions are the second leading cause of home fires, often originating at degraded termination points. Before you rip out old wiring, you must systematically isolate the fault. This guide provides a professional-grade framework to troubleshoot electrical outlet issues and execute code-compliant upgrades for modern 2026 electrical loads.
Essential Diagnostic Tools
Stop relying on cheap neon circuit testers. To accurately diagnose voltage drops, open neutrals, and reversed polarities, you need precision instruments:
- Non-Contact Voltage Tester (NCVT): Klein Tools NCVT-3 (approx. $25) for initial safety verification.
- Digital Multimeter (DMM): Fluke 117 Electricians True RMS Multimeter (approx. $195) or Klein Tools MM400 (approx. $45) for exact voltage and continuity readings.
- Receptacle Analyzer: Amprobe IN-35 (approx. $30) to instantly verify GFCI trip functionality and basic wiring topology.
The 3-Point Voltage Test
When an outlet appears dead or behaves erratically, perform the 3-Point Test with your multimeter set to AC Voltage (V~):
- Hot to Neutral (Short Slot to Long Slot): Should read 115V–125V. A reading of 0V indicates an open circuit (tripped breaker, loose wire, or failed backstab connection).
- Hot to Ground (Short Slot to U-Shape): Should read 115V–125V. If this reads 0V but Hot-Neutral reads 120V, you have an open ground.
- Neutral to Ground (Long Slot to U-Shape): Should read 0V–2V. If this reads 120V, you have a reversed polarity or a bootleg ground (a dangerous, illegal workaround where neutral and ground are bonded at the receptacle).
Common Outlet Failure Modes and Upgrade Solutions
Once you troubleshoot the electrical outlet using the 3-point test, match your findings to the failure matrix below to determine the correct upgrade path.
| Symptom | Multimeter Reading | Root Cause Analysis | Recommended Upgrade Action |
|---|---|---|---|
| Completely Dead | 0V (Hot-Neutral) | Tripped upstream GFCI, open neutral, or failed push-in backstab terminal. | Reset upstream GFCI. If persistent, replace receptacle using side-screw terminals. |
| Sparking / Melting Smell | Fluctuating 110V-120V under load | High resistance connection due to loose wire, arcing, or thermal degradation of internal contacts. | Immediately replace. Cut back charred wire. Upgrade to commercial-grade spec receptacle. |
| Plugs Fall Out Easily | Normal 120V | Worn internal brass wipers losing mechanical tension. Common in builder-grade 15A models. | Replace with heavy-duty Tamper-Resistant (TR) receptacle with reinforced contacts. |
| Shock When Touching Appliance | 120V (Hot-Ground), 0V (Neutral-Ground) | Missing equipment ground (2-prong ungrounded system) or ground wire disconnected. | Upgrade to GFCI receptacle (per NEC 406.4(D)(2)) to provide shock protection without a ground wire. |
The Upgrade Mandate: When Replacement is Non-Negotiable
Repairing a faulty outlet by simply tightening a screw is rarely sufficient in modern electrical systems. The Consumer Product Safety Commission (CPSC) heavily emphasizes the dangers of degraded receptacles, particularly in homes with young children or high-draw appliances. You must upgrade your receptacles in the following scenarios:
1. The Builder-Grade Backstab Problem
Homes built between the 1980s and 2010s frequently feature receptacles wired using push-in backstab terminals. These rely on a tiny spring-metal clip to grip the 14 AWG wire. Over years of thermal cycling (heating under load, cooling when idle), the spring loses tension, leading to micro-arcing and eventual open circuits. Never reuse a backstabbed receptacle. Always upgrade to a model that supports side-wiring (screw terminals) or rear-wiring with a screw-clamp mechanism.
2. Ungrounded (2-Prong) to 3-Prong Conversion
If you live in a pre-1970s home with ungrounded 2-prong outlets, you cannot simply install a standard 3-prong receptacle without running a new ground wire. Doing so creates a deceptive and lethal shock hazard. Instead, the National Electrical Code (NEC 406.4(D)(2)) allows you to upgrade to a GFCI receptacle. The GFCI monitors current imbalances and trips in milliseconds, providing life-saving shock protection even without an equipment ground. You must label it 'No Equipment Ground'.
Selecting 2026-Compliant Replacement Receptacles
When upgrading, do not buy the cheapest $0.89 receptacle in the bulk bin. Invest in commercial or heavy-duty residential grades that feature thicker internal brass wipers and robust steel mounting straps.
- Standard 15A Upgrade: Leviton Decora T52-R Tamper-Resistant (approx. $3.50). Features a built-in shutter system that prevents foreign object insertion, mandated by NEC 406.12 for all dwelling units.
- Heavy-Duty 20A Upgrade: Hubbell 5262-TR (approx. $6.20). Ideal for kitchen countertops, garages, and workshops where high-draw tools (table saws, space heaters) are used. Note: You can only install a 20A receptacle if the circuit is wired with 12 AWG copper and protected by a 20A breaker.
- Kitchen/Bathroom Safety: Eaton GFCI 20A Self-Test (approx. $18.50). Features an internal microchip that automatically tests the ground-fault circuitry every 3 seconds, ensuring the safety mechanism hasn't failed silently.
Professional Wiring Techniques for Longevity
The U.S. Department of Energy notes that poor workmanship during DIY replacements causes thousands of localized electrical fires annually. Follow these exact specifications when wiring your new receptacle:
Pro Tip: Strip exactly 3/4-inch of insulation using the built-in gauge on your wire strippers. Exposed copper beyond the screw head creates a short-circuit risk; too little insulation inside the terminal results in a high-resistance connection.
- Form a Perfect J-Hook: Use needle-nose pliers to bend the stripped 14 AWG or 12 AWG solid copper wire into a tight 'J' shape.
- Clockwise Termination: Hook the wire around the brass (hot) or silver (neutral) screw in a clockwise direction. As you tighten the screw clockwise, the loop will naturally close and tighten around the shaft. Counter-clockwise loops will push the wire out as the screw turns.
- Torque Specifications: While standard 15A/20A receptacles do not strictly require a calibrated torque screwdriver under NEC 110.14(D) (which applies to larger terminations), the connection must be definitively tight. Tighten until the lock washer is fully compressed and the wire cannot be moved by a firm tug.
- Side-Wiring Only: Wrap the wire around the screw. Do not use the push-in holes on the back of the device, even if the new receptacle includes them.
Frequently Asked Questions (FAQ)
Can I upgrade a 15A outlet to a 20A outlet for my power tools?
Only if the entire circuit is rated for 20 Amps. This means the breaker must be 20A, and the wiring in the wall must be 12 AWG copper. If your wall contains 14 AWG wire (which is thinner and typically paired with 15A breakers), installing a 20A receptacle is a severe fire hazard, as the wire will melt before the 20A breaker trips. A 20A receptacle features a T-shaped neutral slot to accommodate specialized 20A plugs, but it will also accept standard 15A plugs.
Why does my outlet spark when I plug in a vacuum cleaner?
A small, quick blue spark when plugging in a high-inductance load (like a vacuum or power tool) while the device's internal switch is already in the 'ON' position is generally normal. This is caused by the sudden inrush of current. However, if the spark is large, orange/yellow, accompanied by a burning smell, or happens with low-draw devices like phone chargers, the internal brass wipers are likely pitted and degraded. Replace the receptacle immediately with a commercial-grade model.
My outlet has a red and black wire attached. What does this mean?
This indicates a split-receptacle wiring configuration, commonly found in older living rooms or bedrooms. The top half of the outlet is controlled by a wall switch (via the red wire), while the bottom half remains constantly hot (via the black wire) for lamps or electronics. When upgrading this outlet, you must use pliers to snap off the small metal brass fin (break-off tab) on the hot side of the new receptacle to maintain the split functionality. If you forget this step, the wall switch will control the entire outlet.