
The Professional’s Toolkit for Wiring Electric Plug Connections
Wiring a replacement plug onto a flexible cord seems like a trivial task, but it remains one of the most common sources of residential and industrial electrical fires. According to the National Fire Protection Association (NFPA), improper termination of flexible cords and damaged strain reliefs consistently rank high in electrical failure reports. As we navigate the 2026 NEC cycle, the emphasis on proper tooling and material selection for flexible cords (NEC Article 400) is stricter than ever.
Whether you are repairing a heavy-duty shop vacuum cord, wiring a NEMA L6-30P twist-lock for a welder, or simply replacing a cracked 15A household plug, using the correct tools and materials is non-negotiable. This guide breaks down the exact hand tools, cord types, and plug hardware you need for safe, code-compliant terminations.
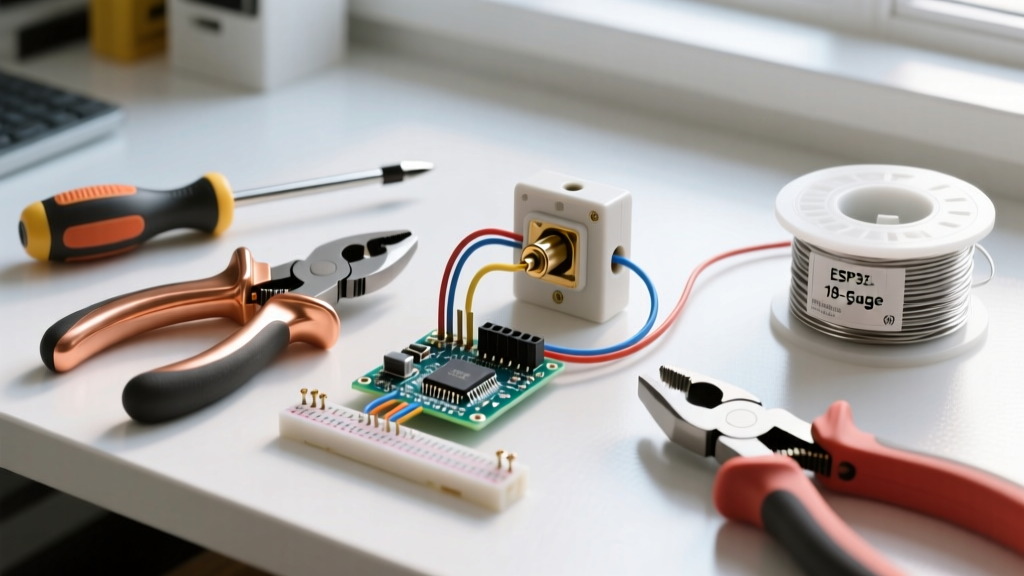
Core Hand Tools for Plug Termination
Skip the $5 multi-tool from the checkout aisle. Precision termination requires dedicated instruments that prevent conductor damage and ensure secure mechanical connections.
1. Precision Wire Strippers
The most critical step in wiring an electric plug is stripping the insulation without nicking the copper strands. A nicked strand creates a localized hot spot under load, leading to thermal failure.
- Top Pick: Klein Tools 11063W (8-20 AWG). Retailing around $28 in 2026, these feature a shear-cutting jaw and precisely machined stripping holes that remove insulation without scoring the copper. You can view their full lineup on the Klein Tools wire stripper catalog.
- Why it matters: Cheap automatic strippers often crush fine-stranded flexible cord wire (like 16 AWG SJTW), reducing the effective ampacity of the cord.
2. Insulated Screwdrivers
Plug terminals require flat-head or Phillips drivers depending on the manufacturer. Using an uninsulated driver near live testing environments is a severe hazard.
- Top Pick: Wiha 74401 Insulated Screwdriver Set (~$45). These are VDE-rated to 1,000V and feature precision-machined tips that won't cam-out and strip the soft brass terminal screws found on standard NEMA plugs.
3. Lineman’s Pliers for Cord Jacketing
Stripping the outer jacket of an SOOW cord requires leverage and a clean cut to avoid slicing the inner colored insulation.
- Top Pick: Channellock 440 (12-inch). The side-cutting jaws allow you to slit the outer jacket longitudinally and peel it back cleanly, ensuring the internal conductors remain untouched.
Essential Materials: Selecting the Right Flexible Cord
The material you are terminating dictates the plug type and the strain relief mechanism. The OSHA 1910.305 standard strictly mandates that flexible cords must be suitable for the conditions of use and location. Here is a breakdown of the most common cord jackets you will encounter when wiring an electric plug.
| Cord Type | Voltage Rating | Jacket Material | Best Application |
|---|---|---|---|
| SJTW | 300V | PVC (Lightweight) | Indoor household appliances, extension cords, light-duty power tools. |
| SJOOW | 300V | Rubber (Oil/Water Resistant) | Garage power tools, portable lighting, indoor/outdoor transitional use. |
| SOOW | 600V | Heavy-Duty Rubber | Industrial machinery, welders, outdoor construction equipment, high-amp EV chargers. |
| STW | 600V | Thermoplastic (PVC) | Heavy-duty commercial extension cords, high-visibility job site cables. |
Pro-Tip for 2026: When purchasing replacement cord by the foot, always check the date code printed on the jacket. Rubber jackets (SOOW) degrade if left on hardware store shelves in direct sunlight for years. Fresh stock ensures maximum dielectric strength and flexibility.
The Plug Hardware: NEMA Configurations & Strain Relief
Not all replacement plugs are created equal. The hardware you select must match both the NEMA configuration of your receptacle and the Outer Diameter (OD) of your flexible cord.
Standard Household (NEMA 5-15P)
For standard 15A, 125V applications, the Leviton 5266-C (~$4.50) is the industry workhorse. It features a rugged thermoplastic body and an internal cord grip that accommodates cord ODs from 0.200 to 0.450 inches. Avoid the $0.99 generic vinyl plugs; their internal clamps strip out easily under mechanical stress.
Industrial Twist-Lock (NEMA L6-30P)
For 30A, 250V equipment like welding machines or large air compressors, you need a twist-lock plug. The Hubbell 4778 (~$24.00) features a neoprene cord grip and brass terminal pins. The neoprene grip is essential here: it bites into the heavy rubber jacket of an SOOW cord, providing the pull-out resistance required by code.
Step-by-Step Tool Application Workflow
Having the right tools is only half the battle. The sequence in which you use them determines the longevity of the connection.
- Jacket Stripping: Measure 1.5 inches from the cord end. Use your Channellock pliers to carefully score and peel back the outer jacket. Crucial: The plug's internal strain relief clamp must bite down on this outer jacket, never on the colored inner wires.
- Conductor Stripping: Using the Klein 11063W, strip exactly 5/8 inch of insulation from the black (hot), white (neutral), and green (ground) wires. Do not twist the strands tightly; keep them in their natural lay.
- The J-Hook Formation: Bend the exposed copper into a 'J' shape using the needle-nose section of your pliers. The hook must face clockwise. When you tighten the terminal screw, the clockwise rotation will pull the hook tighter around the screw shaft rather than pushing it out.
- Termination & Torque: Seat the wire under the terminal washer. Use your Wiha insulated screwdriver to tighten firmly. While small plugs don't require a calibrated torque wrench, the screw should be tight enough that the wire cannot be pulled free with a 5-lb tug, but not so tight that you risk shearing the brass screw head.
- Strain Relief Assembly: Fold the wires neatly into the plug cavity. Ensure the ground wire (green) has just enough slack to be the last wire pulled taut if the cord is accidentally yanked. Tighten the cord grip screws evenly until the jacket is firmly secured.
Common Failure Modes & Edge Cases
Even experienced DIYers make mistakes when wiring an electric plug. Watch out for these specific failure modes:
- The Copper Shave: If your wire strippers are dull or improperly sized, they will shave the sides of the copper strands. This reduces the wire gauge locally. A 14 AWG wire shaved down behaves like a 16 AWG wire, creating a bottleneck that heats up under a 15A load.
- The 'Bite-Through' Grip: If you strip the outer jacket back too far (e.g., 2.5 inches), the plug's cord grip will clamp down on the thin colored insulation of the inner conductors instead of the thick outer jacket. Over time, the clamp will cut through the insulation, causing a short circuit or exposing live copper.
- Grounding Oversights: On older 2-prong NEMA 1-15P plugs, there is no ground. Never adapt a 3-wire cord (with a green ground) to a 2-prong plug and simply cut the ground wire off. If the appliance requires grounding, you must replace the entire cord or use a properly configured 3-prong NEMA 5-15P plug.
By investing in precision stripping tools, selecting the correct NEC-compliant cord jacket, and meticulously forming your terminal hooks, you ensure that your flexible cord assemblies are safe, durable, and ready for the demands of modern electrical loads.