
The Hidden Danger of Wobbly and Recessed Outlets
A loose receptacle isn't just an aesthetic annoyance; it is a documented fire and shock hazard. When you plug in a high-draw appliance like a space heater or air fryer, the physical stress on a wobbly outlet can degrade internal contacts, leading to arcing. Similarly, when a kitchen backsplash is installed over existing drywall, the electrical box becomes recessed. If the gap between the box edge and the finished wall exceeds 1/4 inch, it violates the National Electrical Code (NEC) and exposes combustible materials to potential heat from loose connections.
The solution is remarkably simple but frequently misunderstood: the electrical outlet spacer. Whether you are dealing with crushed drywall behind the yoke or a deeply recessed box after a renovation, selecting the correct spacer is critical for a code-compliant, safe installation.
NEC 314.20 and the 1/4-Inch Rule
Before reaching for a stack of plastic washers, you must understand the legal and safety boundaries defined by the National Fire Protection Association (NFPA). NEC Article 314.20 dictates how flush-mounted boxes must interact with the wall surface.
NEC 314.20 (Recessed Boxes): In walls or ceilings constructed of concrete, tile, gypsum, plaster, or other noncombustible material, boxes shall be installed so that the front edge will not be set back more than 1/4 inch (6 mm) from the finished surface. In walls constructed of combustible material, boxes must be flush with or project beyond the finished surface.
If your gap is under 1/4 inch on drywall or tile, standard yoke ears might suffice, but an electrical outlet spacer ensures the device sits perfectly rigid. If the gap exceeds 1/4 inch, or if you are dealing with a combustible surface like wood shiplap, you must use a listed box extender, not just loose shims.
Types of Electrical Outlet Spacers: A Comparison Matrix
Not all spacers are created equal. Using a metal shim on an ungrounded circuit can cause a dead short, while using plastic shims for a 1/2-inch gap will result in a bent yoke and a failing connection. Here is how the primary options compare for common wiring scenarios.
| Spacer Type | Example Product | Max Depth | Best Use Case | Est. Cost (2026) |
|---|---|---|---|---|
| Stackable Plastic Shims | Caddy TS1 / Raco 100 | 1/4" (Stacked) | Wobbly outlets, minor drywall crush | $2.50 / 10-pack |
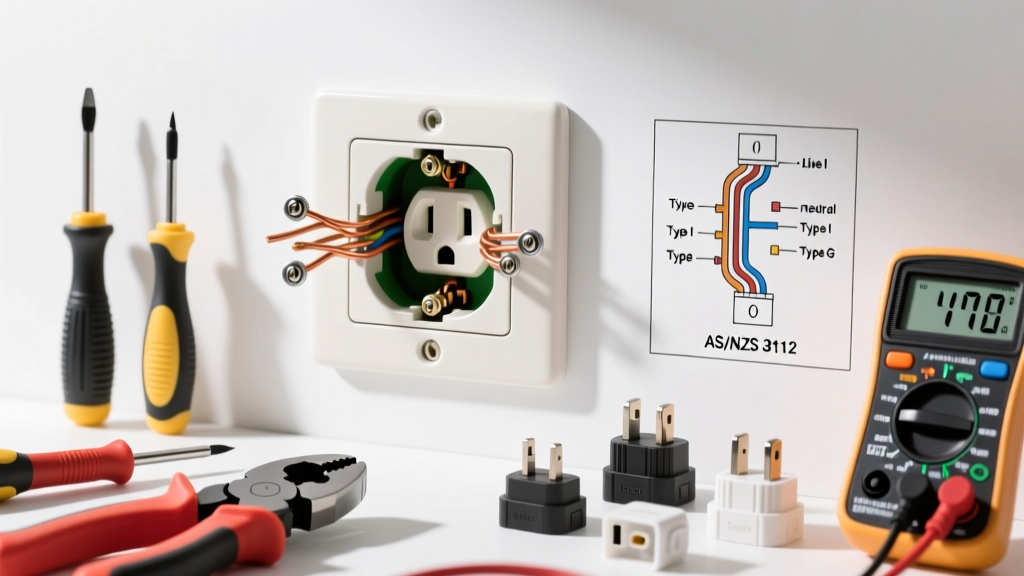
| Metal Outlet Rings | Raco 8291 (1-Gang) | 1/4" to 3/8" | Commercial, grounded metal boxes | $3.80 each |
| Plastic Box Extenders | Arlington BE1 | Up to 1-1/2" | Tile backsplashes, wood paneling | $4.50 each |
| Telescoping Extenders | Thomas & Betts E110R | Adjustable | Uneven tile, deep recessed plaster | $6.00 each |
Scenario 1: Fixing the Wobbly Receptacle in Finished Drywall
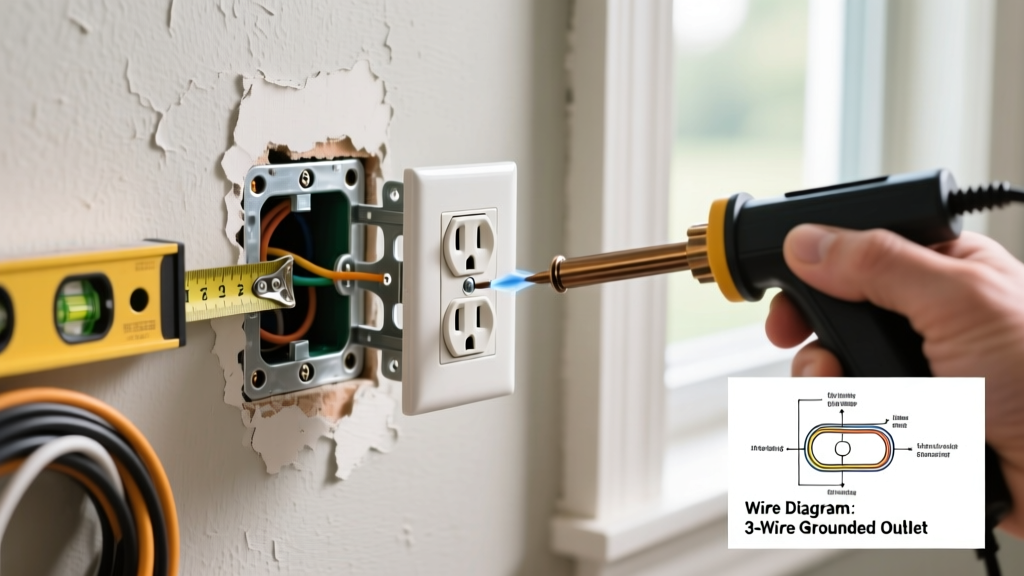
The Problem: The outlet moves when you insert a plug. This usually happens because the drywall behind the receptacle's mounting yoke (the metal strap) was over-cut or crushed during a previous rough-in, leaving nothing solid for the yoke to press against when you tighten the 6-32 mounting screws.
Step-by-Step Shim Installation
- Kill and Verify: Turn off the breaker and verify zero voltage using a non-contact tester like the Klein Tools NCVT-3. Test a known live circuit first to confirm the tool's battery is functional.
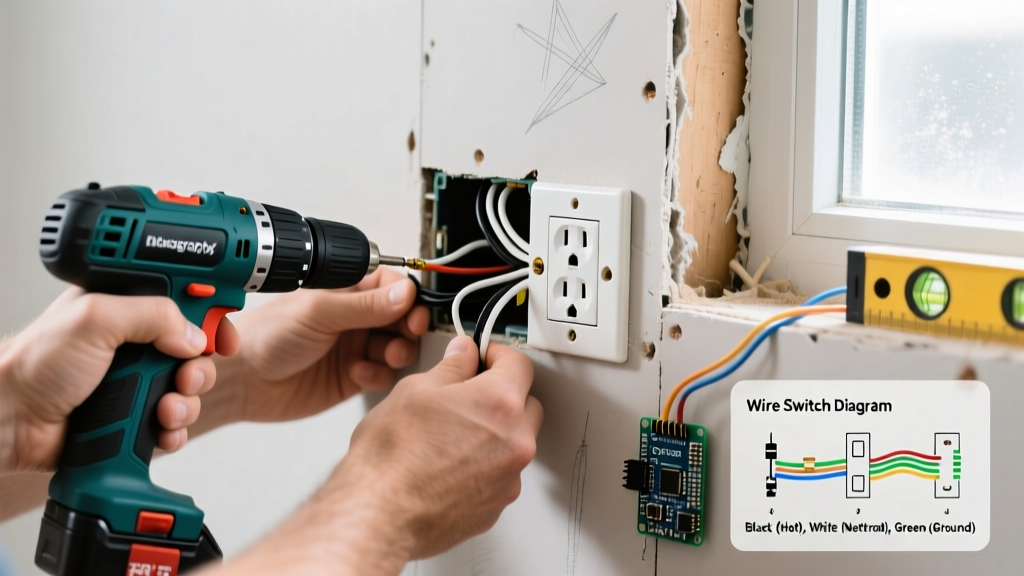
- Extract the Device: Remove the faceplate and unscrew the top and bottom 6-32 mounting screws. Pull the receptacle out gently, being careful not to stress the Romex or THHN wires in the back of the box.
- Measure the Gap: Push the receptacle back in until it is straight. Measure the gap between the drywall and the yoke. If it is 1/8 inch, you will need roughly two standard plastic shims per screw.
- Stack the Shims: Slide the U-shaped stackable plastic shims over the mounting screws, resting them against the drywall. The slotted design allows you to do this without completely removing the receptacle from the wires.
- Tighten to Spec: Drive the screws back in. Stop tightening the moment the receptacle is snug against the shims. Over-torquing (beyond 12-15 in-lbs) will crack the plastic shims or strip the drywall paper, ruining the fix.
Scenario 2: The Recessed Box After a Tile Backsplash
The Problem: You just installed a beautiful subway tile backsplash in the kitchen. The new tile and thinset added 3/8 inch of thickness to the wall. The existing electrical boxes are now deeply recessed, violating NEC 314.20 and creating a severe shock hazard if a wire pulls loose behind the tile.
Do not use stacked plastic shims for this scenario. If you stack shims to bridge a 3/8-inch gap, the receptacle yoke will bend inward when tightened, putting immense mechanical stress on the internal brass contacts and the wire terminations.
The Box Extender Solution
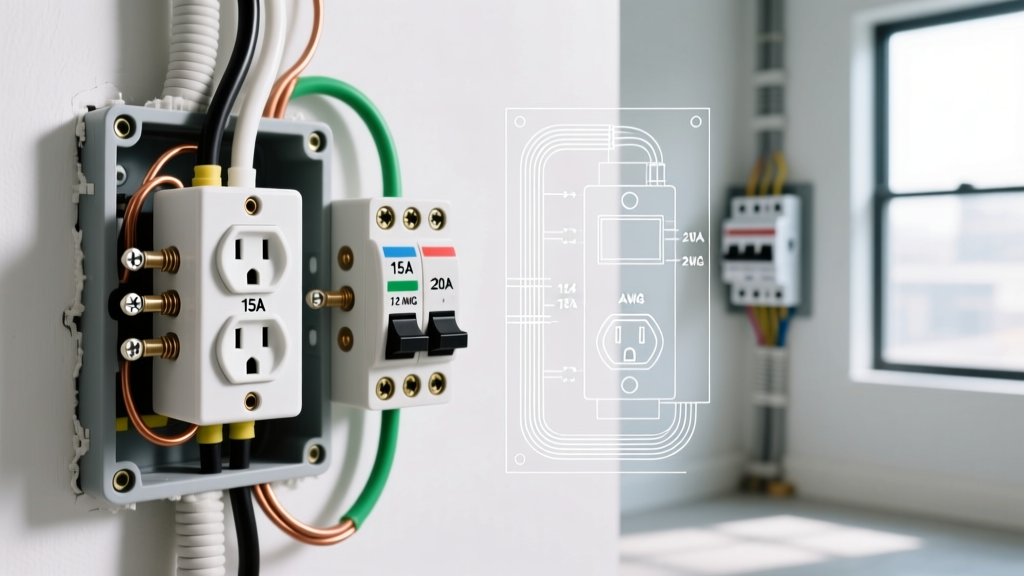
You must use a listed plastic box extender, such as the Arlington BE1. These sleeves slide into the existing box and bridge the gap to the finished surface, creating a continuous, insulated enclosure.
- Prep the Box: Remove the receptacle and clean the inside edges of the existing electrical box. Scrape away any thinset or drywall mud that might prevent the extender from seating fully.
- Trim the Extender: Most plastic extenders feature score lines. Use a utility knife to snap off the sleeve at the depth marker that matches your exact recess (e.g., 3/8 inch).
- Insert and Secure: Push the extender into the box. The flanged edges will catch on the tile surface. Pass the 6-32 screws through the extender's integrated mounting holes and into the original metal box's threaded ears.
- Address Short Wires: Adding an extender pushes the receptacle further out, which may stretch your existing wire terminations. If the black or white wires are too short to comfortably reach the receptacle terminals without pulling, do not just stretch them. Cut the terminations, strip 3/4 inch of insulation, and use Wago 221 Lever-Nuts to pigtail a 4-inch extension of 12 AWG or 14 AWG THHN wire (matching the circuit gauge).
Edge Cases and Troubleshooting Failures
Even with the right electrical outlet spacer, electricians and DIYers frequently encounter edge cases that compromise the installation. Watch out for these specific failure modes:
1. The Ungrounded Metal Shim Short
In older homes with 2-prong ungrounded circuits, never use metal outlet rings or metal box extenders. If a hot wire's insulation is nicked and touches the metal spacer, the entire spacer becomes energized. Because there is no equipment grounding conductor (EGC) to trip the breaker, the next person who touches the faceplate screw becomes the path to ground. Always use UL-listed plastic extenders for ungrounded or Knob-and-Tube retrofits.
2. GFCI and AFCI Depth Conflicts
Modern GFCI and AFCI receptacles are significantly deeper than standard duplex outlets (often requiring 1.5 to 1.75 inches of internal box depth). If you are using a box extender to bring a recessed outlet flush, ensure the original box has enough cubic inch volume to legally house the bulky GFCI body. According to Electrical Contractor Magazine code interpretations, a standard 18 cubic inch single-gang box is usually sufficient for one GFCI, but adding an extender does not increase the legal cubic inch calculation of the base box. If the wires are severely cramped, you must replace the base box with a deep "old work" box (e.g., Carlon B618R) rather than relying solely on an extender.
3. Floating Spacers on Uneven Stone
When working with natural stone or highly textured tile, the surface is rarely perfectly flat. A rigid plastic extender might rock on a high spot, leaving a gap on the low side. In these cases, use a telescoping extender or apply a bead of 100% silicone caulk behind the extender flange to seal the gap and prevent moisture from migrating behind the wall in wet areas like bathrooms.
Final Verdict on Outlet Spacing
An electrical outlet spacer is a vital component for maintaining the mechanical integrity and safety of your wiring system. By matching the spacer type to the exact depth and wall material—using stackable shims for minor drywall crush and listed box extenders for tile and wood—you ensure your receptacles remain rigid, code-compliant, and safe for decades. Never compromise on the 1/4-inch NEC rule; the cost of a $4 extender is negligible compared to the risk of an electrical fire inside a finished wall cavity.